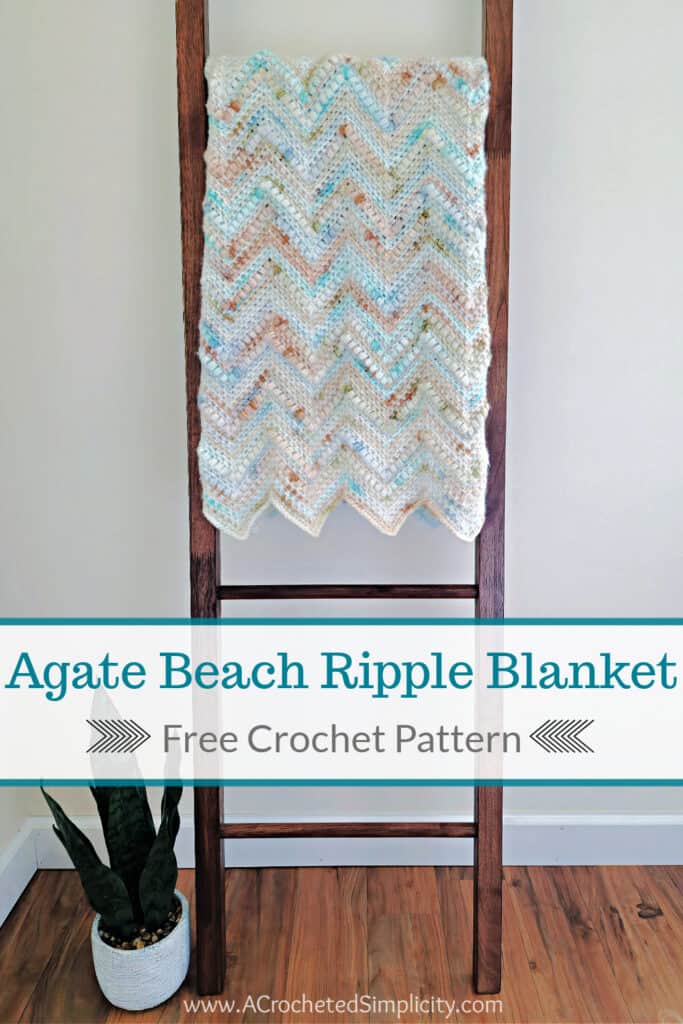
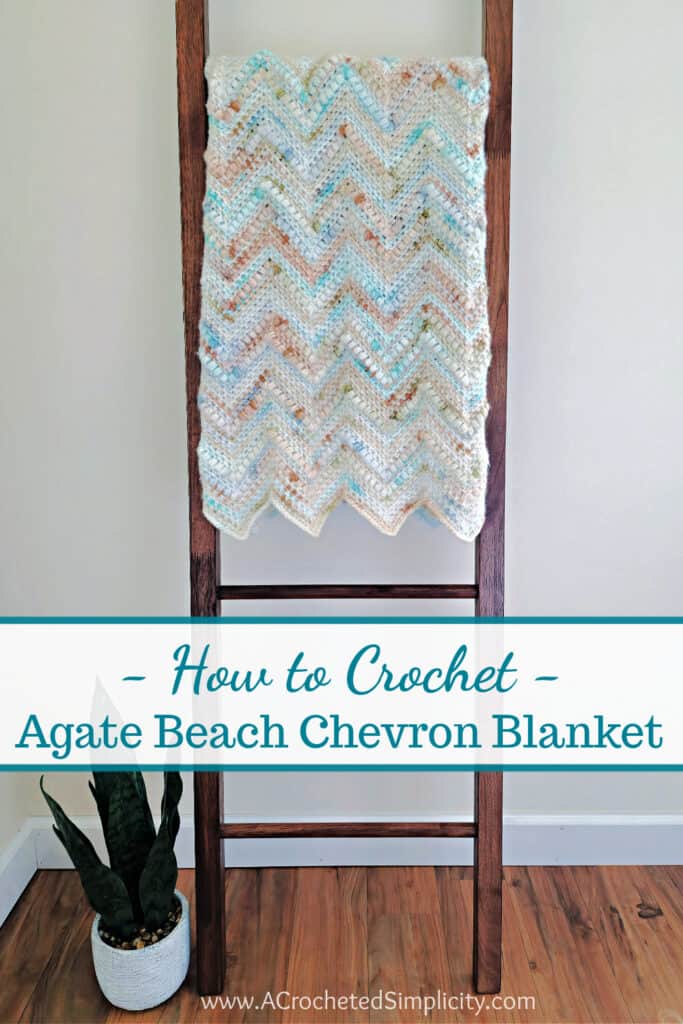
Agate Beach Chevron Crochet Blanket
Who doesn’t love a fun crochet chevron pattern?
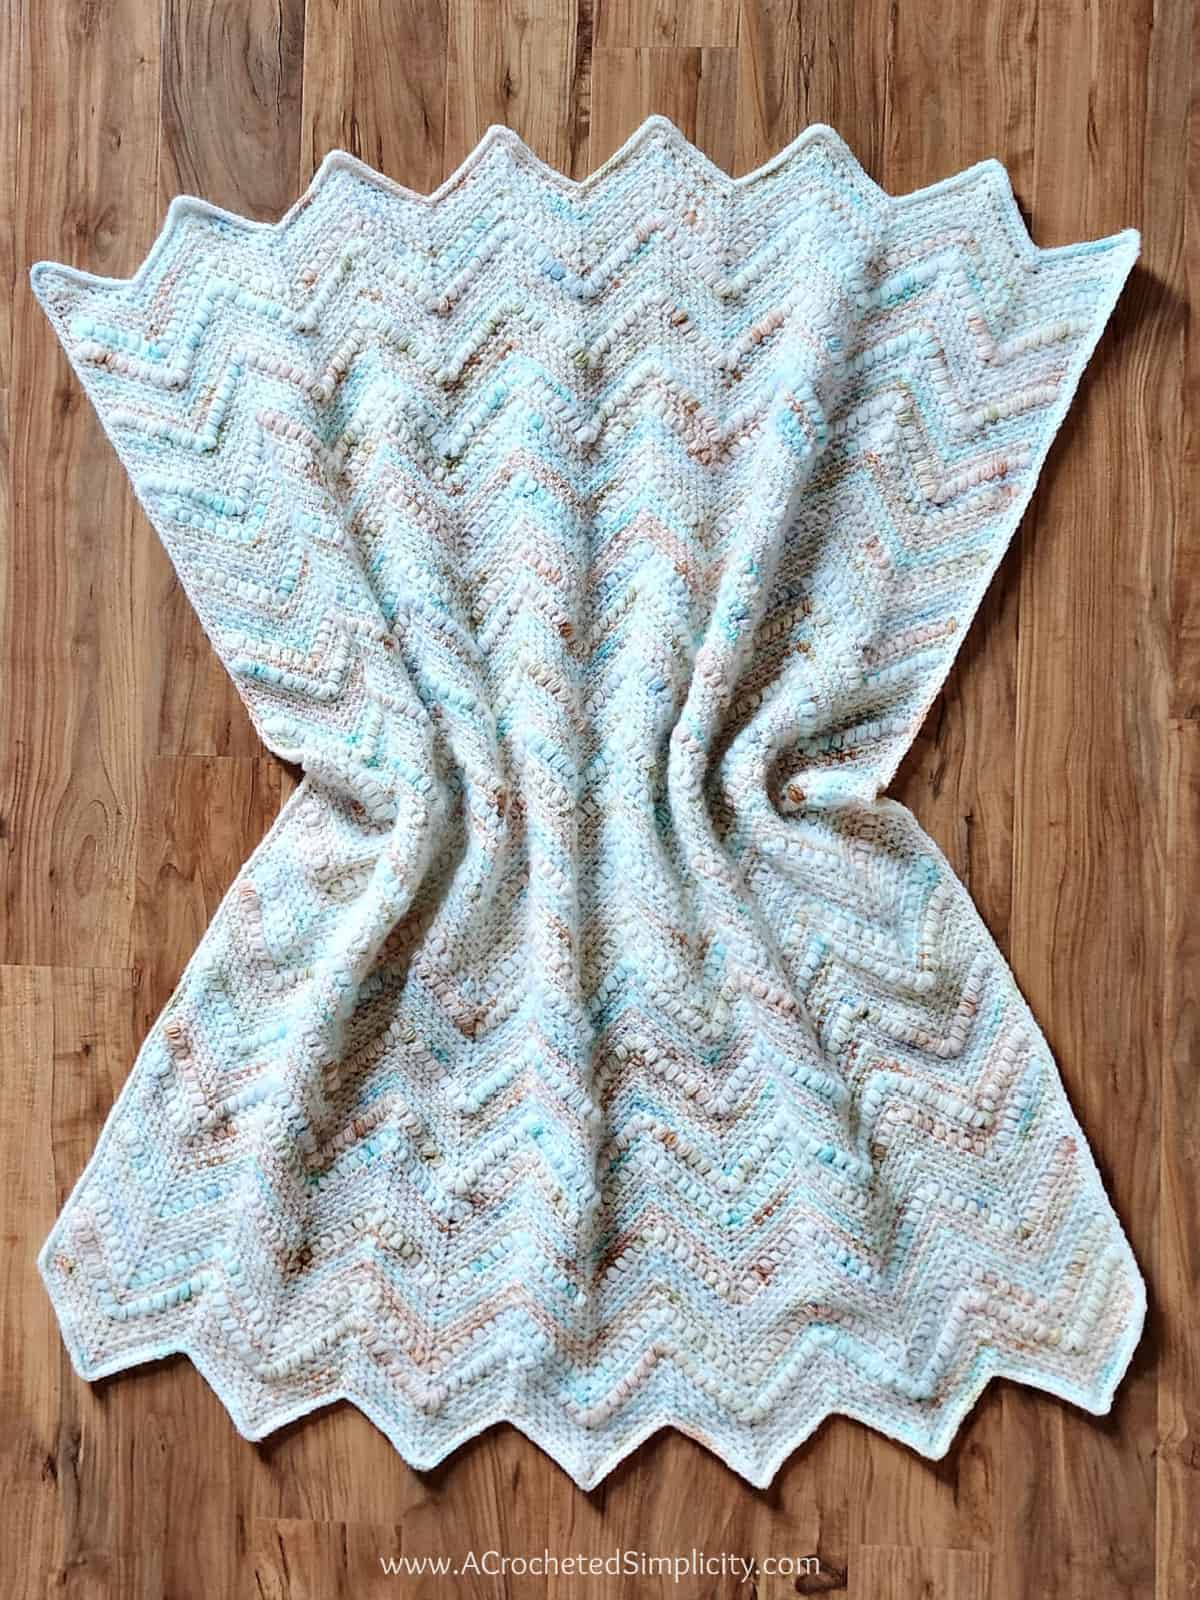
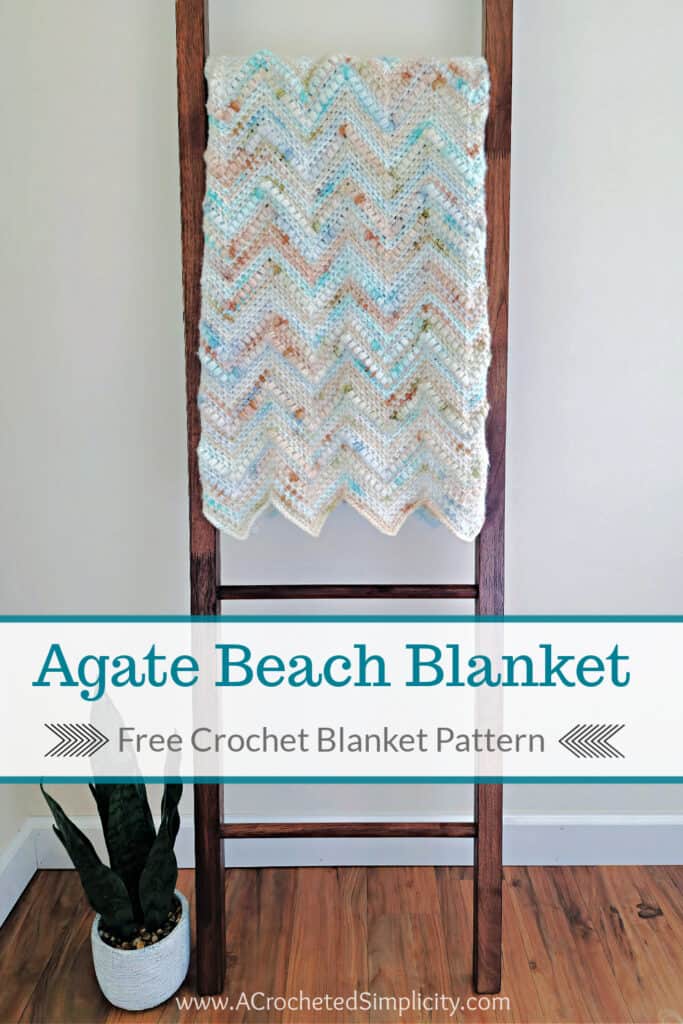
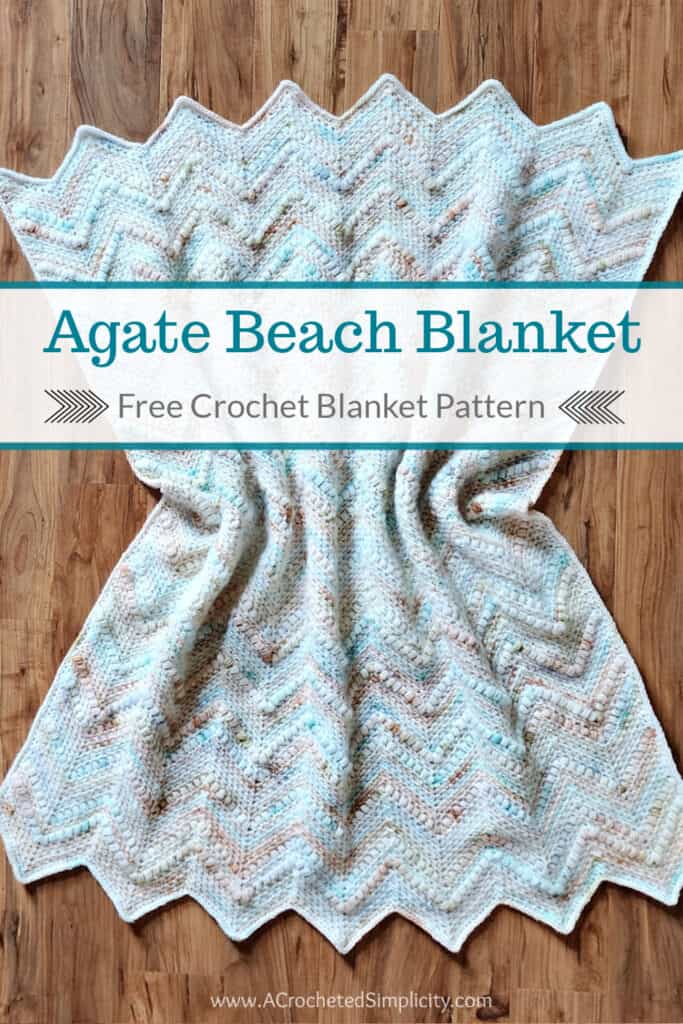
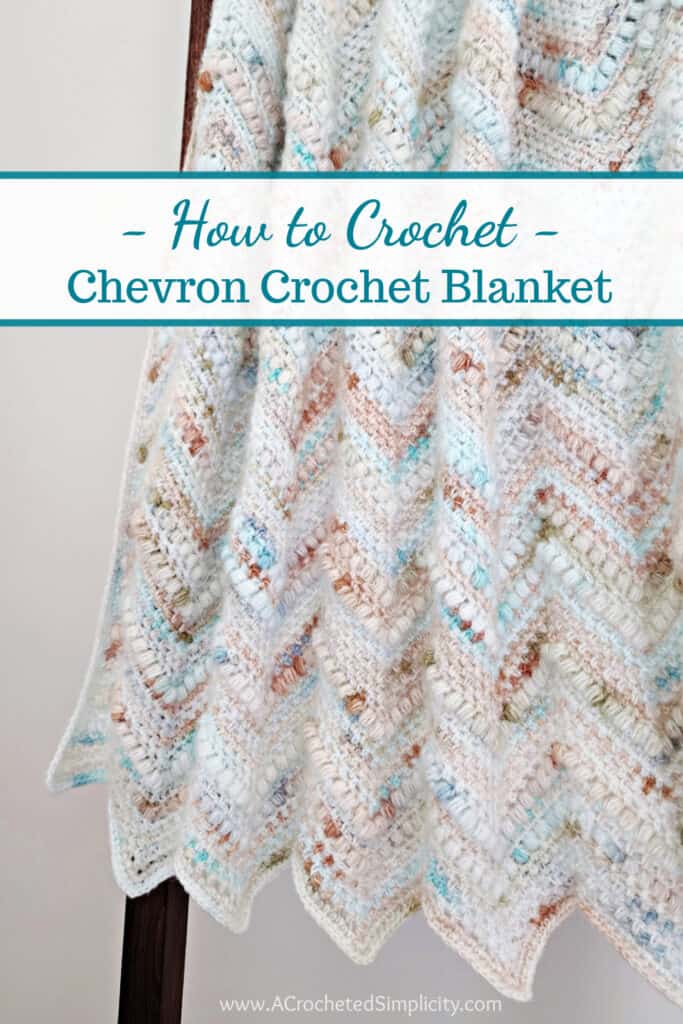
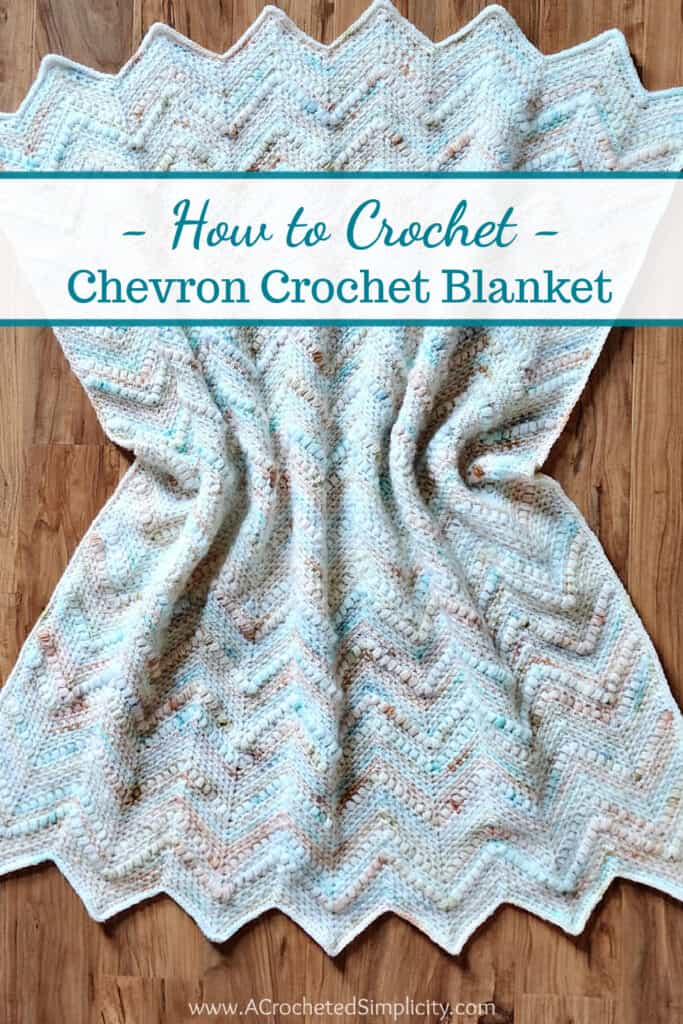
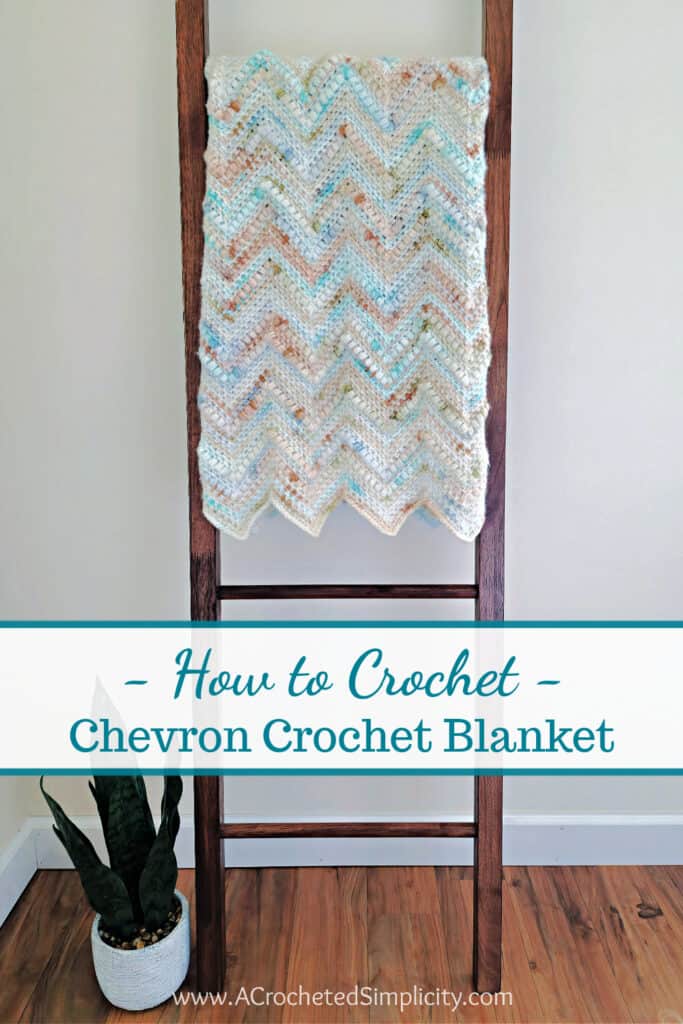
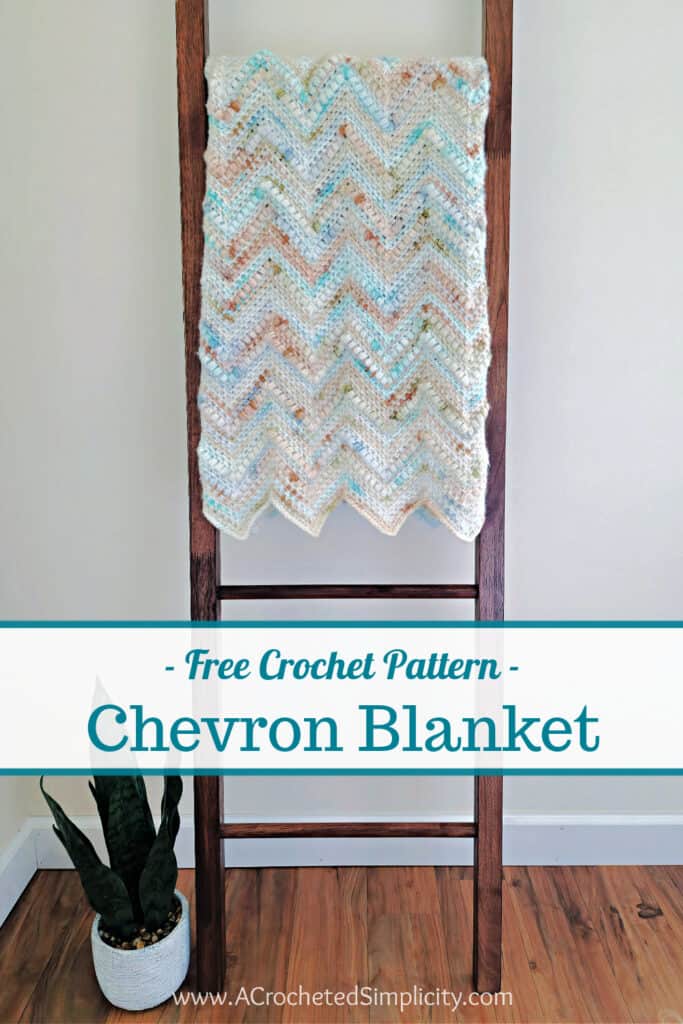
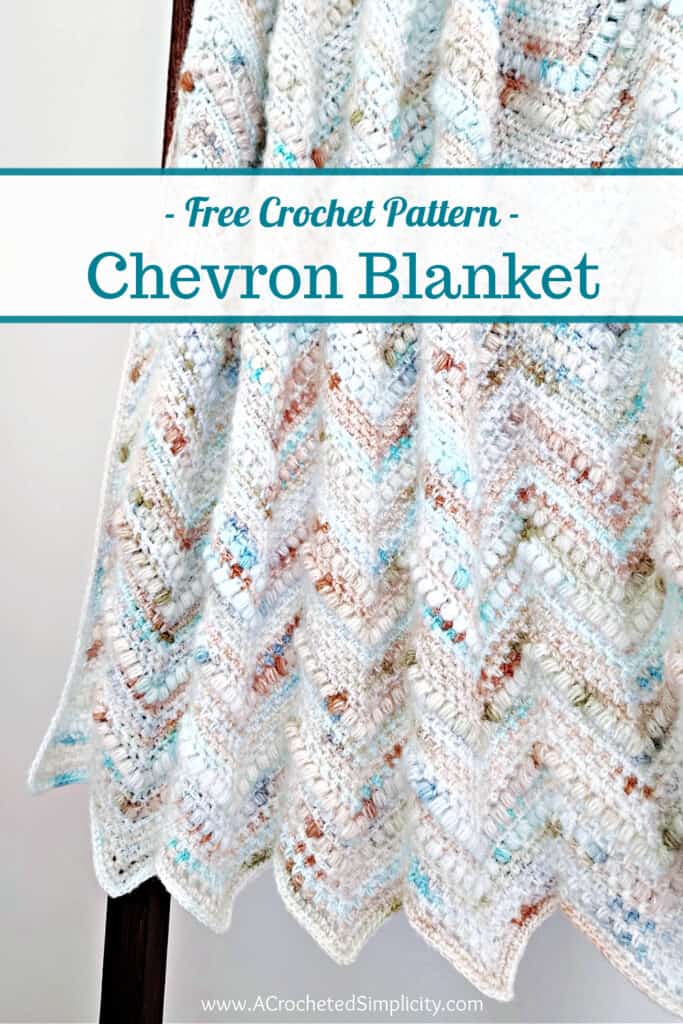
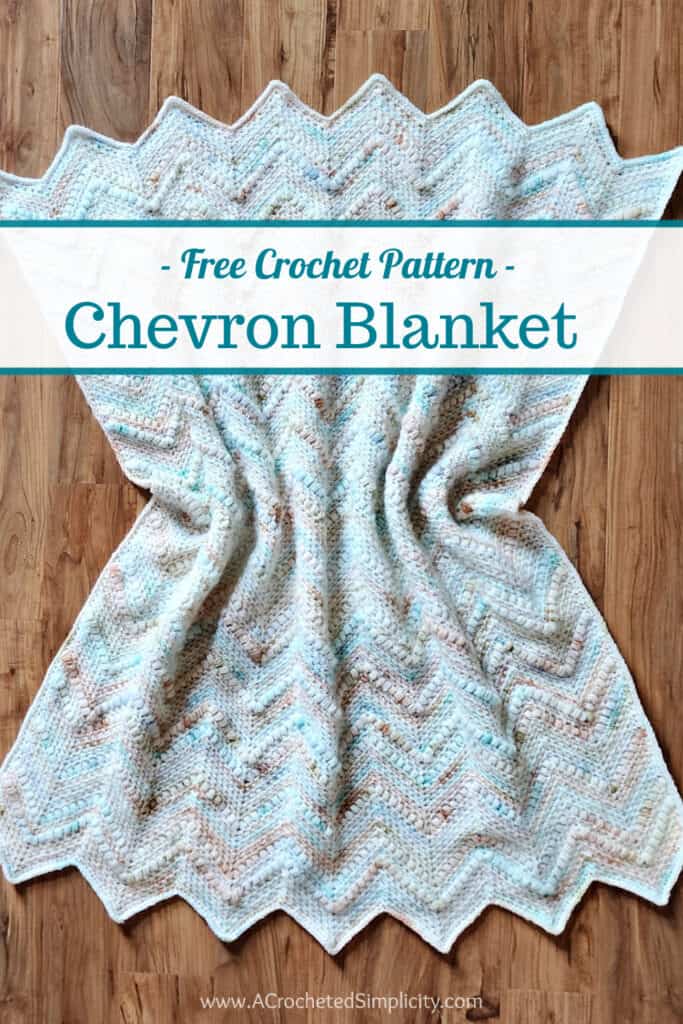
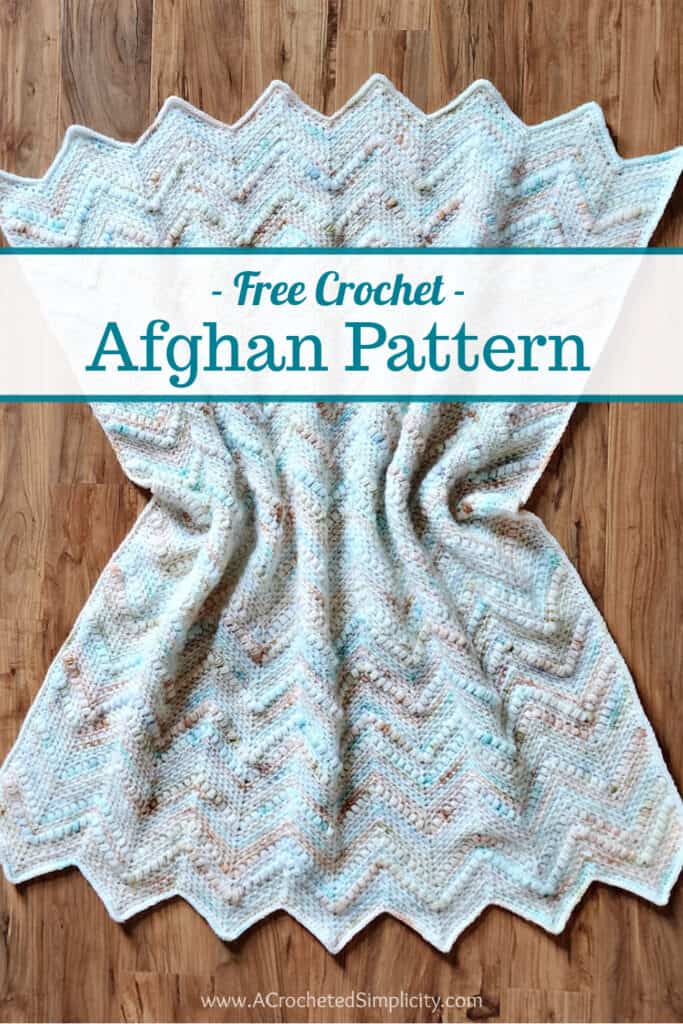
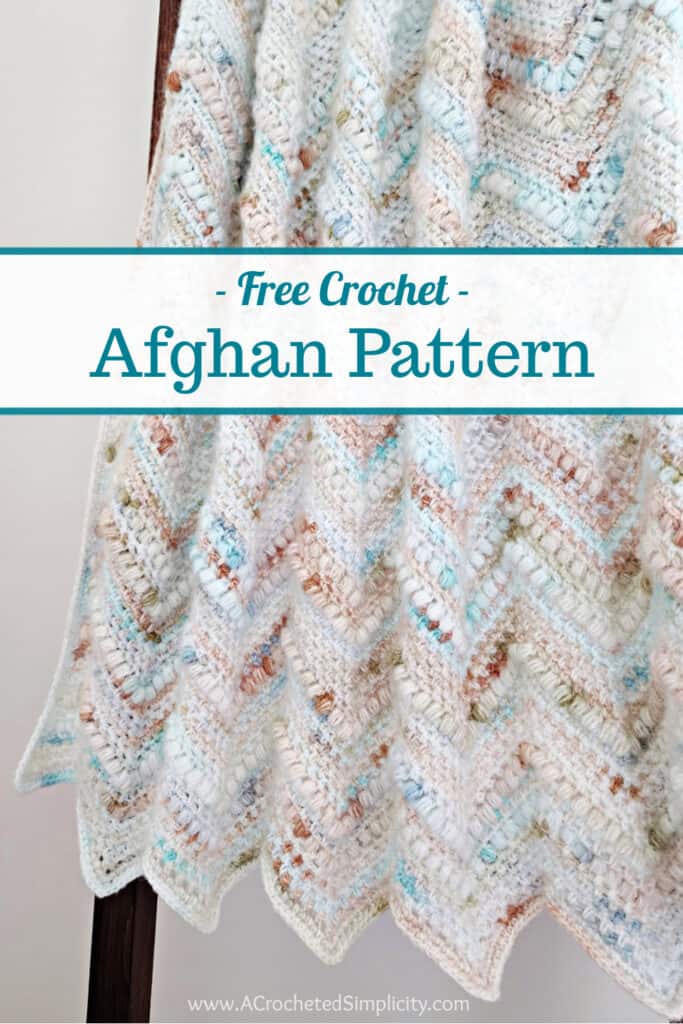
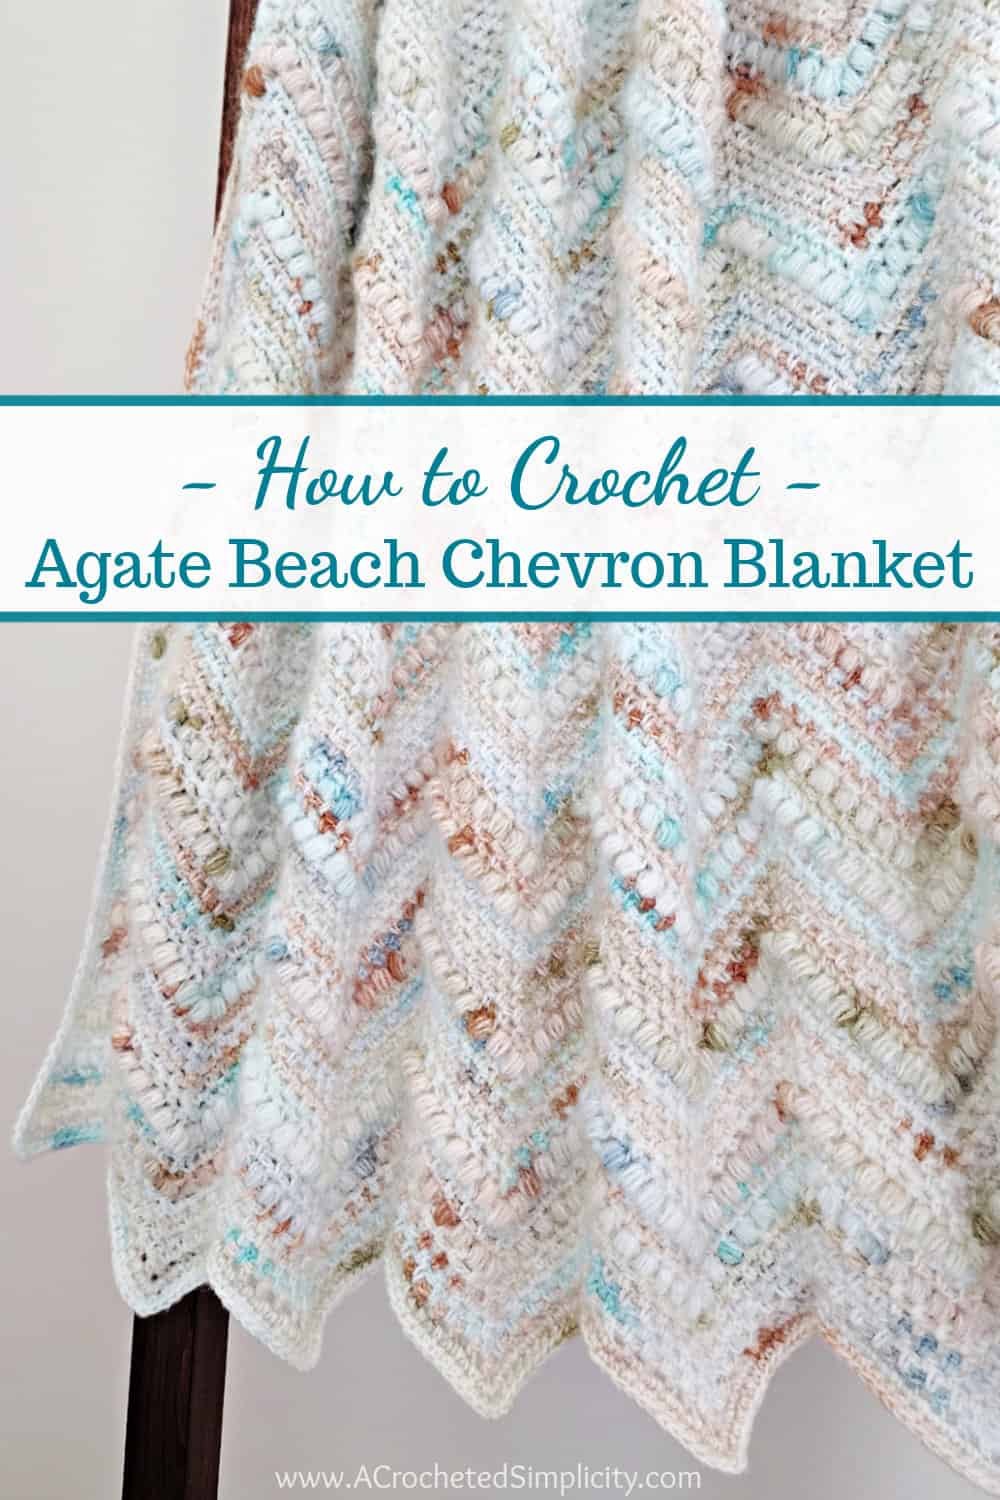
The Agate Beach Chevron Crochet Blanket is ready for your hook this summer, but it’s a perfect blanket for taking the chill off all year round.
This crochet chevron pattern includes 8 sizes, from baby to king size. It also includes instructions for customizing your own size afghan!
You can find the free crochet chevron blanket pattern in this post below, or an ad-free print friendly version on Ravelry, or on Etsy (aff).
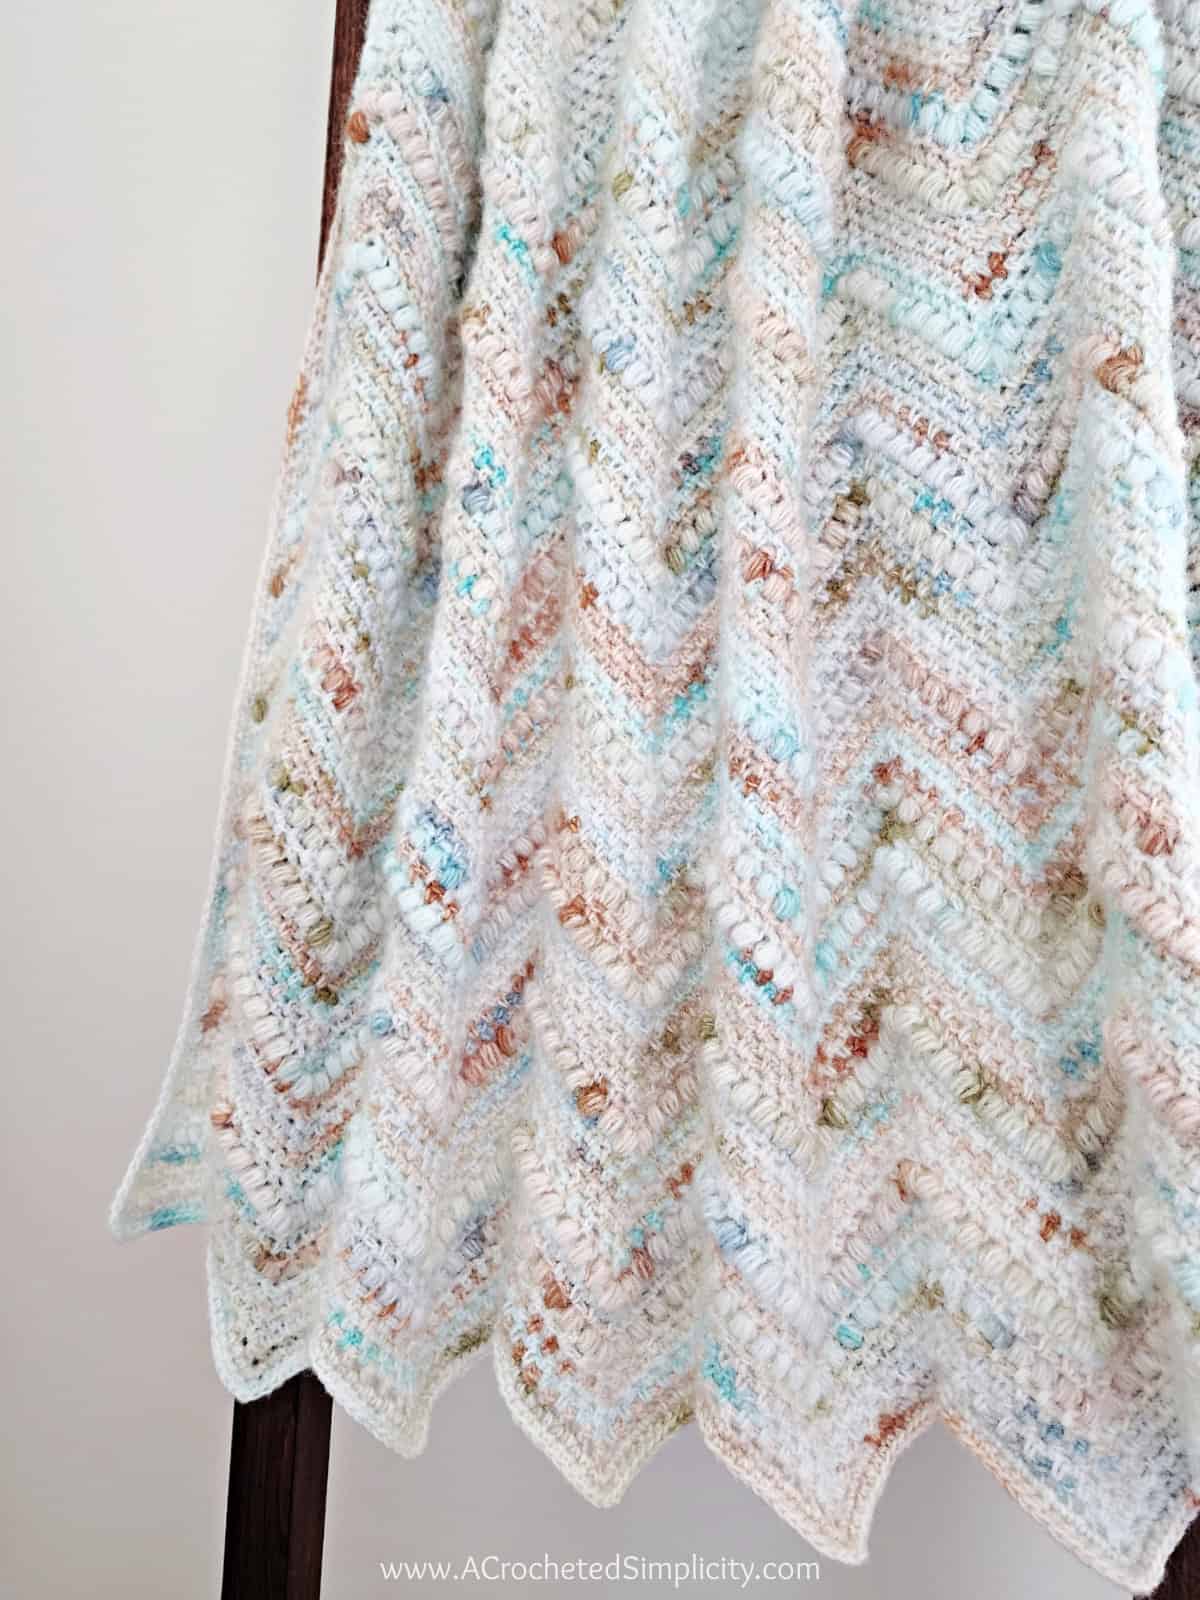
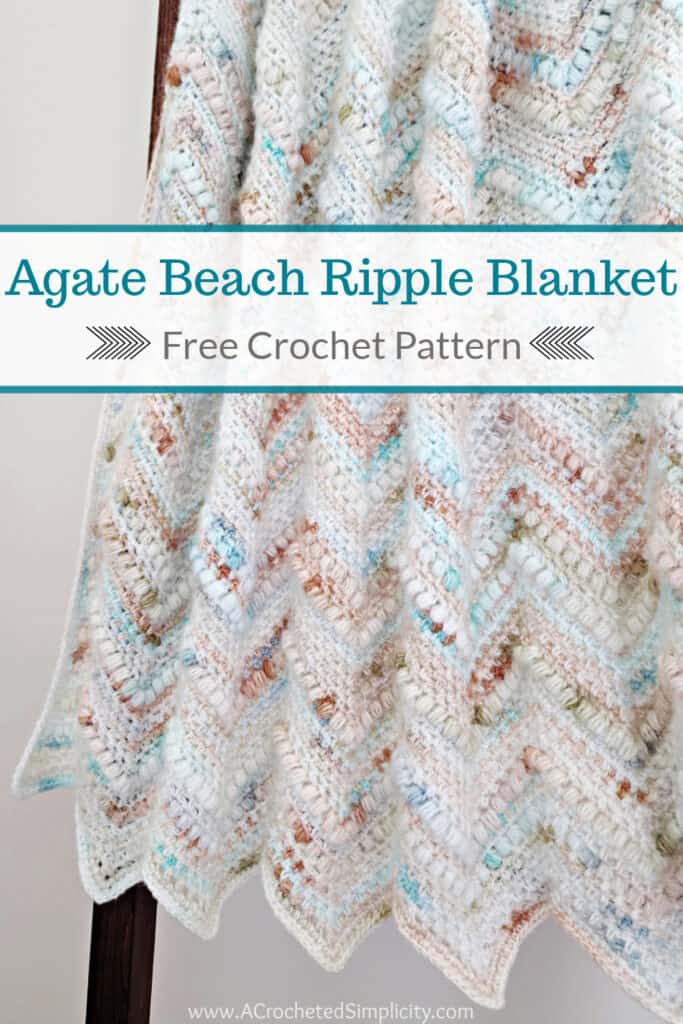
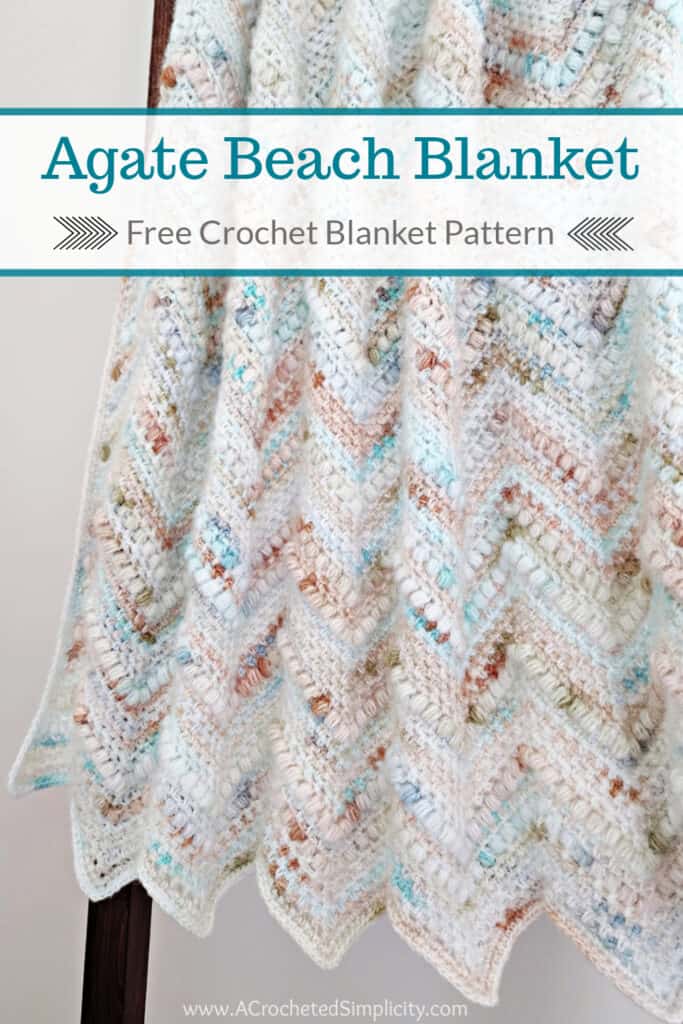
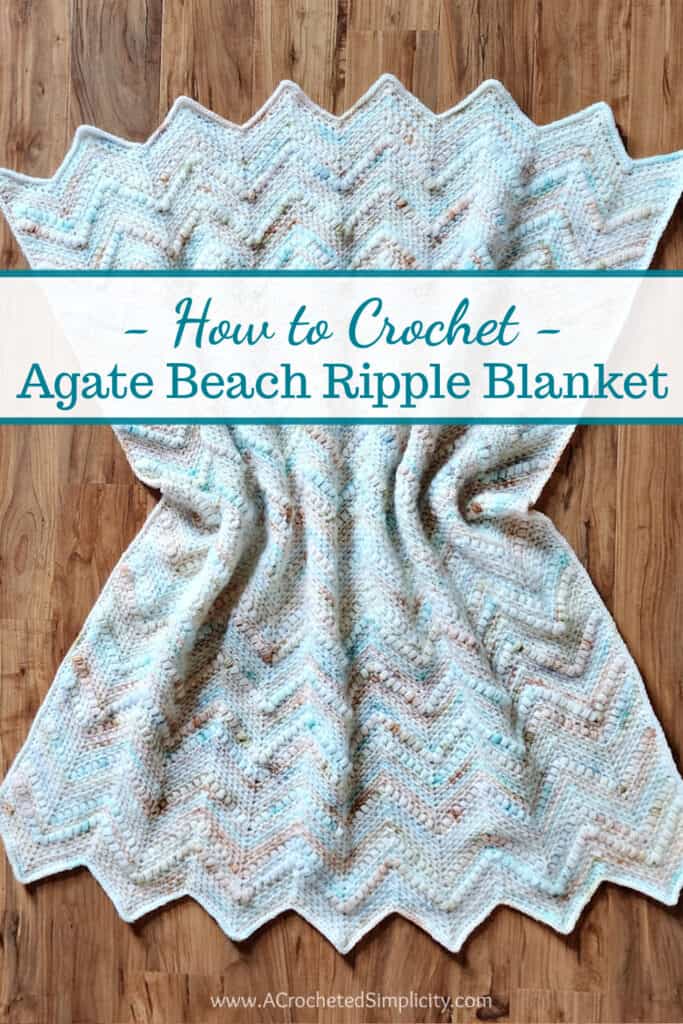
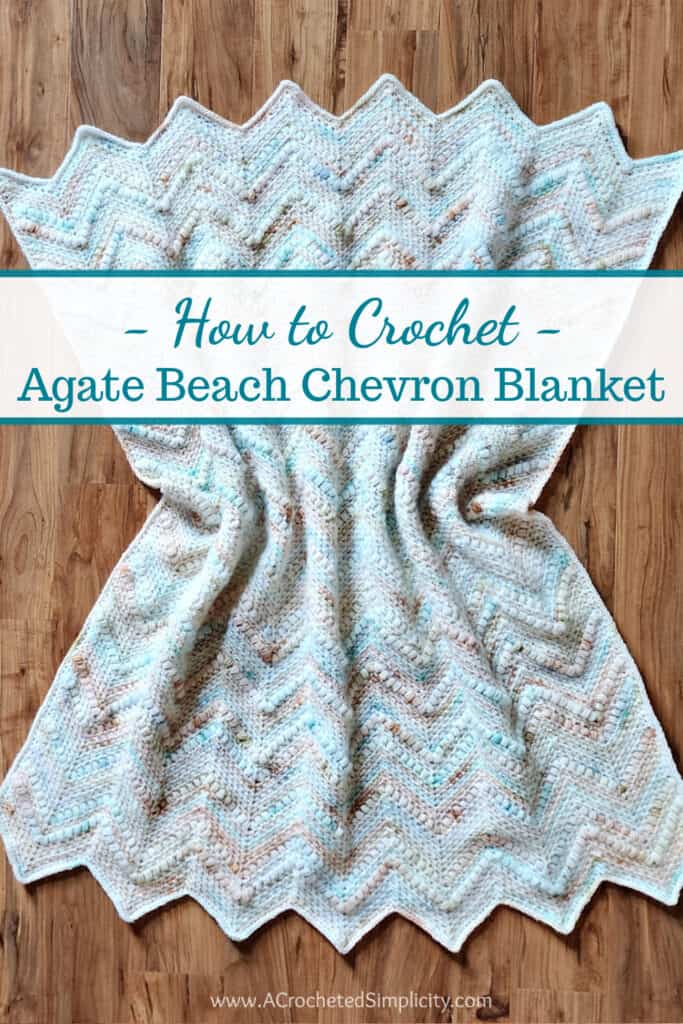
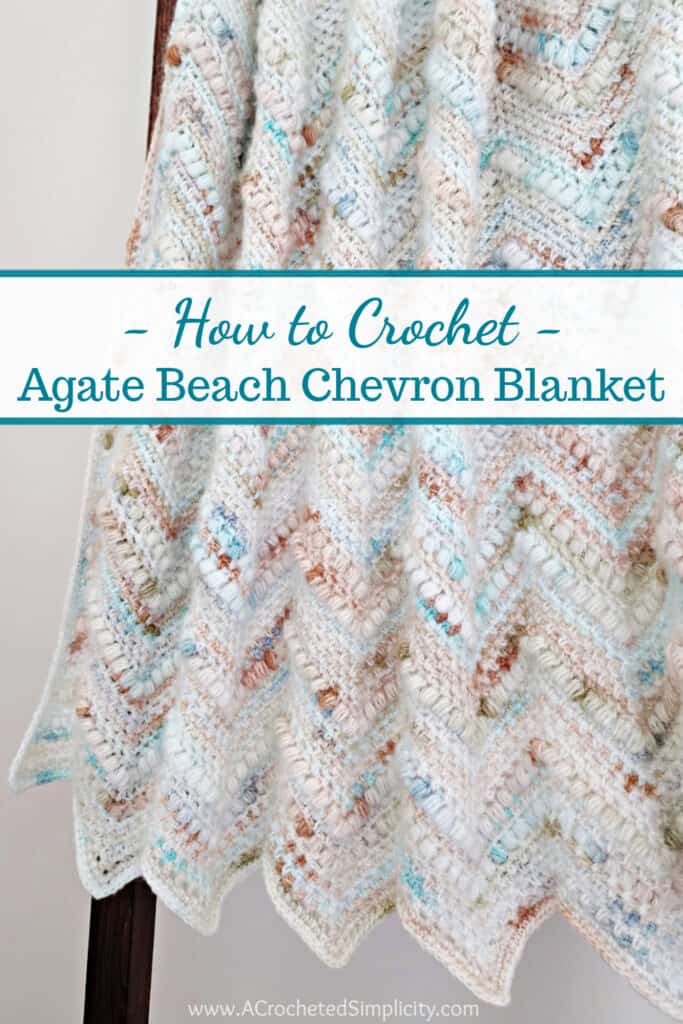
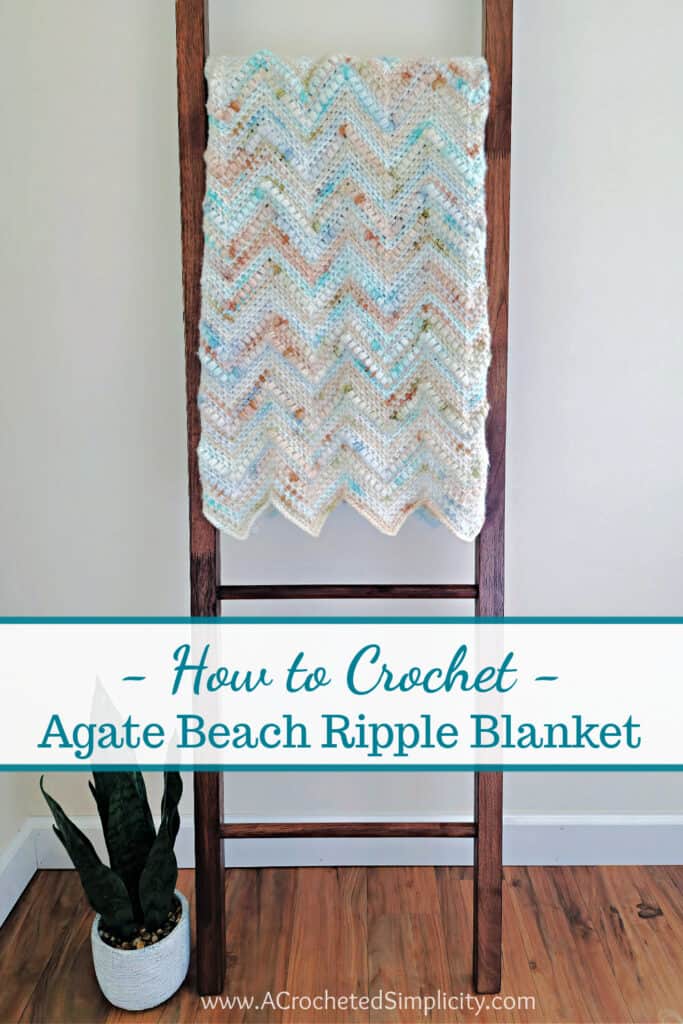
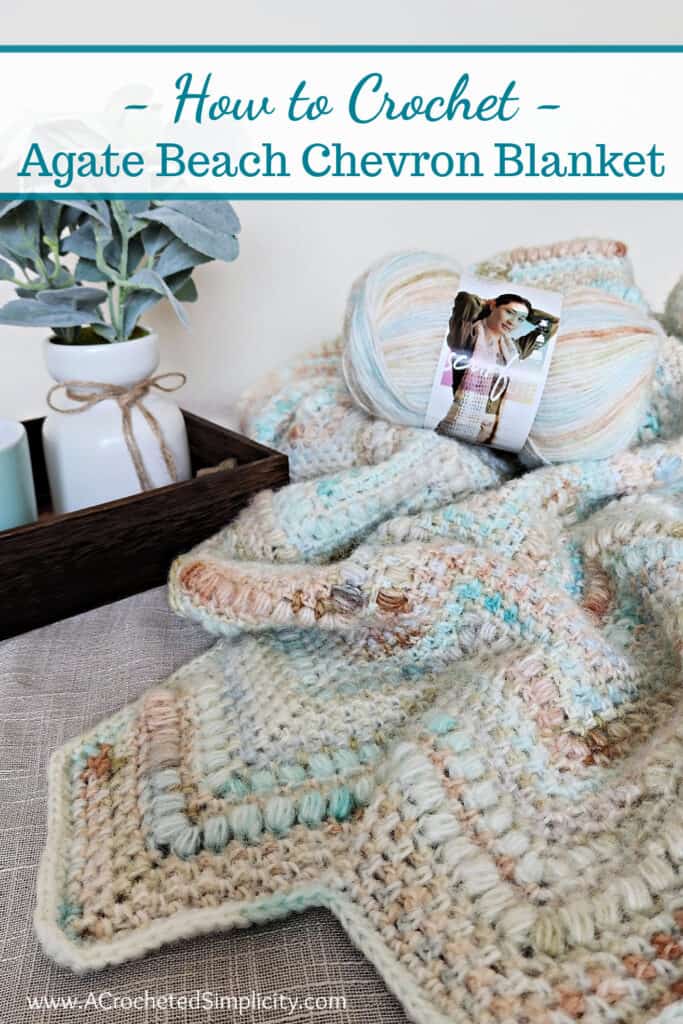
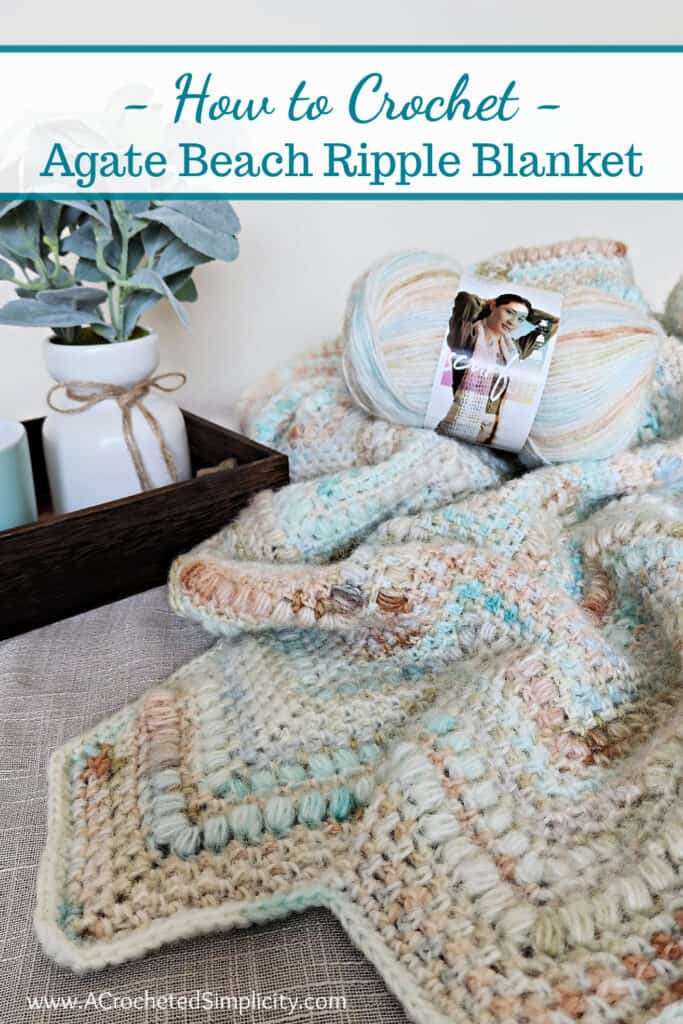
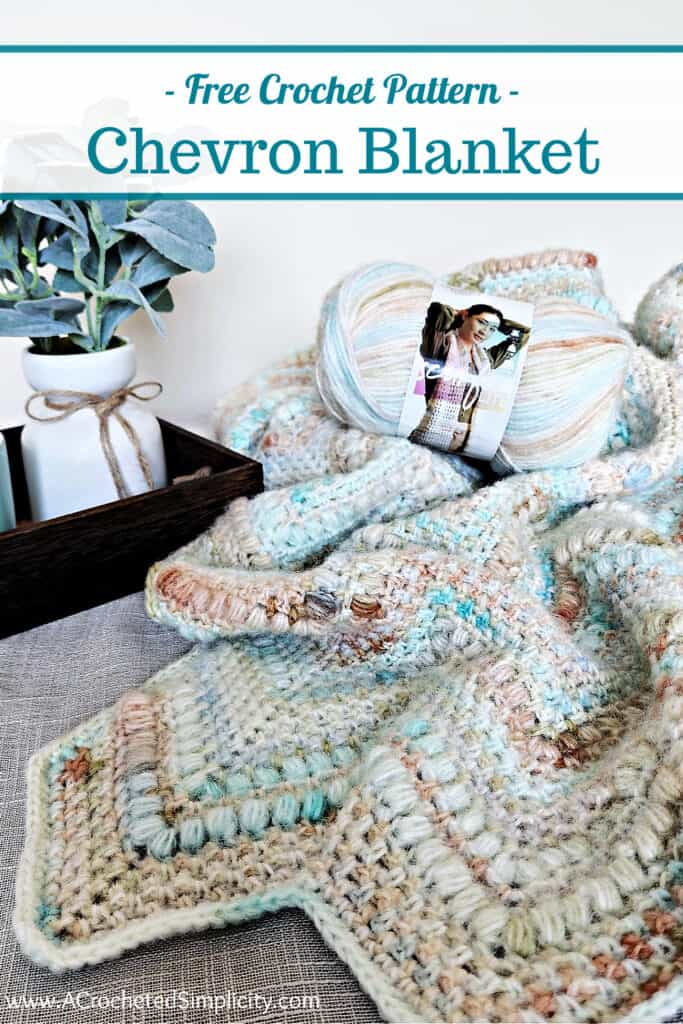
You’ll be wrapping yourself in a little bit of heaven when you cuddle up with the Agate Beach Blanket. The colors in the Scarfie Lite yarn inspired its’ design and texture. Simple crochet chevrons represent the waves of Lake Superior, while the puff stitches represent the agates that the lake tosses upon the beach.
Searching for agates on the shores of Lake Superior is one of my family’s favorite things to do while at the beach. My daughter Claire really has an eye for finding them!
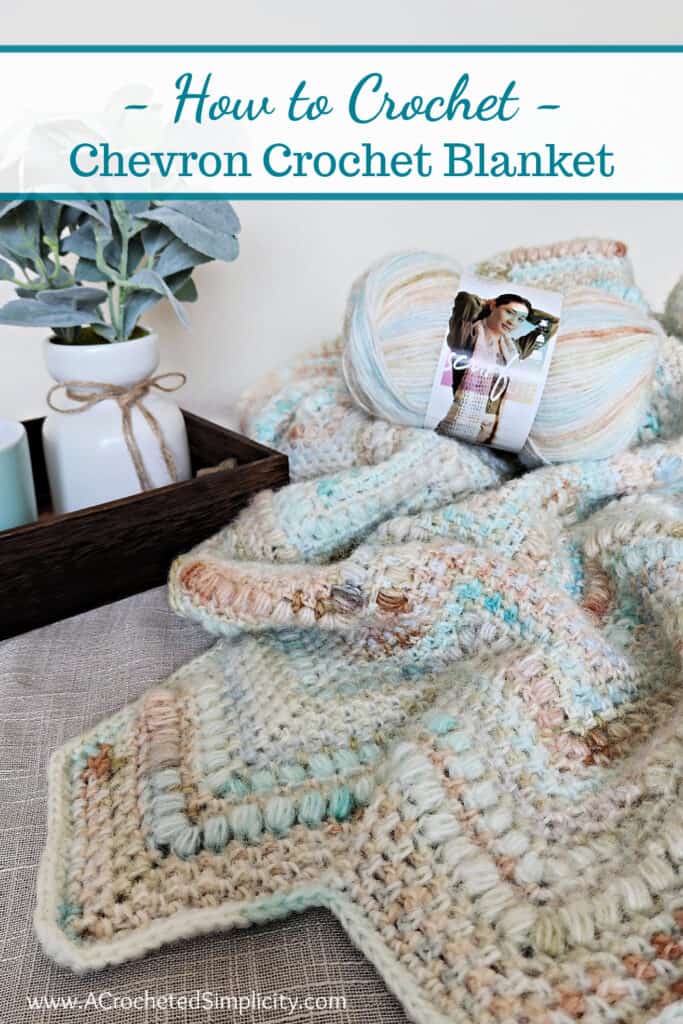
A chevron crochet stitch is created when you take a horizontal stitch pattern and work increases and decreases to form peaks and valleys, just as I did in this Agate Beach Crochet Chevron Blanket pattern.
This textured chevron crochet blanket uses a combination of the linen stitch (also known as the moss stitch) and single crochet puff stitches.
I’ve had a love of chevrons since the beginning of my crochet journey. My very first crochet tote bag pattern was a brightly colored chevron design that I still use to this day.
Yarn
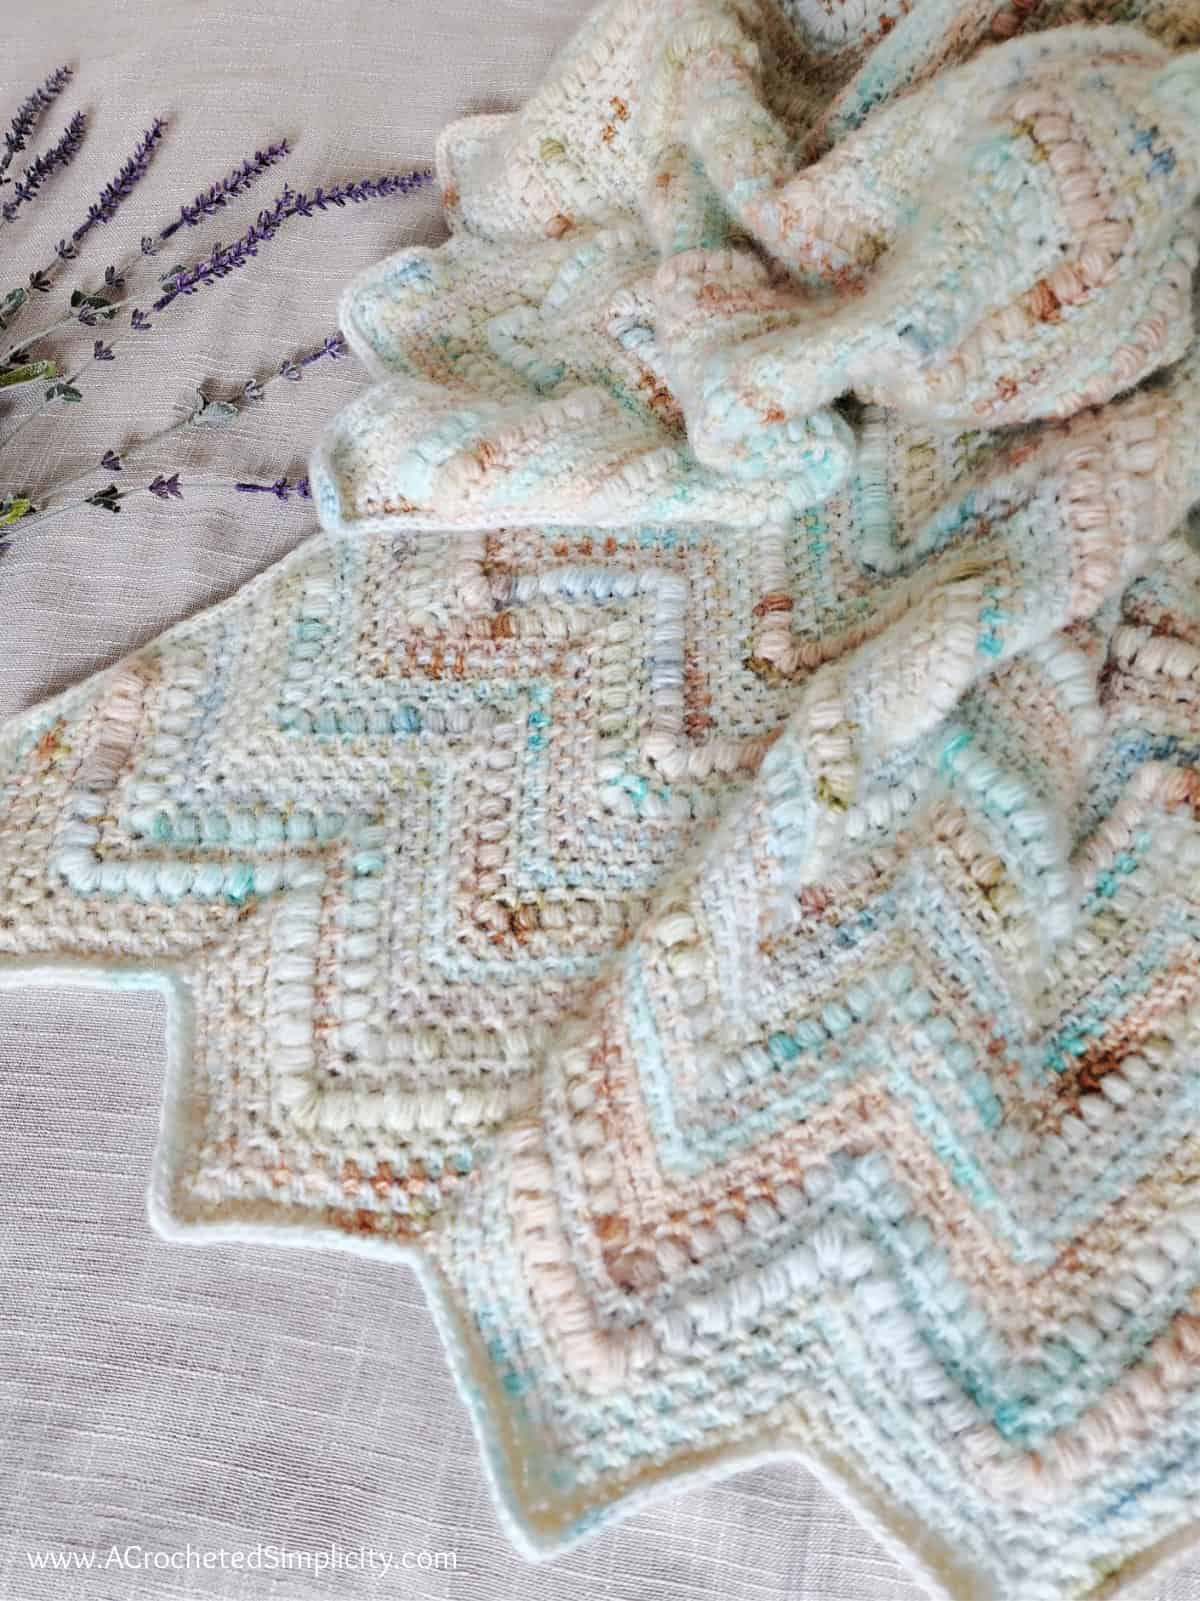
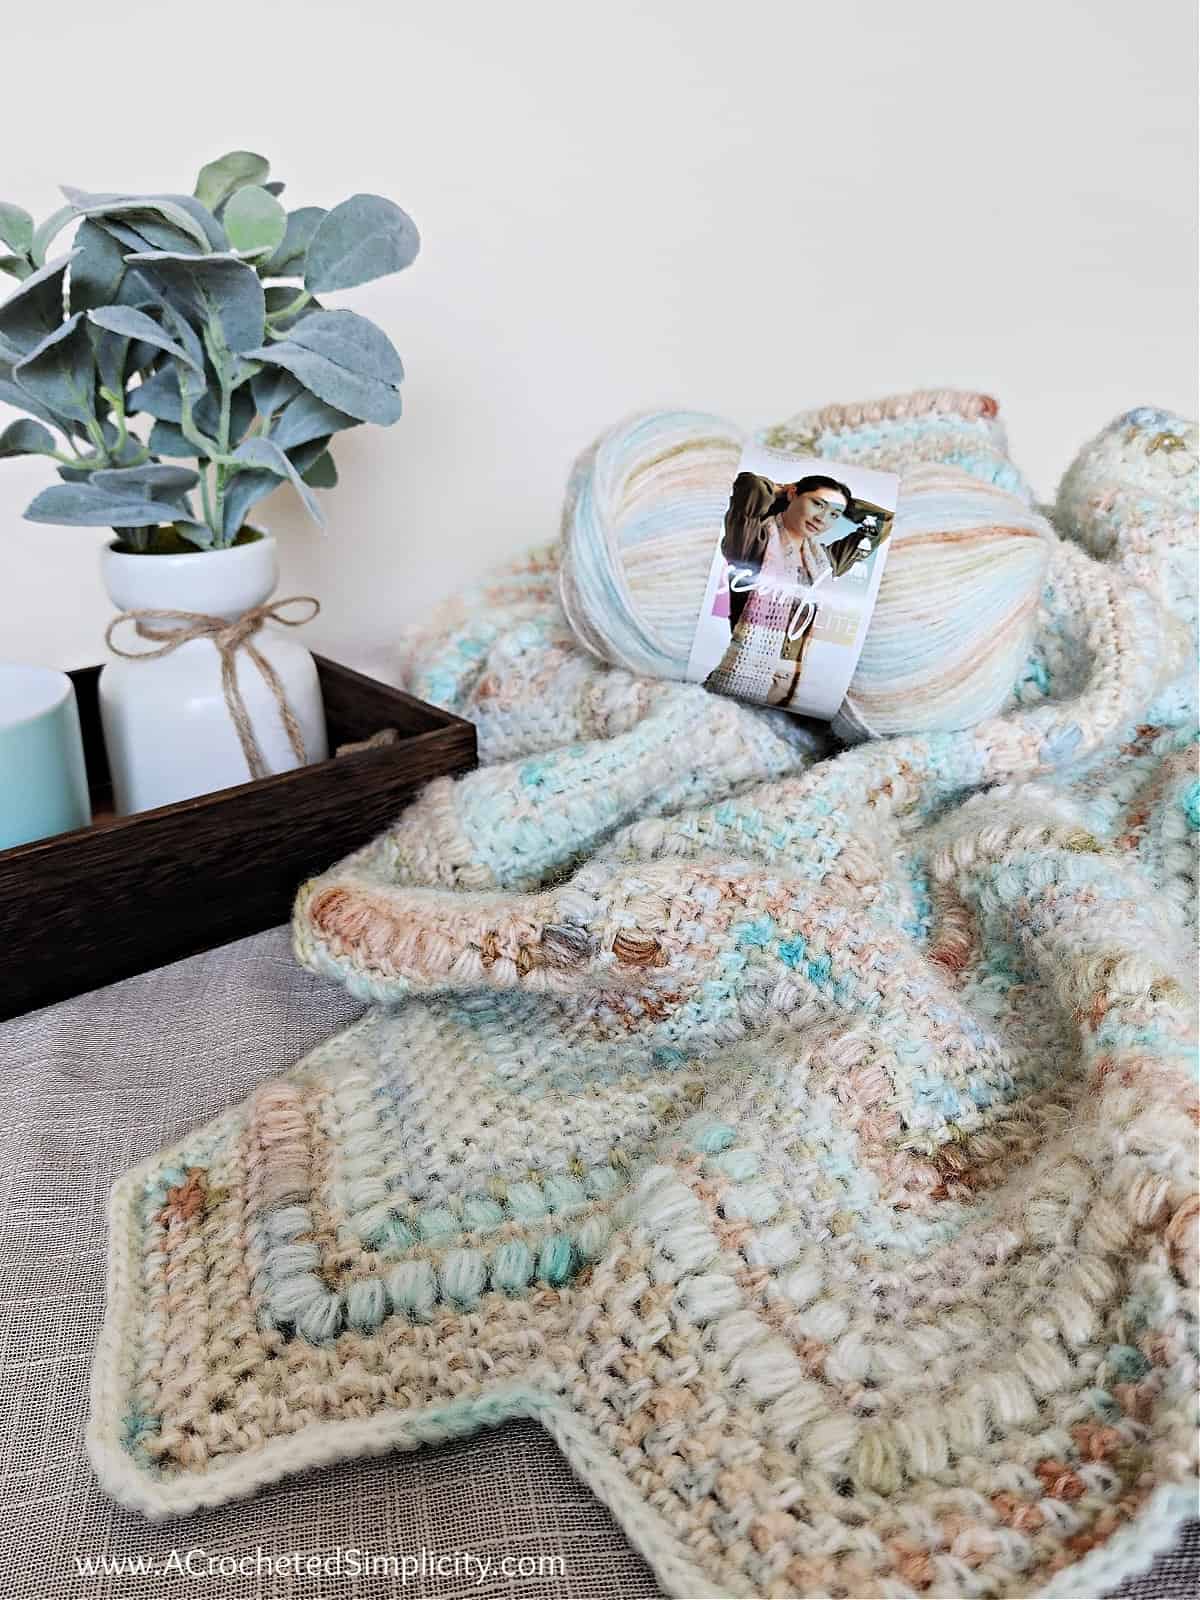
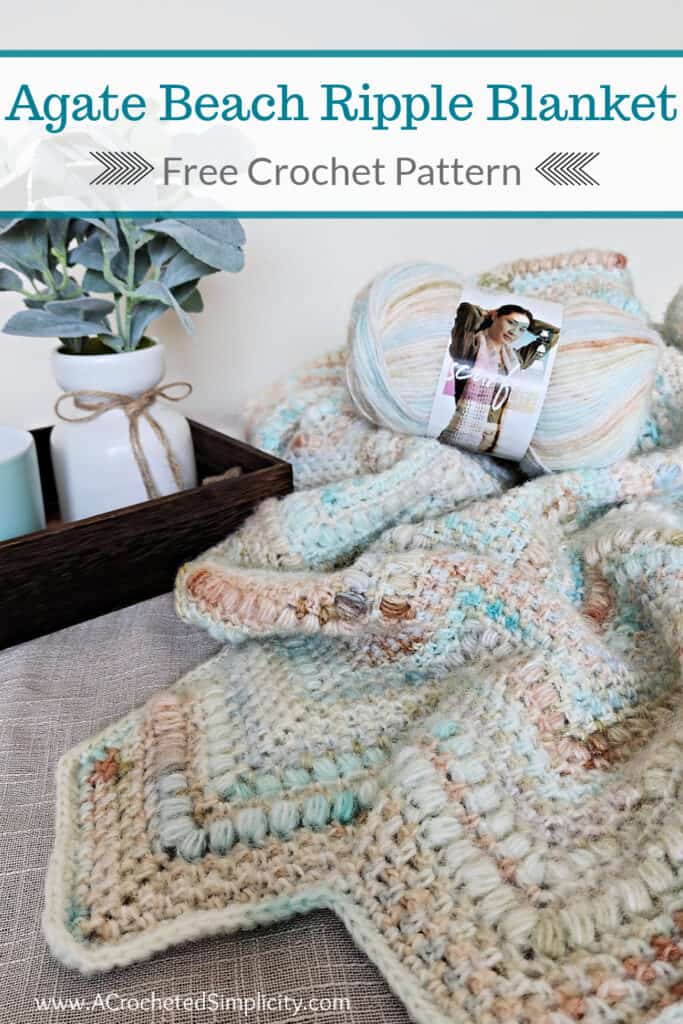
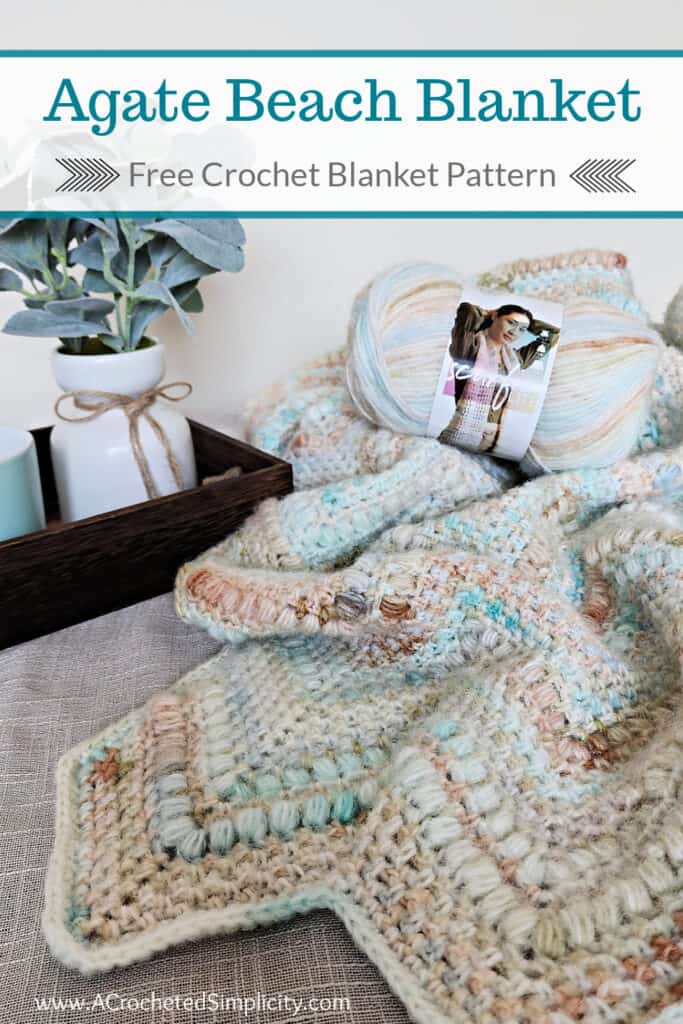
For this chevron crochet blanket, I chose Lion Brand Yarn’s Scarfie Lite yarn. It has a heavenly feel and is perfect for lightweight afghans. I love the tonal blend of solid and heathered hues.
Scarfie Lite is a Craft Yarn Council #4 weight yarn. It is a “sister” yarn and very similar to Lion Brand Scarfie. Just like Scarfie, Scarfie Lite has a soft halo around it that will help give your projects a light and airy feel.
Scarfie Lite is perfect for stitching up garments, accessories, afghans, and, of course, scarves!
Yarn Substitutes
Because I’ve included instructions on how to customize the size of your chevron afghan, you can use ANY weight yarn you’d like.
Just keep in mind that using a weight of yarn different than the one used for the crochet afghan in the photos can really change the look of your crochet blanket. I always recommend making a small swatch before beginning a large project. It could help keep you from having to frog your hard work. 😉
I suggest starting with the size crochet hook that is listed on the ball band of the yarn you’d like to use. Adjust your hook size until you get the drape you’d like for your afghan. Gauge is not crucial.
Customizing the Size of Your Chevron Blanket
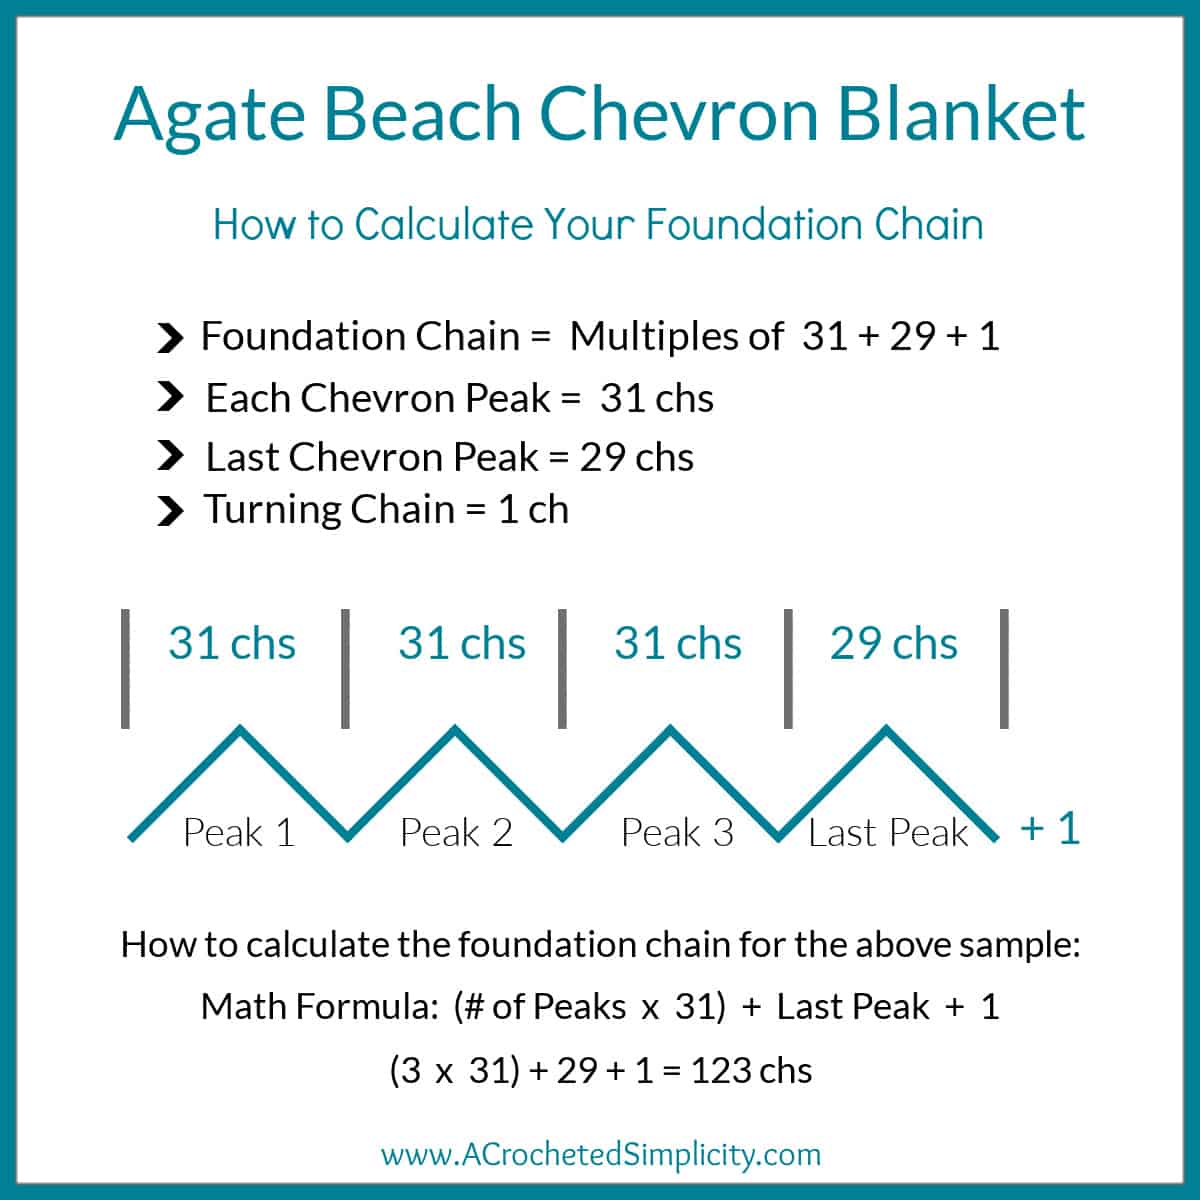
I’ve included written instructions for 8 different crochet blanket sizes ranging from baby to king, but if you’d like to calculate a custom width based on our Standard Blanket Sizes, use the formula below to calculate your foundation chain.
This formula is also helpful if you’d like to use a different weight yarn for your ripple afghan.
Best Border for Chevron Crochet Blanket
Because of the movement in the zig zag crochet pattern, I believe it is best to stick with a simple stitch for a chevron crochet blanket border.
A single crochet stitch border is my favorite border to use on a textured chevron crochet blanket as it won’t take away from the design of the afghan.
A complex or busy stitch pattern for a border will take away from the main design of the zig zag crochet blanket.
Agate Beach Blanket – Free Chevron Crochet Blanket Pattern
The free pattern is below, but if you love to work offline, I’ve got a couple other great options for you.
Purchase the ad-free, printable PDF on Ravelry, or on Etsy (aff).
Purchase the chevron crochet blanket kit! (aff) Lion Brand has a full kit of the Agate Beach Blanket, available on their website. The kit includes your choice of colors and a digital copy of the pattern.
This post contains affiliate links.
Materials
- Yarn: Worsted Weight / 4 / Yarn, (Lion Brand Scarfie Lite in Palm was used for the sample in the photos) (43% Acrylic/ 41% Polyester / 9% Nylon/ 7% Wool (349 yards / 320 m / 100 g / 3.5 oz).
- Crochet Hooks: K/10.5 /6.50mm; J/10/6.00mm; or size needed to obtain gauge (My favorite crochet hooks are the Clover Amour Crochet Hooks, I’ve never had an ache in my hand since switching).
- Locking Stitch Markers
- Scissors
- Yarn Needle
Abbreviations (US Terms)
- ch(s): chain(s)
- sl st(s): slip stitch(es)
- st(s): stitch(es)
- sc: single crochet
- puff st: single crochet puff stitch (see special stitches below)
- yo: yarn over
- sp: space
- Rep: repeat
- RS: right side
- Rnd: round
Experience Level
- Easy
Gauge
- In linen stitch (sc in the next ch-1 sp, ch 1, skip the next st): 14.5 sts = 4″; 7 rows = 2″
Sizes
- Baby through King (see chart below)
Special Stitches
- Single Crochet Puff Stitch (puff st): Yo, insert your hook into the indicated stitch/space, yo and pull up a long loop, (yo, insert your hook into the same stitch/space, yo, and pull up a long loop) 3 more times, yo, pull through all 9 loops on your hook. Note: You typically close a puff stitch with a ch 1, but for this design, it is written to ch-1 after the stitch. This ch-1 is used to close the puff stitch and create the next ch-1 space in the design. So only work one ch 1 after each puff stitch, not 2. Some puff sts will not be closed with a ch-1 (read carefully).
Notes
- Turning chains are not included in stitch count.
- Lion Brand Yarns Scarfie Lite, 43% Acrylic/ 41% Polyester / 9% Nylon/ 7% Wool (349 yards / 320 m / 100 g / 3.5 oz).
- Yardage
- Palm: #827-600AP – See Yardage in the Size Chart Below
- Use ANY weight yarn you’d like. I suggest using the size crochet hook that is listed on the ball band of the yarn you’d like to use. Adjust hook size until you get the drape you’d like for your afghan. Gauge is not crucial.
- Chains (for chain spaces) are included in stitch count. When reading the instructions, skipped stitches can be chains or stitches.
- Stitch counts are only given at the end of the row, if they differ from the previous row.
- Changes for sizes written as follows: Baby (Lapghan, Small Throw, Large Throw, Twin, Full, Queen, King).
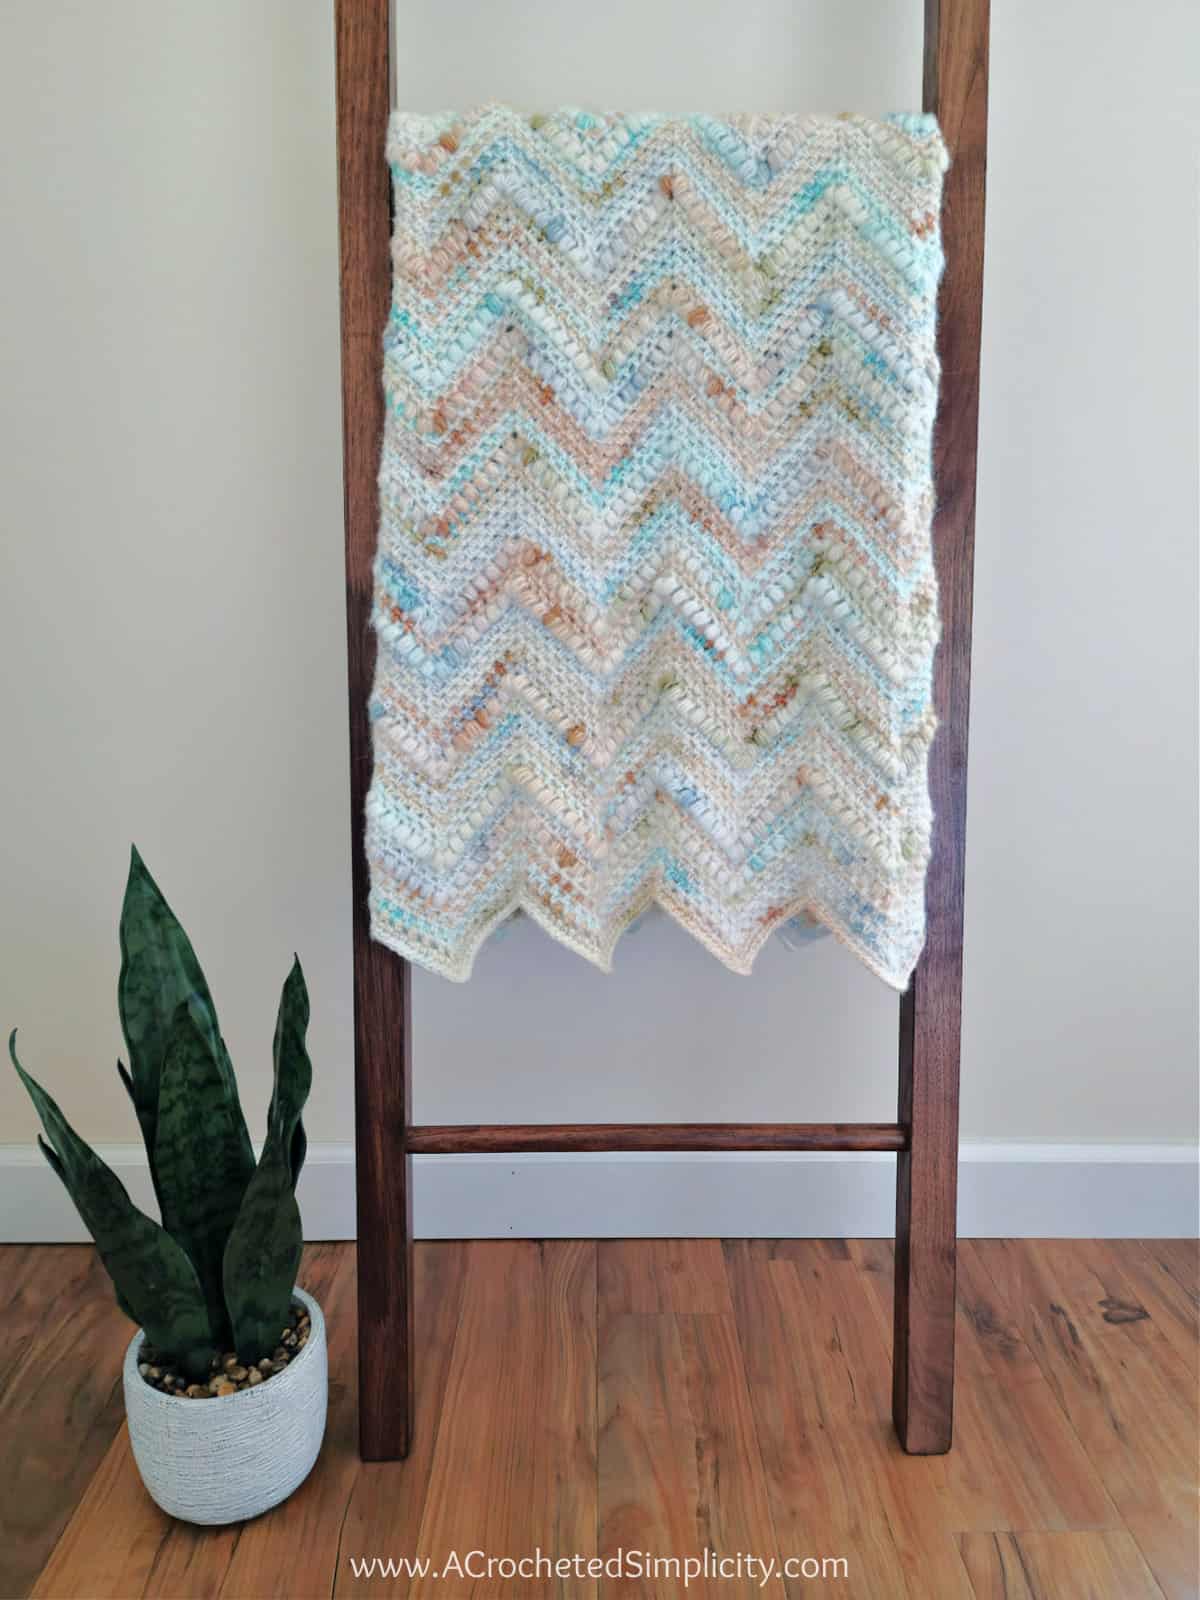
- This chevron crochet afghan is worked back and forth in zig zag rows. A simple, single crochet border is then added.
Chevron Blanket Size & Yardage Chart
| Size | Measurements | Yardage | # of Balls |
| Baby | 40.5″ W x 43.25″ L | 1,745 | 5 |
| Lapghan | 47.25″ W x 50.75″ L | 2,443 | 7 |
| Small Throw | 54″ W x 58.25″ L | 2,792 | 8 |
| Large Throw | 60.75″ W x 73.25″ L | 3,490 | 10 |
| Twin | 60.75″ W x 80.75″ L | 3,839 | 11 |
| Full | 74.25″ W x 80.75″ L | 4,537 | 13 |
| Queen | 81″ W x 88.25″ L | 5,235 | 15 |
| King | 94.5″ W x 88.25″ L | 5,933 | 17 |
Agate Beach Chevron Crochet Blanket
Note: Be mindful when working the ch-1’s to keep them the same width as the single crochet and puff stitches. When working the ch-1’s, it’s easy to begin tightening them as you go. This will cause your blanket to cinch inward.
Set-Up: With a 6.50mm crochet hook & yarn, ch 185 (216, 247, 278, 278, 340, 371, 433).
Row 1 (RS): Switch to a 6.00mm crochet hook, working in the back humps of the foundation ch, sc in the 2nd ch from your hook, ch 1, skip the next ch, (sc in the next ch, ch 1, skip the next ch) work from ( to ) 6 times, (sc, ch 2, sc) in the next ch, [ ch 1, skip the next ch, (sc in the next ch, ch 1, skip the next ch) work from ( to ) 6 times, sc in the next ch, skip each of the next 2 chs, sc in the next ch, ch 1, skip the next ch, (sc in the next ch, ch 1, skip the next ch) work from ( to ) 6 times, (sc, ch 2, sc) in the next ch ] work from [ to ] 5 (6, 7, 8, 8, 10, 11, 13) times, then ch 1, skip the next ch, (sc in the next ch, ch 1, skip the next ch) work from ( to ) 6 times, sc in the last ch. Turn. (180 sts + 6 ch-2’s) (210 sts + 7 ch-2’s) (240 sts + 8 ch-2’s) (270 sts + 9 ch-2’s) (270 sts + 9 ch-2’s) (330 sts + 11 ch-2’s) (360 sts + 12 ch-2’s) (420 sts + 14 ch-2’s)
The stitch count for each remaining row will not change. It is the same as Row 1.
Row 2: Ch 1, skip the first st, sc in the next ch-1 sp, ch 1, skip the next st, (sc in the next ch-1 sp, ch 1, skip the next st) work from ( to ) 6 times, (sc, ch 2, sc) in the next ch-2 sp, [ (ch 1, skip the next st, sc in the next ch-1 sp) work from ( to ) 7 times, skip each of the next 2 sts, (sc in the next ch-1 sp, ch 1, skip the next st) work from ( to ) 7 times, (sc, ch 2, sc) in the next ch-2 sp ] work from [ to ] 5 (6, 7, 8, 8, 10, 11, 13) times, then ch 1, skip the next st, (sc in the next ch-1 sp, ch 1, skip the next st) work from ( to ) 5 times, sc in the next ch-1 sp, sc in the next st, skip the next ch-1 sp, sc in the last st. Turn.
Row 3: Ch 1, skip the first st, sc in the next st, ch 1, skip the next st, (sc in the next ch-1 sp, ch 1, skip the next st) work from ( to ) 6 times, (sc, ch 2, sc) in the next ch-2 sp, [ (ch 1, skip the next st, sc in the next ch-1 sp) work from ( to ) 7 times, skip each of the next 2 sts, (sc in the next ch-1 sp, ch 1, skip the next st) work from ( to ) 7 times, (sc, ch 2, sc) in the next ch-2 sp ] work from [ to ] 5 (6, 7, 8, 8, 10, 11, 13) times, then ch 1, skip the next st, (sc in the next ch-1 sp, ch 1, skip the next st) work from ( to ) 5 times, sc in the next ch-1 sp, sc in the next st, skip the next ch-1 sp, sc in the last st. Turn.
Rows 4 – 5: Repeat Row 3.
Row 6: Ch 1, skip the first st, puff st in the next st, ch 1, skip the next st, (puff st in the next ch-1 sp, ch 1, skip the next st) work from ( to ) 6 times, (puff st, ch 2, puffst) in the next ch-2 sp, [ (ch 1, skip the next st, puff st in the next ch-1 sp) work from ( to ) 7 times, skip each of the next 2 sts, (puff st in the next ch-1 sp, ch 1, skip the next st) work from ( to ) 7 times, (puff st, ch 2, puff st) in the next ch-2 sp ] work from [ to ] 5 (6, 7, 8, 8, 10, 11, 13) times, then ch 1, skip the next st, (puff st in the next ch-1 sp, ch 1, skip the next st) work from ( to ) 5 times, puff st in the next ch-1 sp, puff st in the next st, skip the next ch-1 sp, puff st in the last st. Turn.
Rows 7 – 8: Repeat Row 3.
Row 9: Repeat Row 6.
Rows 10 – 16: Repeat Row 3.
Row 17: Repeat Row 6.
Rows 18 – 24: Repeat Row 3.
Baby / Rows 25 – 100: Repeat Rows 6 – 24, 4 times, then continue on to Final Rows. 43.25″ L
Lapghan / Rows 25 – 119: Repeat Rows 6 – 24, 5 times, then continue on to Final Rows. 50.75″ L
Small Throw / Rows 25 – 138: Repeat Rows 6 – 24, 6 times, then continue on to Final Rows. 58.25″ L
Large Throw / Rows 25 – 176: Repeat Rows 6 – 24, 8 times, then continue on to Final Rows. 73.25″ L
Twin / Rows 25 – 195: Repeat Rows 6 – 24, 9 times, then continue on to Final Rows. 80.75″ L
Full / Rows 25 – 195: Repeat Rows 6 – 24, 9 times, then continue on to Final Rows. 80.75″ L
Queen / Rows 25 – 214: Repeat Rows 6 – 24, 10 times, then continue on to Final Rows. 88.25″ L
King / Rows 25 – 214: Repeat Rows 6 – 24, 10 times, then continue on to Final Rows. 88.25″ L
Final Rows
Final Row 1: Repeat Row 6.
Final Rows 2 – 3: Repeat Row 3.
Final Row 4: Repeat Row 6.
Final Rows 5 – 9: Repeat Row 3.
Do not fasten off. Continue on to Edging.
Edging
Rnd 1 (RS): Do not turn at the end of the last Final Row, * rotate to work along the long edge, work 1 sc into each st across to the next corner, work 2 sc in the corner st, rotate to work along the ripple edge and work 1 sc into each st or sp, working 3 sc into each peak and skipping 2 sts at the bottom of each valley, work across to the next corner, work 2 sc into the corner st, rep from *. Do not join. Place a scrap of yarn between the first and last sts to mark the beginning of the round. Stitch count is not crucial.
Rnd 2: Working around the perimeter of the blanket, work 1 sc into each sc, work 2 sc into each corner, work 3 sc into the peak of each chevron and skip 2 sts at the bottom of each valley. Join with a sl st to the first st.
My ripple crochet blanket shown in the photos only has two rounds of edging, but you can Rep Rnd 2, as many times as you’d like, if you prefer your edging to be wider.
Fasten off. Weave in ends. Block, if desired.
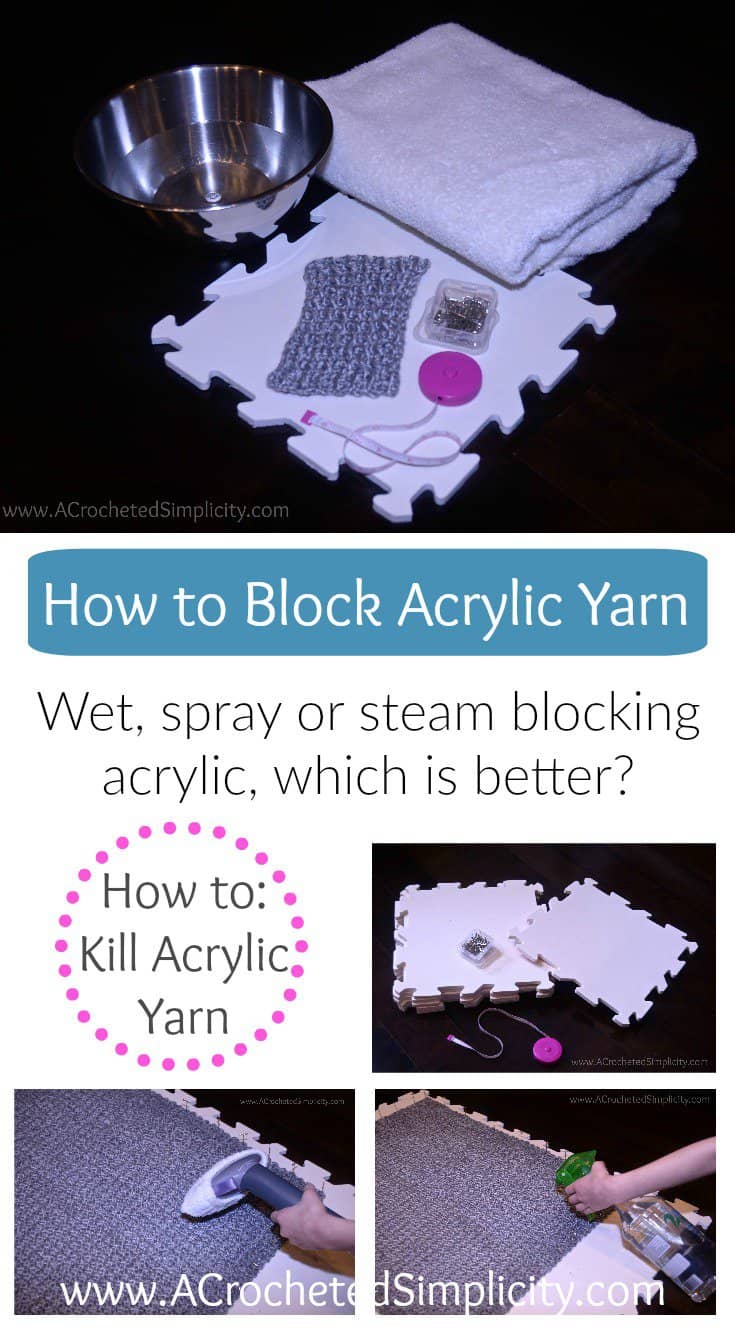
LEARN 3 DIFFERENT WAYS TO BLOCK ACRYLIC YARN IN THIS TUTORIAL!
I PREFER TO STEAM BLOCK, WHICH TECHNIQUE IS YOUR FAVORITE?
Frequently Asked Questions
If you have any questions that I haven’t answered below, always feel free to reach out to me, (e-mail me: ACrochetedSimplicity at Gmail dot Com), and I’ll do my best to help!
What size is a chevron crochet blanket?
ANY size! The 8 finished sizes of this crochet blanket are listed in the chart above, but I’ve also included instructions for you to make ANY size blanket you’d like. Refer to our Standard Blanket Size Chart to help you customize the width and length of your ripple crochet blanket.
What is the repeat for this chevron pattern?
For this chevron ripple crochet blanket, you’ll need a foundation chain that is multiples of 31 + 29 + 1. See the section above titled “Customizing the Size of Your Chevron Blanket”, for more details.
How many stitches do you need for a chevron blanket?
Each chevron blanket will require a different number of stitches depending on how tall each peak is, or how deep each valley is. A shorter peak will require fewer stitches and a taller peak will require more stitches.
I consider the chevron peaks in the Agate Beach Blanket to be on the taller side because it uses a stitch multiple of 31 sts.
What is the best yarn for a chevron crochet blanket?
You can use any weight yarn. Just keep in mind that using a weight of yarn different than the one used for the crochet afghan in the photos can really change the look of your crochet blanket. I always recommend making a small swatch before beginning a large project. It could help keep you from having to frog your hard work. 😉
What’s the difference between a chevron and a ripple?
Last but not least, this may be the most frequently asked question about crochet ripples and chevrons!
When I think of the difference between a chevron and a ripple, I think of different waves in the water.
Crochet Ripple: When you toss a pebble into the water, it “ripples”. The waves (peaks and valleys) are more subtle and smooth.
Crochet Chevron: When it’s really windy out, Lake Superior has large waves. The waves (peaks and valleys) are steeper and more sharp.
Most people, in the crochet community, use ripple and chevron interchangeably. So don’t worry too much about the name, but rather the stitch pattern.
I MADE IT! NOW WHAT?
Pin this post!: Save this crochet ear warmer free pattern to your Pinterest boards so that you can come back and make it again.
Leave a comment below: We love to hear your feedback.
Share Your Finished Projects on Facebook or Instagram: I love to see your finished projects! Share with us on social media and tag me @acrochetedsimplicity or use the hashtag #ACrochetedSimplicity so I can find your posts.
Join us in the Facebook Community Group!
Come share your finished projects with us in the A Crocheted Simplicity Crochet Community Group on Facebook. Join us for fun community events such as crochet alongs, join in on crochet conversations, ask questions, get advice, and share your love for crochet!

More Crochet Blanket Patterns I Think You’ll Love
- Herringbone Single Crochet Ripple Blanket
- Cabled Blooms Blanket
- Marseille Crochet Cable Blanket
- Ocean Hues Gradient Blanket
- Sea Glass Hexagon Afghan
More Crochet Blanket Patterns Free
Are you looking for more free crochet blanket patterns? We have several more free crochet patterns for a crochet throw blanket pattern, hexagon crochet blanket, crochet baby blanket patterns, and more.
If you’re looking for how to crochet a granny square, you’ll also find several crochet squares for blanket.

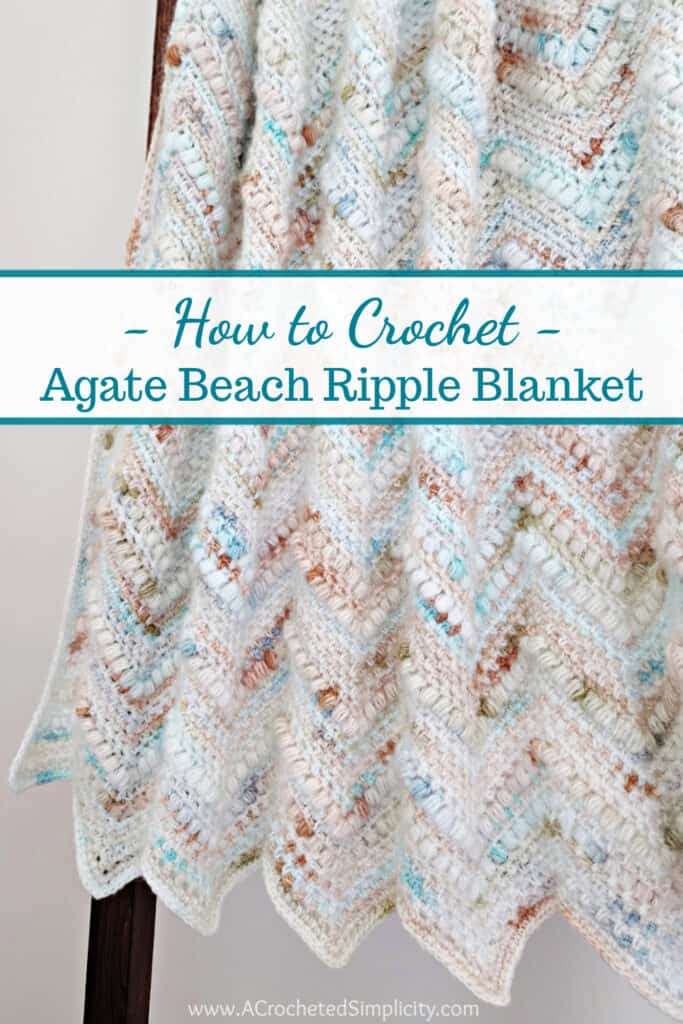
I really love the stitch design and the colors of this blanket!
this is a wonderful pattern, i’ve made many chevron blankets, but this ight be one of my favorites! thank you for it.