Crochet Color Change Tutorial
Learning to change colors seamlessly is one of those “must learn” techniques. There are several different ways you can change colors, but for this color change tutorial we’re going to focus on the most common one used when working fair isle or tapestry crochet.
~Click HERE to sign-up to receive our newsletter!~
~Click HERE to Pin-it to Save it for later!~
Color Change Tutorial
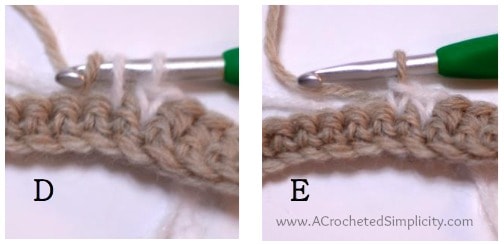
All color changes are worked in the last pull thru of the last stitch of the previous color. Make sure to keep your color changes all on the wrong side of your work.

Photo A: Shows the last stitch in the current color being worked before a color change. Insert your hook, pull up a loop.
Photo B: Yo with the new color, pull thru all loops to complete the stitch.
Photo C: Shows working a stitch in the new color. See the pink arrow. The arrow is pointing to the old color. Lay the old color on top of your work and work the new color around it. By working over the previous colors, you will not have floats on the backside of your work and it will be neater.

Photos D & E: Show a repeat of photos A – C when switching colors back to the first color.

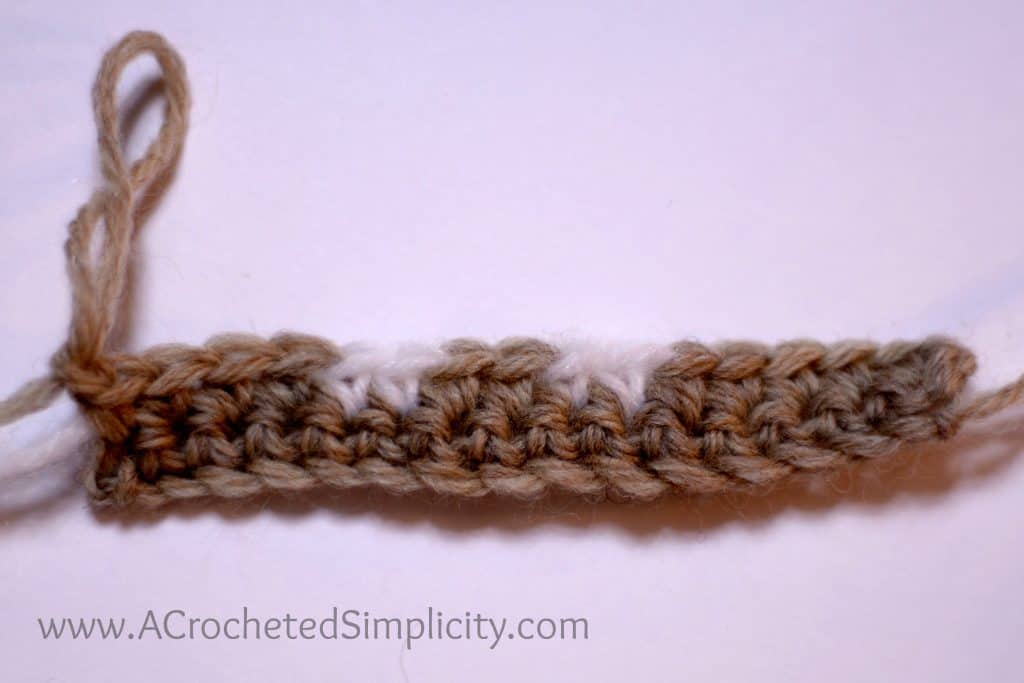
The photo above shows the front side of the swatch.
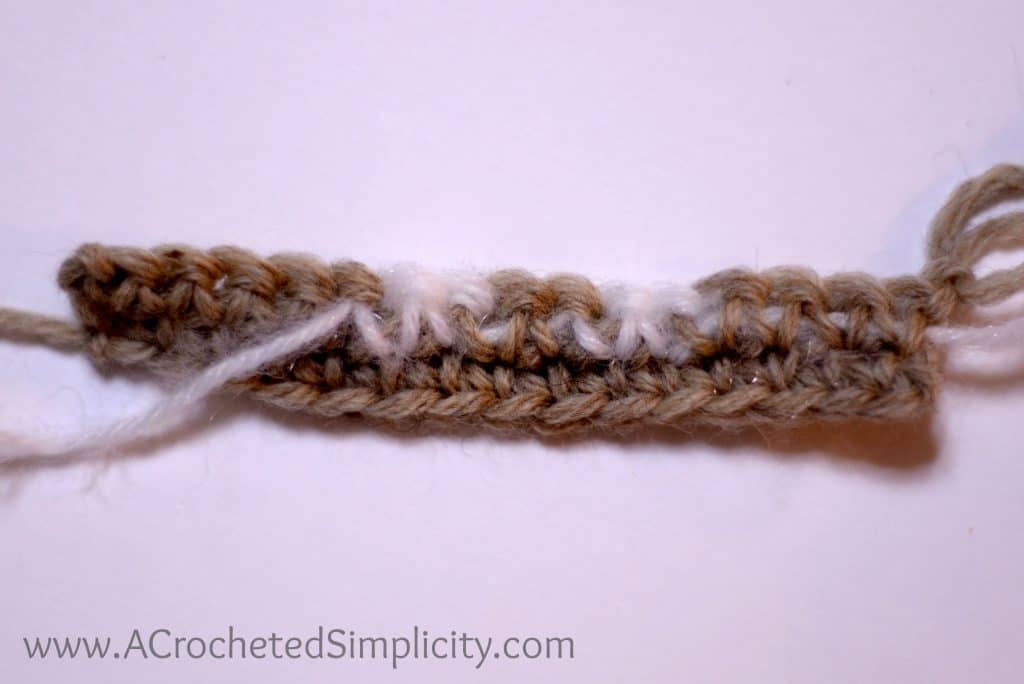
The photo below shows the back side of the same swatch.

Try the Color Change Tutorial on my Snowflake Keyhole Scarf!
Click HERE to be taken to the free crochet pattern.
Are you intimidated by knit-look crochet? Would you love to learn my tips & tricks? Take an Annies Video Class with me and let me ease your fears and help you increase your skills! Click on the photo below to watch a free preview. You can also see the other 4 video classes I have available!
Please share your finished ACS projects with us in the A Crocheted Simplicity Crochet Community Group on Facebook! Use hashtag #ACrochetedSimplicity when sharing on social media so I can find your posts!


