Aurelia Crochet Cowl Pattern
Are you looking for a quick, cozy, and stylish crochet cowl pattern that you can finish in just a weekend? The Aurelia Cowl is it!
This crochet cowl is perfect for transitioning through seasons, making it a must-have for any wardrobe. Whether for a chilly day or a statement piece, its versatility suits a range of outfits and occasions.
You’ll find the free crochet cowl pattern below, or an ad-free print friendly PDF (including any photo tutorials) on Ravelry, or Etsy (aff).
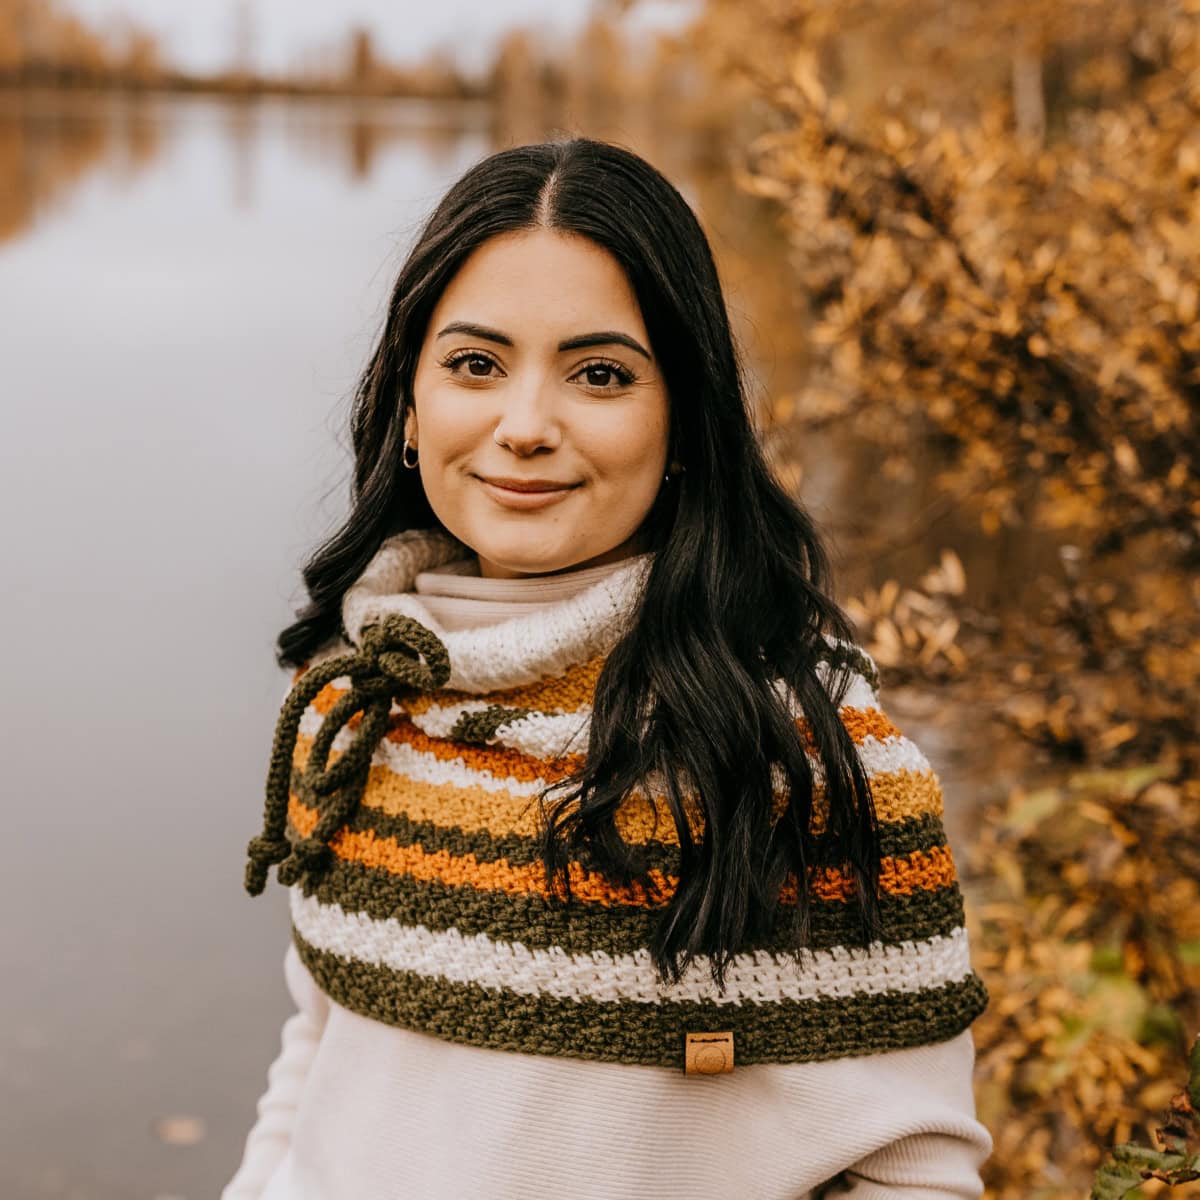
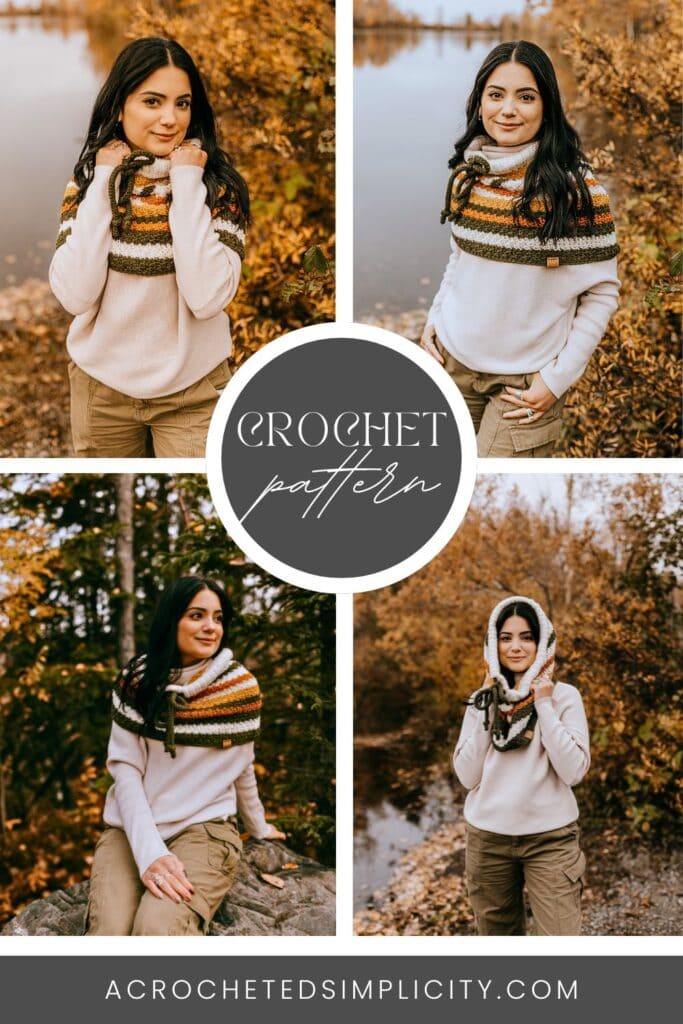
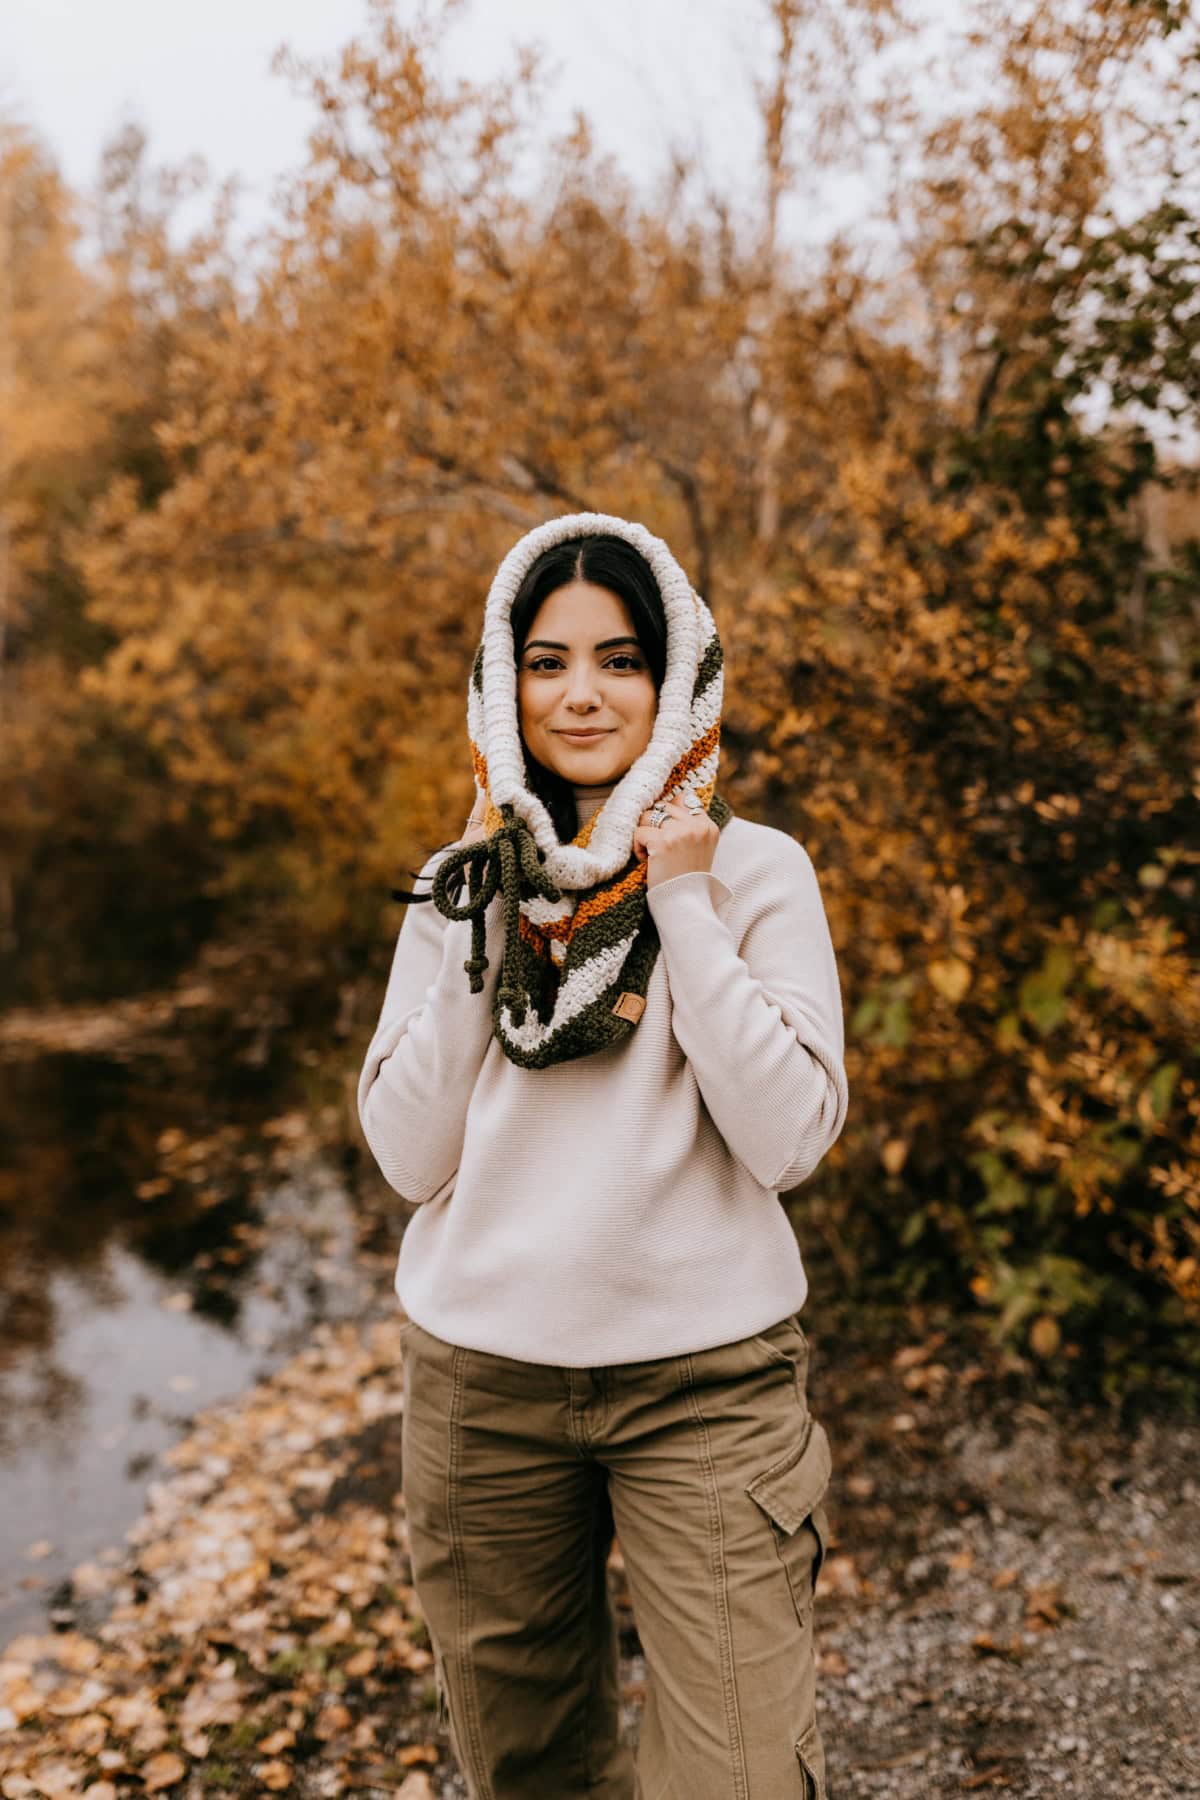
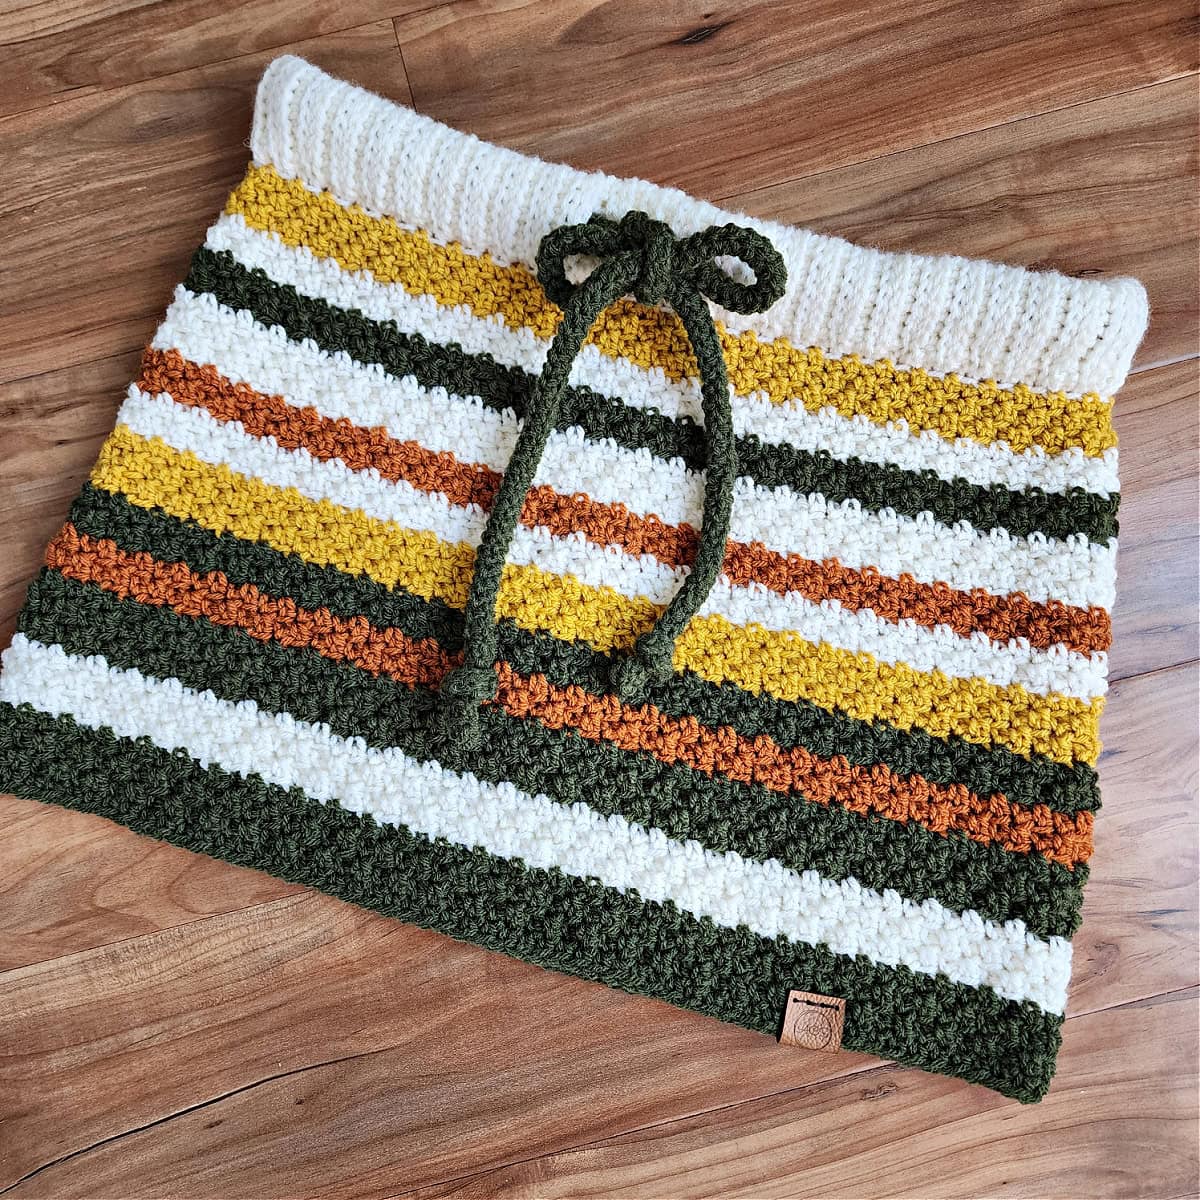
Made with Lion Brand Wool Ease DK, the Aurelia Crochet Cowl is a versatile multi-functional accessory that offers both style and practicality. It can be worn several different ways—draped loosely for a casual look, worn down over your shoulders as a capelet, pull the drawstring to snug it up for extra warmth, or even pulled up as a hood.
This trendy, warm accessory is ideal for crocheters of all levels, from confident beginners who are ready to move past crochet dishcloths and blankets to advanced crocheters looking to add their own twist to a classic design.
What is a Crochet Cowl?
A crochet cowl pattern is a circular scarf that wraps around your neck, providing warmth and style without the hassle of traditional scarves. Unlike scarves, cowls are closed loops, which means they stay securely around your neck. They’re incredibly versatile—wear them as a single layer for a casual look or double them up for added warmth.
Why Make a Crochet Cowl?
Cowls are among the most popular crochet projects, and for good reason:
- Quick & Easy: Many crochet cowl patterns can be completed in just a few hours.
- Beginner-Friendly: A simple pattern can be mastered by those new to crochet.
- Highly Customizable: You can play with colors, stitches, and textures to make a cowl that’s uniquely yours.
- Perfect for Gifts: A handmade crochet cowl makes a thoughtful, cozy gift for friends and family.
Choosing the Best Yarn for Your Crochet Cowl
One of the best parts about crocheting a cowl is the opportunity to explore different yarns. Here’s what you’ll want to consider:
- Fiber Content: Wool is warm and cozy, making it great for winter cowls, while cotton is breathable and perfect for spring and fall.
- Weight: Bulky or super bulky yarns work up quickly and add thickness, creating a plush cowl, while lighter yarns create a more delicate look.
- Color: Solid colors make for a timeless cowl, while variegated yarns add a splash of color and personality.
Choose yarn that feels soft on your skin since the cowl will be worn close to your neck. The texture of the yarn can make your cowl a standout accessory, whether you go for something sleek or chunky.
Yarn
For a crochet cowl pattern, choose a cozy, soft yarn that’s warm but durable. I chose Lion Brand Yarns Wool Ease DK for my cowl.
Wool Ease DK is the newest yarn to join Lion Brand’s Wool Ease family of yarns. Wool Ease worsted is my favorite worsted weight yarn, so I knew I would love Wool Ease DK as well, and I was right!
Wool Ease DK is an acrylic wool blend yarn and it’s currently available in 18 beautiful colors. You’re sure to find the perfect colors for your easy crochet cowl.
Pro Tip: Use washable yarn if you plan to wear your cowl daily; acrylic or wool blends are ideal for easy care.
Aurelia Cowl – Free Crochet Pattern
The crochet pattern for a cowl is below, but if you love to work offline, I’ve got a couple other great options for you.
Purchase the ad-free, printable PDF, including any photo tutorials, on Ravelry, or on Etsy (aff).
Purchase the crochet cowl kit! (aff): Lion Brand has a full crochet kit of the Aurelia Crochet Cowl Pattern, available on their website. The crochet cowl kit includes your choice of colors and a digital copy of the crochet cowl pattern.
This post contains affiliate links.
Materials
- Yarn: DK / 3 yarn; Lion Brand Wool Ease DK was used for the sample shown in the photos.
- MC (Cream) – 220 yards
- CA (Goldenrod): 75 yards
- CB (Olive): 115 yards
- CC (Pumpkin): 50 yards
- Crochet Hooks: I/9/5.50mm; G/6/4.00mm, or size needed to obtain gauge (My favorite crochet hooks are the Clover Amour Crochet Hooks, I’ve never had an ache in my hand since switching).
- Scissors
- Yarn Needle
- Locking Stitch Markers
- Measuring Tape
Experience Level
- Easy
Gauge
- See individual sections for gauge.
Size
- One Size: 32″ circumference x 13.5″ H
Abbreviations (U.S. Terms)
- ch(s): chain(s)
- st(s): stitch(es)
- sl st: slip stitch
- sc: single crochet
- ext sc: extended single crochet
- Mslst2tog: modified sip stitch 2 together – photo & video tutorial
- yo: yarn over
- BLO: back loop only
- FLO: front loop only
- Rep: repeat
- Rnd: round
- RS: right side
- WS: wrong side
- SM: stitch marker
- MC: Main Color
- CA / CB / CC: Contrasting Colors
Special Stitches
- Extended Single Crochet (ext sc): Insert hook into stitch indicated, yo, pull up a loop, yo, pull thru 1 loop on hook, yo, pull thru remaining two loops on hook.
- Modified Slip Stitch 2 Together (Mslst2tog): (Yo, insert hook into next stitch, yo, pull up a loop) twice, yo, pull through all loops on your hook. – Video Tutorial included.
Pattern Notes
- Turning chains are not included in stitch count.
- Yarn Notes: Lion Brand Yarns Wool Ease DK was used for the sample. Other comparable yarns may be used as long as gauge is met.
- Lion Brand Yarns Wool Ease DK / #3 yarn, 80% Acrylic / 20% Wool (232 yards / 212 m / 85 g / 3 oz)
- Colors & Yardage
- Cream (MC): 220 yards
- Goldenrod (CA): 75 yards
- Olive (CB): 115 yards
- Pumpkin (CC): 50 yards
- Construction Notes: The cowl ribbing is worked flat and then the edges crocheted together. The body of cowl is then worked from the ribbing edge down. A crochet rope is then made and inserted into the top ribbing channel.
Gauge Swatch
- Gauge: In stitch pattern: 15 sts = 3.75″; 10 rows = 3″
- Tip: The stitch pattern for the cowl ribbing uses a slip stitch technique. As with all slip stitch crochet it is very easy to tighten up your gauge as you work. When I’m working these stitches I am constantly reminding myself to keep an even tension. If I do not, my work ends up way too small. Making a mental note helps.
- Checking your gauge before you begin is very important and can save you the heartache and frustration of having to frog your entire project (or keep you from throwing it across the room) because it’s too big or too small.
- Make a Gauge Swatch: To check your gauge, work Rows 1 – 10 of the Cowl Ribbing. Your finished swatch should measure 3.75″ W x 3″ H. Adjust your hook size as necessary.
Crochet Cowl Pattern
Cowl Ribbing with Drawstring
Gauge for ribbing as written: 15 sts = 3.75″; 10 rows = 3″
Row 1: With MC yarn & a 5.50mm crochet hook, ch 16, working the the back humps of the foundation ch, sc in the 2nd ch from your hook and in each ch across. Turn. (15 sts)
Row 2: Ch 1, sl st in the 1st st, Mslst2tog across. Turn. (15 sts)
Row 3: Ch 1, BLO, sc in each st across. Turn. (15 sts)
Row 4: Ch 1, skip the 1st st, sl st in 2nd st, Mslst2tog across, then add 1 sl st to last st (skipping the 1st st and adding a sl st to the last st will keep your work from slanting). Turn. (15 sts)
Row 5: Ch 1, BLO, sc in each st across. Turn. (15 sts)
Rows 6 – 52: Rep Rows 2 – 5, ending with a Row 4. Approximate length at this point should be 15.5″.
Row 53: Ch 1, BLO, sc in each of the first 9 sts, ch 3, skip each of the next 3 sts, BLO, sc in each remaining st. Turn. (15 sts)
Row 54: Ch 1, sl st in the 1st st, Mslst2tog in each st and ch across. Turn. (15 sts)
Row 55: Ch 1, BLO, sc in each st across. Turn. (15 sts)
Row 56: Ch 1, skip the 1st st, sl st in 2nd st, Mslst2tog across, then add 1 sl st to last st (skipping the 1st st and adding a sl st to the last st will keep your work from slanting). Turn. (15 sts)
Row 57: Ch 1, BLO, sc in each st across. Turn. (15 sts)
Row 58: Ch 1, sl st in the 1st st, Mslst2tog across. Turn. (15 sts)
Row 59: Ch 1, BLO, sc in each of the first 9 sts, ch 3, skip each of the next 3 sts, BLO, sc in each remaining st. Turn. (15 sts)
Row 60: Ch 1, skip the 1st st, sl st in 2nd st, Mslst2tog in each st and ch across, then add 1 sl st to last st (skipping the 1st st and adding a sl st to the last st will keep your work from slanting). Turn. (15 sts)
Row 61: Ch 1, BLO, sc in each st across. Turn. (15 sts)
Rows 62 – 109: Rep Rows 2 – 5, ending with a Row 5. Approximate length at this point should be 32″.
Row 110 (Seam): With Wrong Side facing out, line up 1st and last rows, ch 1, working thru all loops of both layers, sl st each st of the last row to the first row. (15 sts)
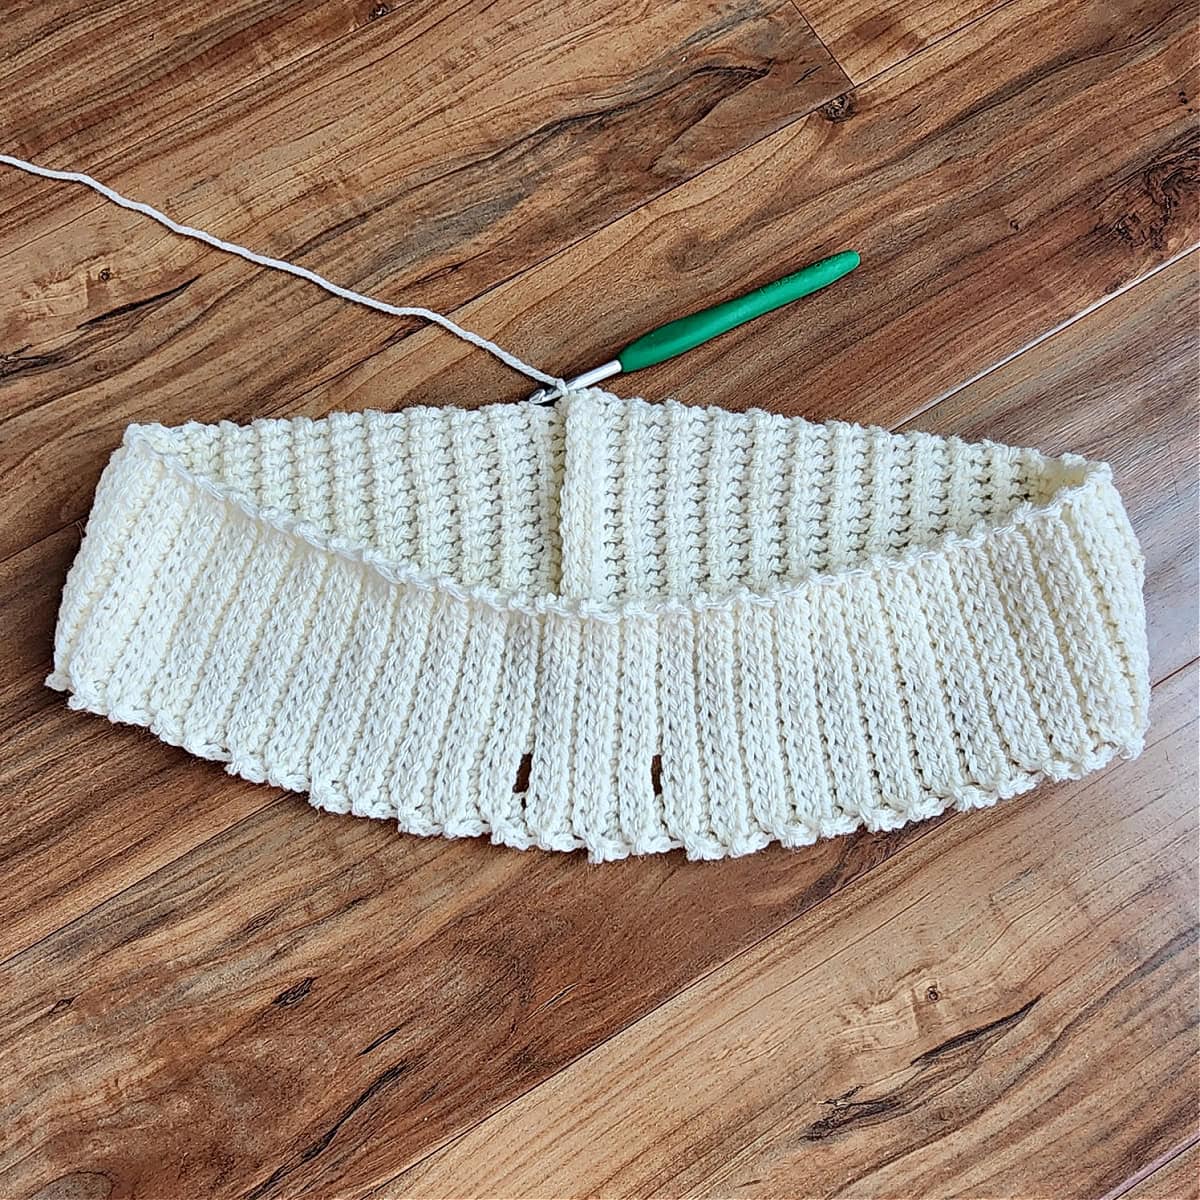
Fold & Seam to Create Channel for the Drawstring
Step 1: Fold the ribbing in half so that the sides if the rows match up. Use locking stitch markers to hold the edges in place while you crochet them together.
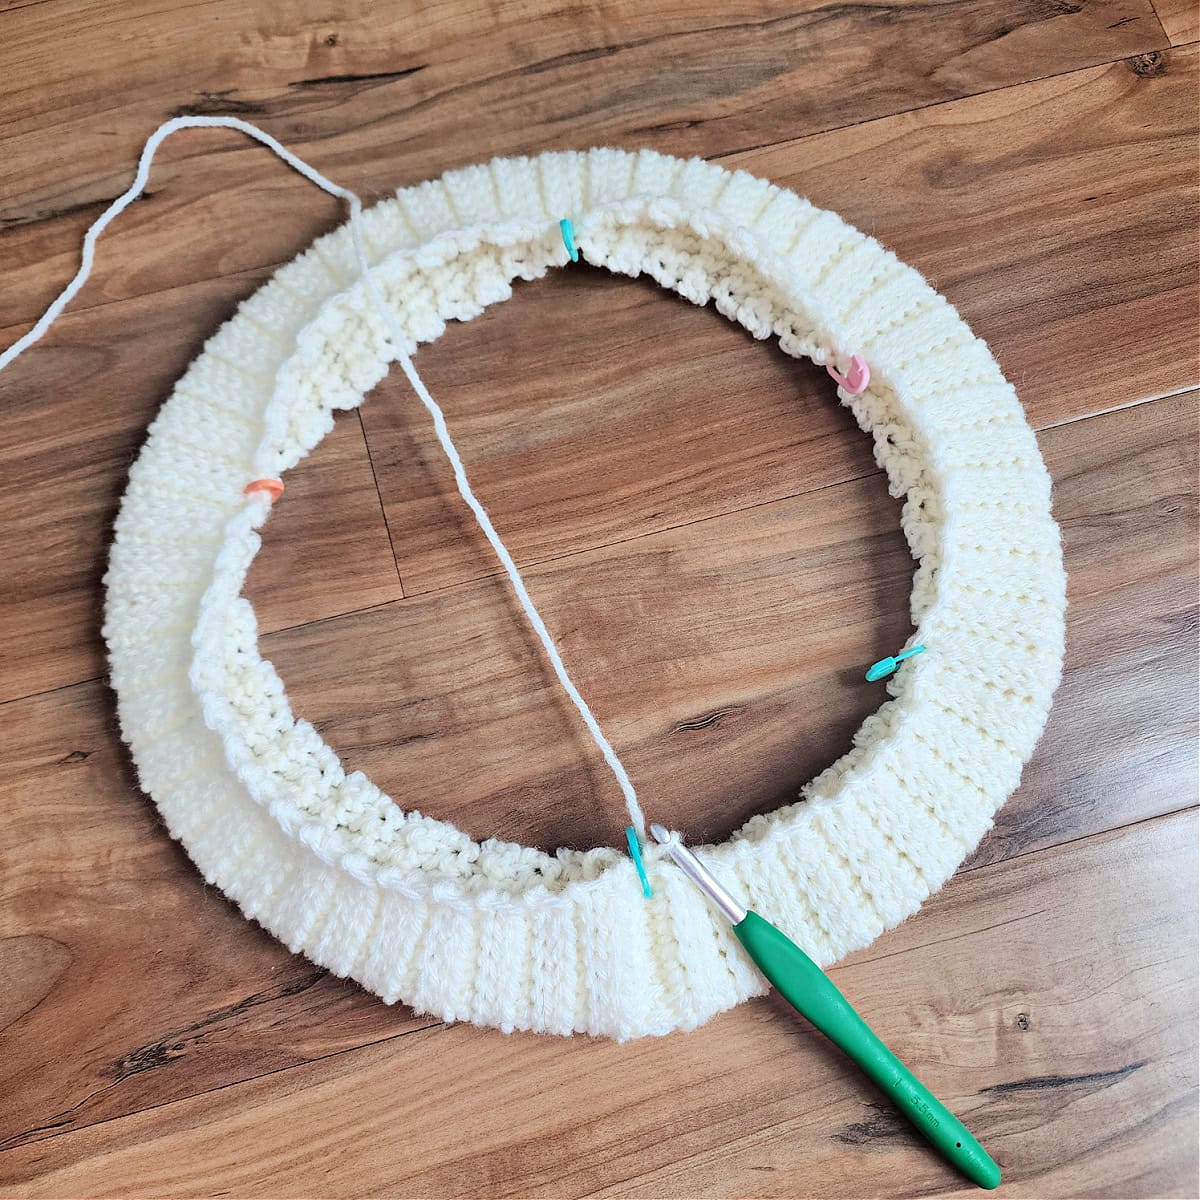
Rnd 1: With MC yarn & a 5.50mm crochet hook, ch 1, working through both layers, sc in each st around. Join with a sl st to the 1st st. (110 sts)
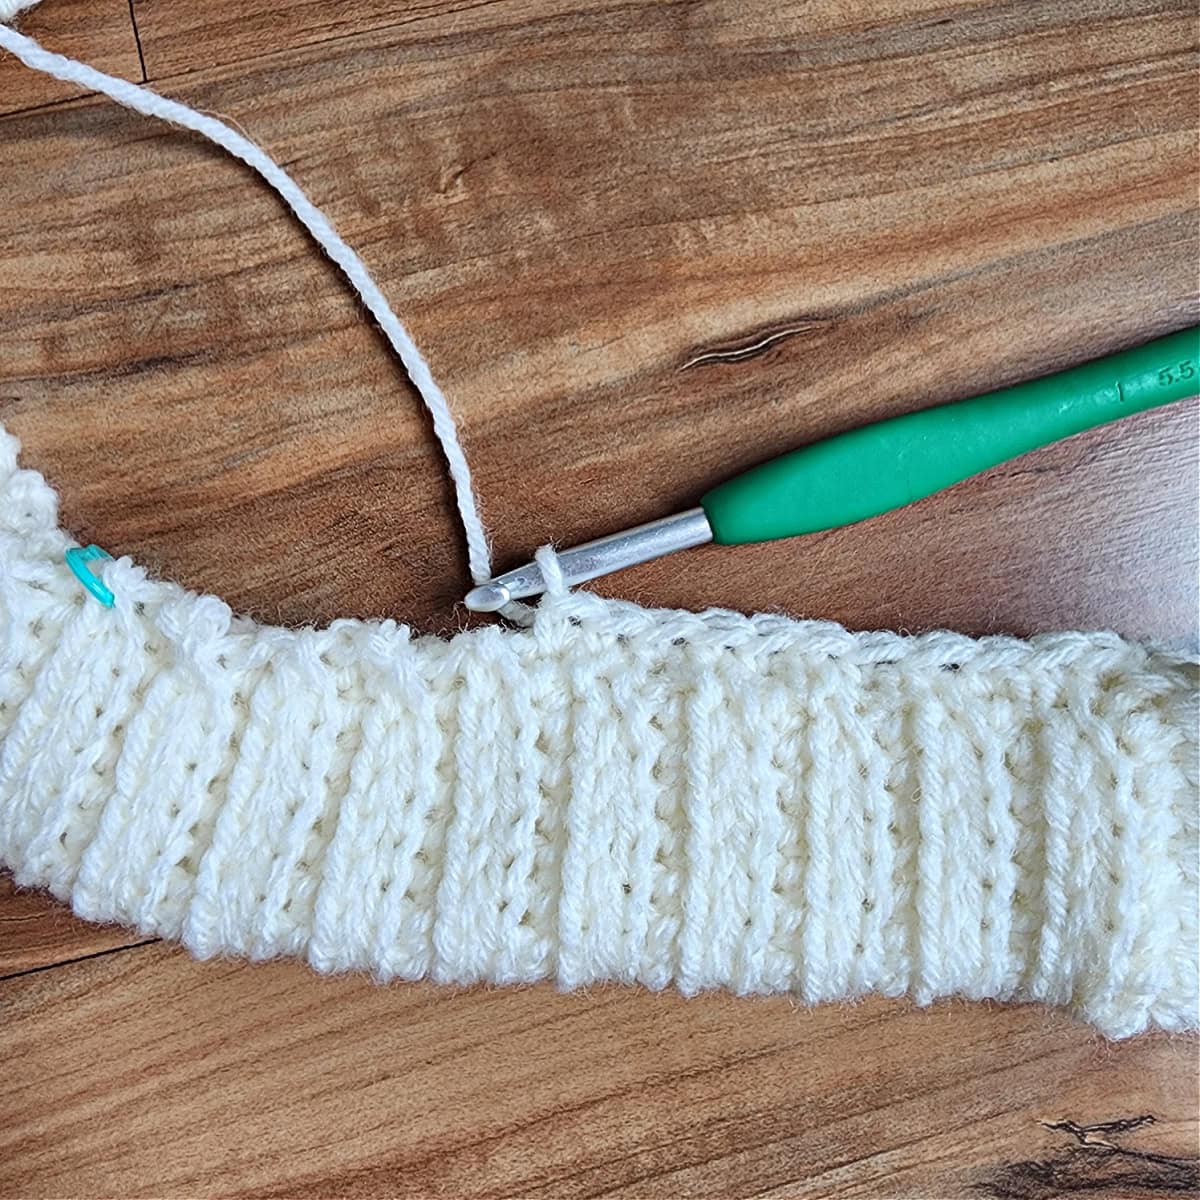
Tip! If your joining round of single crochet causes your ribbing to cinch inwards, try going up a hook size. You can also add a few more stitches around the perimeter (in multiples of 2), as stitch count isn’t crucial.
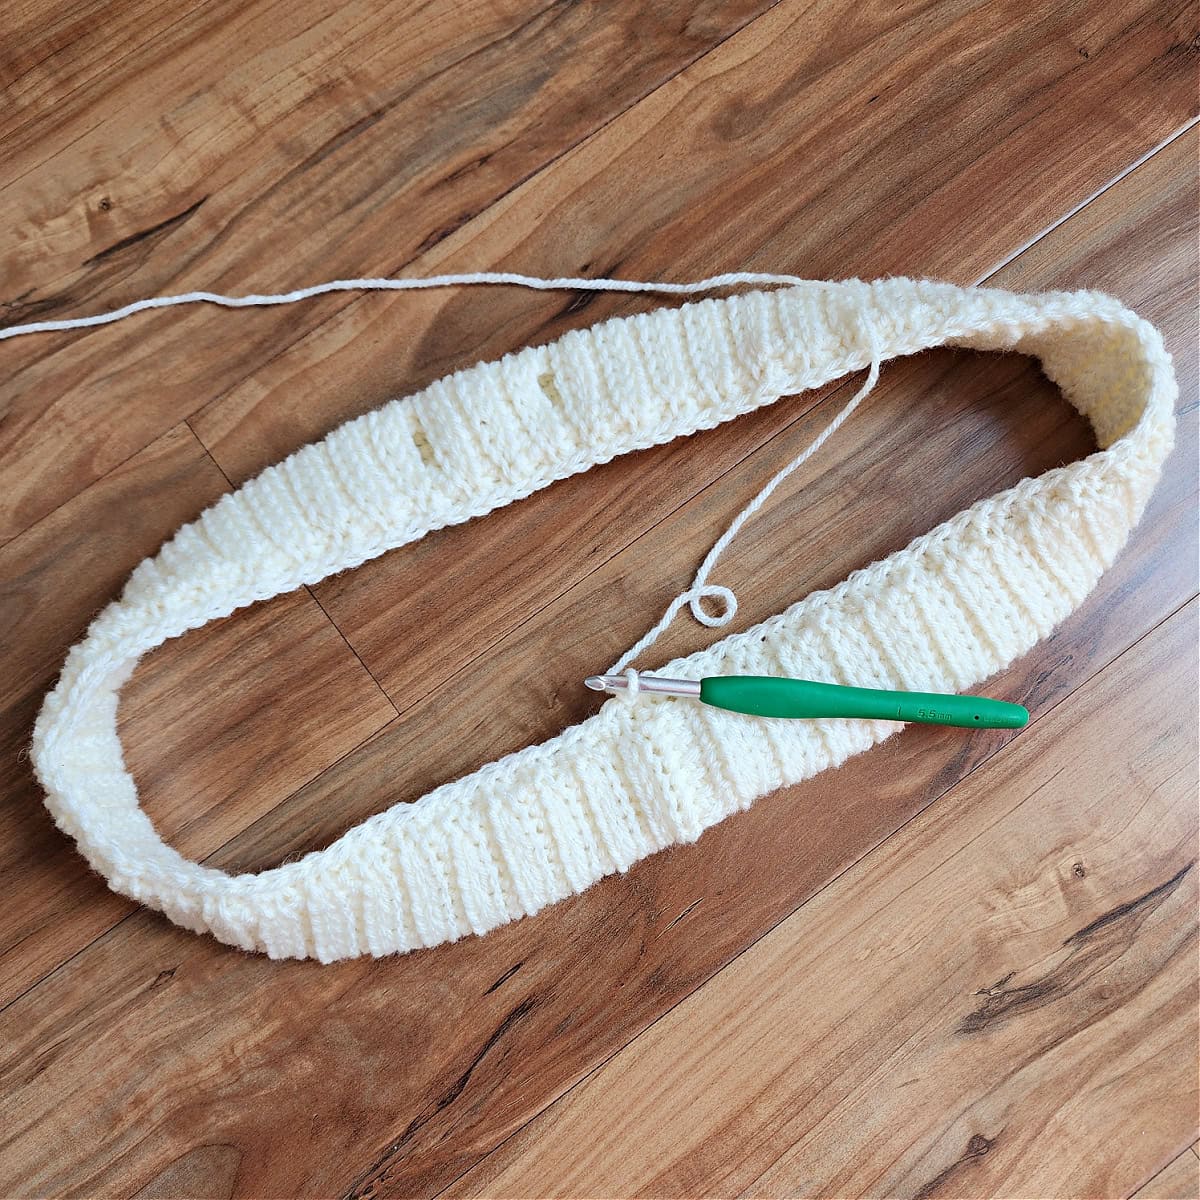
Body of Cowl
Gauge: With a 5.50mm crochet hook, alternating FLO ext sc & BLO ext sc: 14 sts = 4″; 8 rows = 3″.
The Body of Cowl is a repeat of 2 simple rounds. Stripes are created by working 2 or 3 rounds of each color. The Body of Cowl is 30 rounds of the simple repeat, plus a round of single crochet.
Working Color Changes: I chose to fasten off at each new color change, but to save on the number of ends that need to be woven in, instead of fastening off, you can carry your yarn up.
Striped Cowl: You can choose your own stripe pattern, or work the following color sequence to match the cowl in the photos: 3 Rnds CA; 2 Rnds MC; 2 Rnds CB; 3 Rnds MC; 2 Rnds CC; 2 Rnds MC; 3 Rnds CA; 2 Rnds CB; 2 Rnds CC; 3 Rnds CB; 3 Rnds MC; 4 Rnds CB.
Rnd 1 (RS): Ch 1, (FLO ext sc in the next st, BLO ext sc in the next st) rep from ( to ) around. Join. (110 sts)
Rnd 2: Ch 1, (BLO ext sc in the next st, FLO ext sc in the next st) rep from ( to ) around. Join. (110 sts)
Rnds 3 – 30: Rep Rnds 1 – 2.
Rnd 31: Ch 1, sc in each st around. Join. (110 sts)
Fasten off. Weave in all ends. Continue on to the Drawstring / Crochet Rope & Alternative.
Drawstring / Crochet Rope & Alternative
My personal favorite for a drawstring is a crochet rope. I have a step-by-step photo tutorial showing how to make a crochet rope.
An Easy Crochet Rope Alternative: The easiest alternative is to double or triple strand your yarn. Then using a larger crochet hook, create a chain that is 64″ L, or desired length. Tie a knot at each end.
How to Style Your Crochet Cowl
Once your drawstring crochet cowl is complete, there are several ways to style it. For a relaxed look, let the cowl drape loosely around your neck, or for colder weather, double it up to keep extra snug, or pull it up as a hood. This versatile accessory pairs beautifully with coats, sweaters, and casual tees, making it a staple piece for any wardrobe.
Making a crochet cowl is a rewarding project that adds a handmade touch to your winter wardrobe. This simple, stylish, and functional accessory will keep you warm while letting you express your creativity. Once you’ve tried this pattern, don’t be afraid to experiment with different yarns, colors, and stitches to create a unique look every time.
I Made It! Now What?
Pin this post!: Save this free crochet cowl pattern to your Pinterest boards so that you can come back and make it again.
Leave a comment below: We love to hear your feedback.
Share Your Finished Projects on Facebook or Instagram: I love to see your finished projects! Share with us on social media and tag me @acrochetedsimplicity or use the hashtag #ACrochetedSimplicity so I can find your posts.
Join us in the Facebook Community Group!
Come share your finished projects with us in the A Crocheted Simplicity Crochet Community Group on Facebook. Join us for fun community events such as crochet alongs, join in on crochet conversations, ask questions, get advice, and share your love for crochet!

Different Crochet Scarf Patterns
Are you looking for more winter crochet accessory patterns? We have several more crochet scarf and cowl designs you’ll love! From a basic crochet scarf to a c2c scarf and keyhole scarf, to a scarf with sleeves, you’re sure to find one that fits your personal style!

