Easter Bunny Towel & Washcloth Set – Free Crochet Pattern
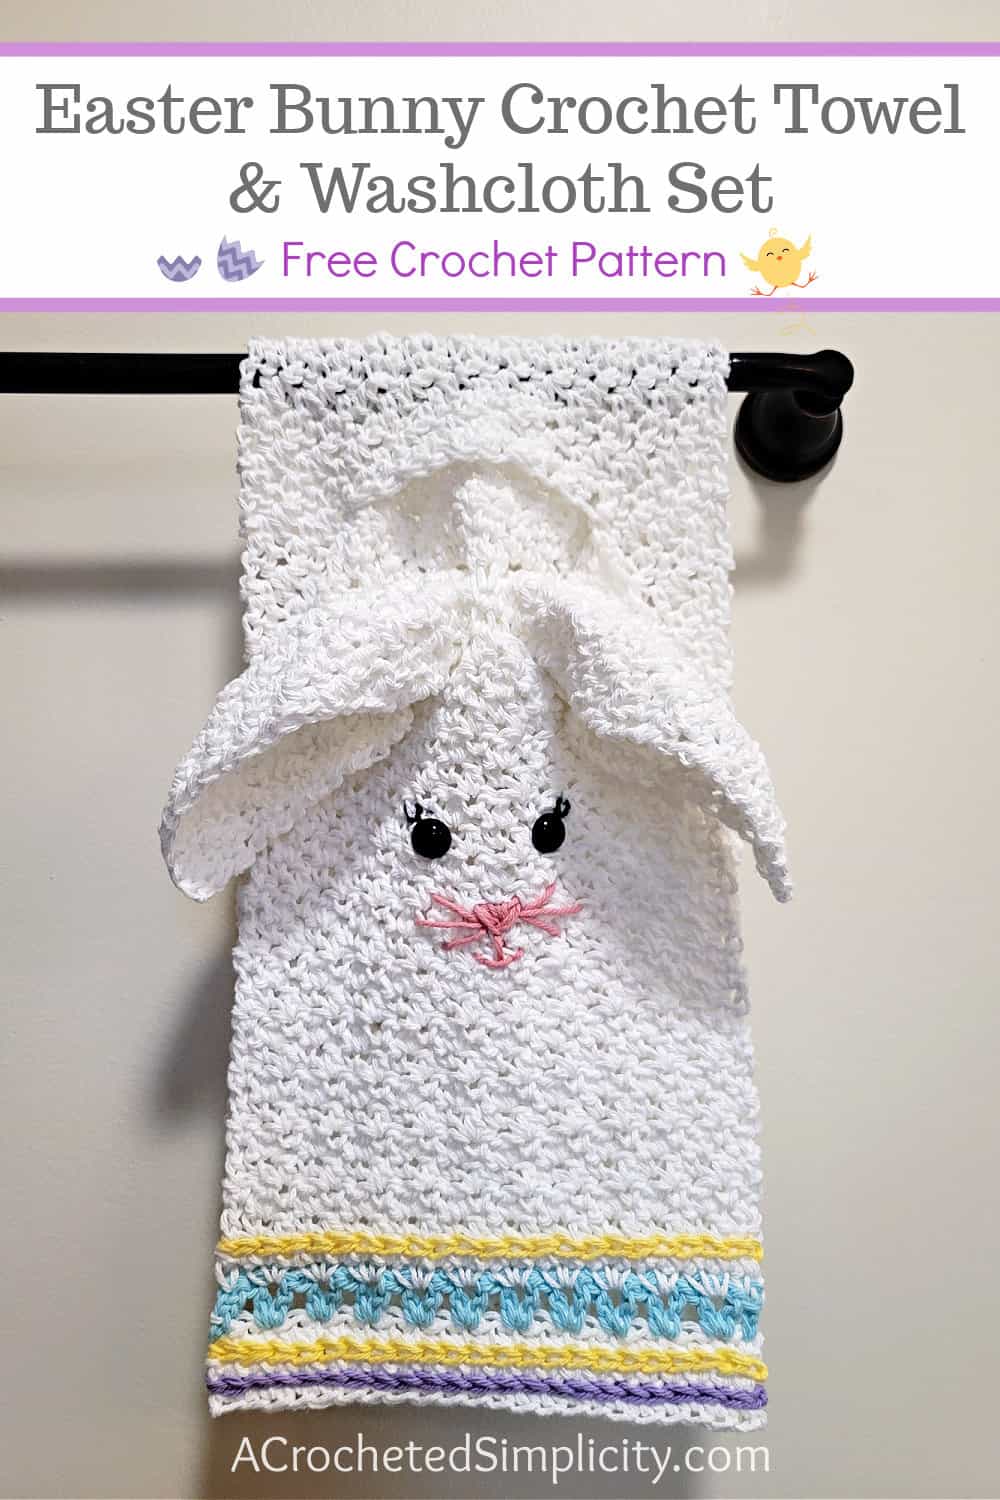
Ever since designing my very first character Christmas towel in 2019, (the Snowman Kitchen Towel), I’ve wanted to design other character towels to celebrate all of the holidays. The Easter Bunny Crochet Hand Towel & Washcloth Set was designed to add a little fun, crochet decor to your home for the Easter Season.
You can find the free crochet pattern for the Easter Bunny Kitchen Towel in this post below, or an ad-free print friendly version on Love Crafts here, Ravelry here, or on Etsy here.
>Click HERE to sign-up to receive our newsletter!<
Crochet Character Keyhole Towels
Since designing my first crochet Christmas towel, I’ve received requests for all sorts of characters for the different holidays. The following are the character keyhole towels I’ve designed to date. They can all be found on my blog by clicking the links below:
- Ghost Kitchen Towel
- Frankenstein’s Monster Kitchen Towel
- Kitty Cat Kitchen Towel
- Turkey Kitchen Towel
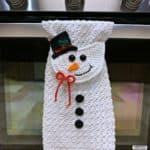
- Snowman Kitchen Towel
- Gingerbread Man Kitchen Towel
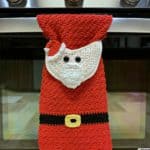
- Santa Kitchen Towel
- Mrs. Claus Kitchen Towel
- Reindeer Kitchen Towel
- Elf Kitchen Towel
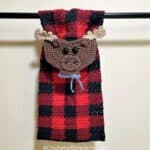
- Buffalo Plaid Moose Kitchen Towel
- Leprechaun Kitchen Towel
- Easter Bunny Towel & Washcloth Set – in this blog post below!
Non-Character Crochet Stay Put / Keyhole Towels
I’ve also designed several other crochet kitchen towels that are not characters.
You’ll find a variety of styles to match your home. Styles range from buffalo plaid to farmhouse to basic keyhole towel patterns that you can customize to match your home’s decor.
You can find all non-character keyhole towel patterns here: Free Crochet Kitchen Towel Patterns
YARN
Cotton is the go-to fiber for crochet dish cloths, dish towels, and hand towels as it’s the most absorbent. There are several cotton yarns out there that would be perfect for this project, but I chose to use Lily Sugar n’ Cream 100% worsted weight cotton yarn. Lily Sugar n’ Cream is available in 39 colors so I was able to find all of the colors I needed for this project within the same yarn line.
EASTER BUNNY CROCHET TOWEL SET – FREE CROCHET HAND TOWEL PATTERN
The free pattern is below, but if you love to work offline, or need to order your yarn, I’ve got a couple other great options for you.
Purchase the ad-free, printable PDF that includes all photo tutorials, on Love Crafts here, Ravelry here, or Etsy here.
Save this pattern to your Ravelry favorites here.
Pin it for later here.
This post contains affiliate links.
Materials
- Yarn: Yarn I used for my sample is Lily Sugar n’ Cream; 4 / Worsted Weight Cotton Yarn; (100% cotton / 120 yards / 70.9 g / 109 m / 2.5 oz )
- White (MC): 250 yards
- Robins Egg (CC1): 3 yards
- Yellow: 2 yards
- Light Purple: 1 yard
- Rose Pink: 2 yards
- Crochet Hooks: H/8/5.00mm; 7.00mm; K/10.5/6.50mm (my favorite hooks are Clover Amour Hooks, I’ve never had an ache in my hand since switching)
- Measuring Tape
- (2) 18mm Black Safety Eyes – Optional (instructions included for yarn eyes)
- Scissors
- Tapestry Needle
Many of the materials are available for purchase through our affiliates:


Abbreviations (US Terms)
- ch(s): chain
- st(s): stitch(es)
- sl st(s): slip stitch(es)
- sc: single crochet
- hdc: half double crochet
- dc: double crochet
- RS: right side
- Rep: repeat
- yo: yarn over
- MC: Main Color
- CC: Contrasting Color
- Alt-dc: alternate double crochet (click here for tutorial)
Gauge
- In pattern stitch (sc in next, dc in next): 10 sts = 4″; 10 rows = 4″
Size
- One Size: 9″ W x 29″ L
Notes
- Turning chains are not counted as a stitch or included in stitch count.
- The first stitch of each row is worked into the same stitch as the turning chain, unless stated otherwise.
- Yarn Notes: Lily Sugar n’ Cream worsted weight cotton yarn was used for the sample, 100% Cotton (120 yards / 109 m / 71 g / 2.5 oz).
- Yardage:
- White: 250 yards
- Robins Egg: 3 yards
- Yellow: 2 yards
- Light Purple: 1 yard
- Rose Pink: 2 yards
- This hand towel is constructed in rows from one short edge to the other. You’ll create a couple keyholes mid-way through. One to hang up the towel and the others to hold the washcloth ears. Lastly, you’ll add facial features and details.
Special Stitches
-
Alternate Double Crochet (alt-dc): Do not ch, instead, insert your hook into the first st, yo, pull up a loop, yo, pull thru both loops, insert your hook between the legs of the st just made, yo, pull up a loop, yo, pull thru one loop, yo, pull thru remaining loops. (click here for tutorial)
Easter Bunny Hand Towel Instructions
Set-Up: With MC & a 7.00mm crochet hook, ch 23.
Row 1 (RS): Switch to a 6.50mm crochet hook, working in the back humps of the foundation ch, sc in the 2nd ch from your hook and in each ch across. Turn. (22 sts)
Rows 2 – 3: Ch 1, sc in each st across. Turn.
Fasten off MC. Switch to CC1.
Row 4: With CC1, alt-dc in the first st, (skip the next st, 2 dc in the next st) rep across to the last st, dc in the last st. Turn. (22 sts)
Fasten off CC1. Switch to MC.
Row 5: With MC, ch 1, sc in the first st, (work 2 sc in the space of next 2 dc group from previous row) rep across to the last st, sc in the last st. Turn. (22 sts)
Row 6: Ch 1, sc in each st across. Turn.
Rows 7 – 28: Ch 1, sc in the first st, dc in the next st, (sc in the next st, dc in the next st) rep across. Turn.
Approximate length at this point is 11″.
Small Keyholes for Ears
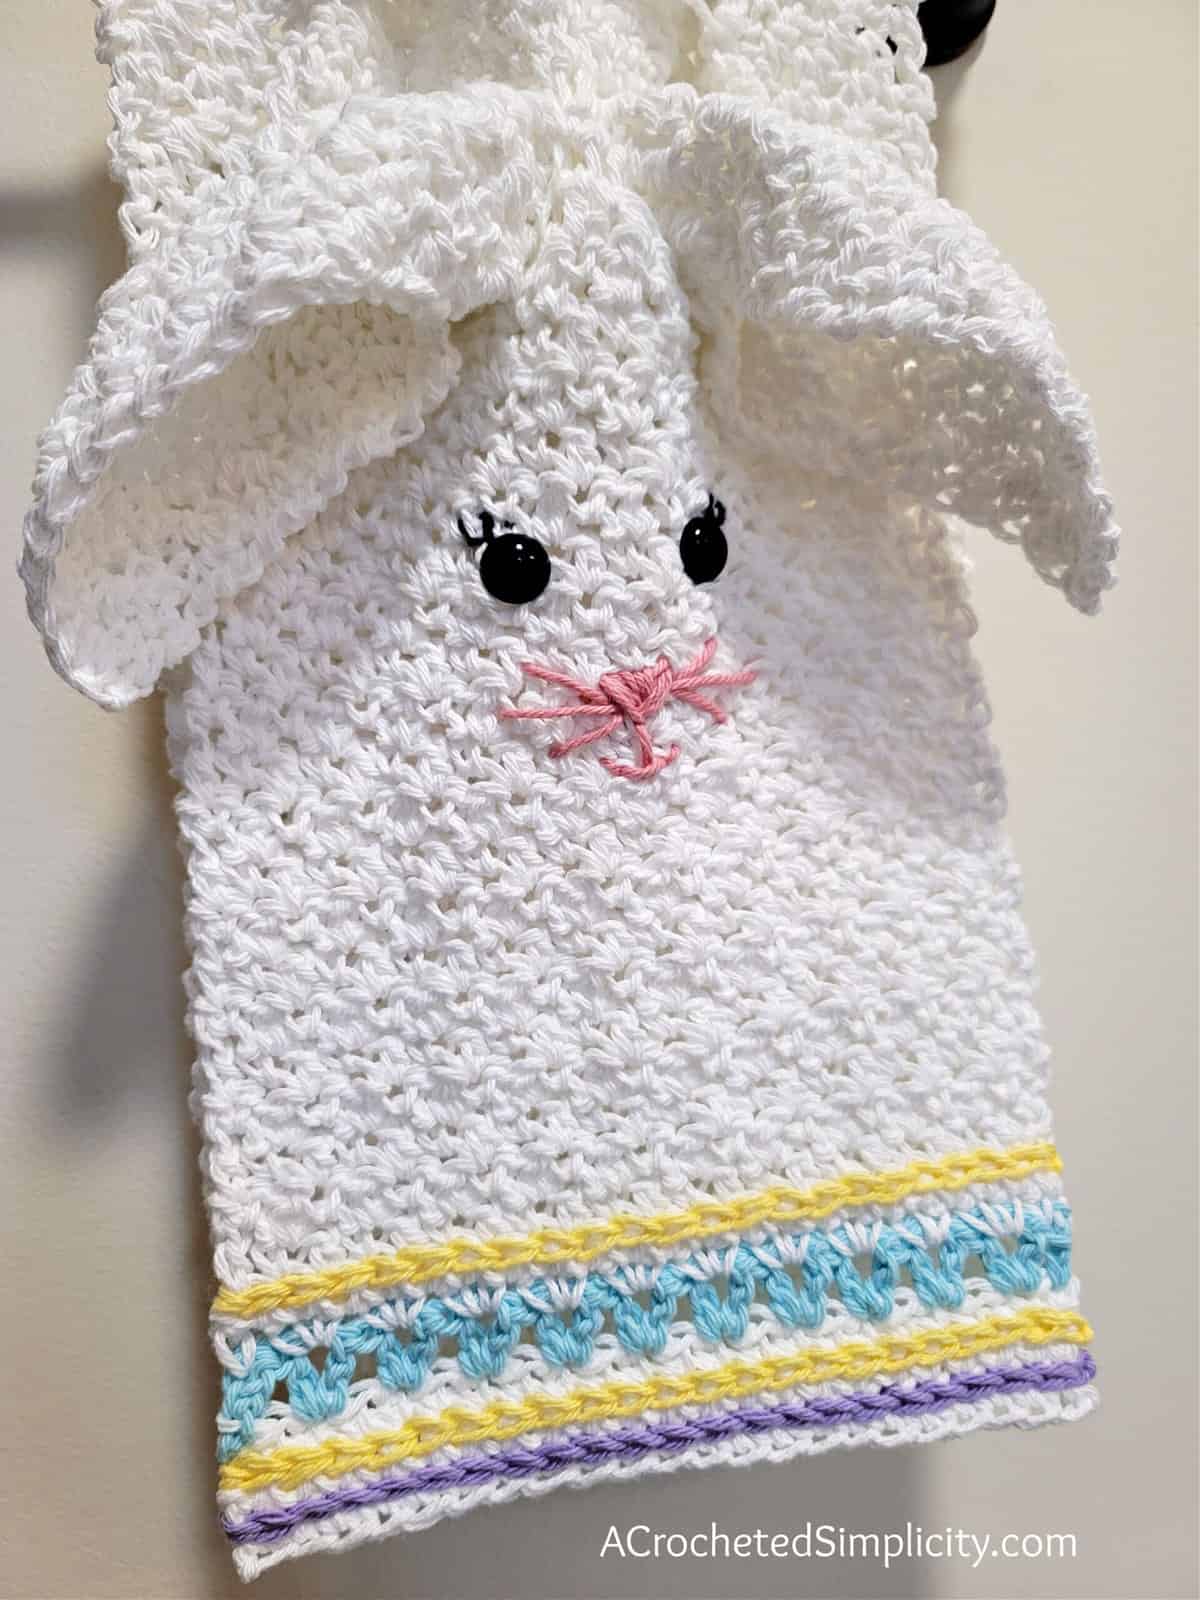
Row 29: Ch 1, sc in the first st, dc in the next st, (sc in the next st, dc in the next st) twice, ch 4, skip each of the next 4 sts, sc in the next st, dc in the next st, ch 4, skip each of the next 4 sts, (sc in the next st, dc in the next st) 3 times. Turn.
Note: In the next row you’ll be working into stitches and chains.
Rows 30 – 44: Ch 1, sc in the first st, dc in the next st, (sc in the next st, dc in the next st) rep across. Turn.
Large Keyhole for Hanging the Towel Up
Row 45: Ch 1, sc in the first st, dc in the next st, (sc in the next st, dc in the next st) twice, ch 10, skip each of the next 10 sts, (sc in the next st, dc in the next st) 3 times. Turn.
Row 46: Ch 1, sc in the first st, dc in the next st, (sc in the next st, dc in the next st) rep across. Turn.
Rep Row 46 until your towel measures approximately 11-1/2″ from the large keyhole opening.
Last Row: Ch 1, sc in each st across.
Fasten off. Weave in ends. Continue on to Line Details.
Line Details
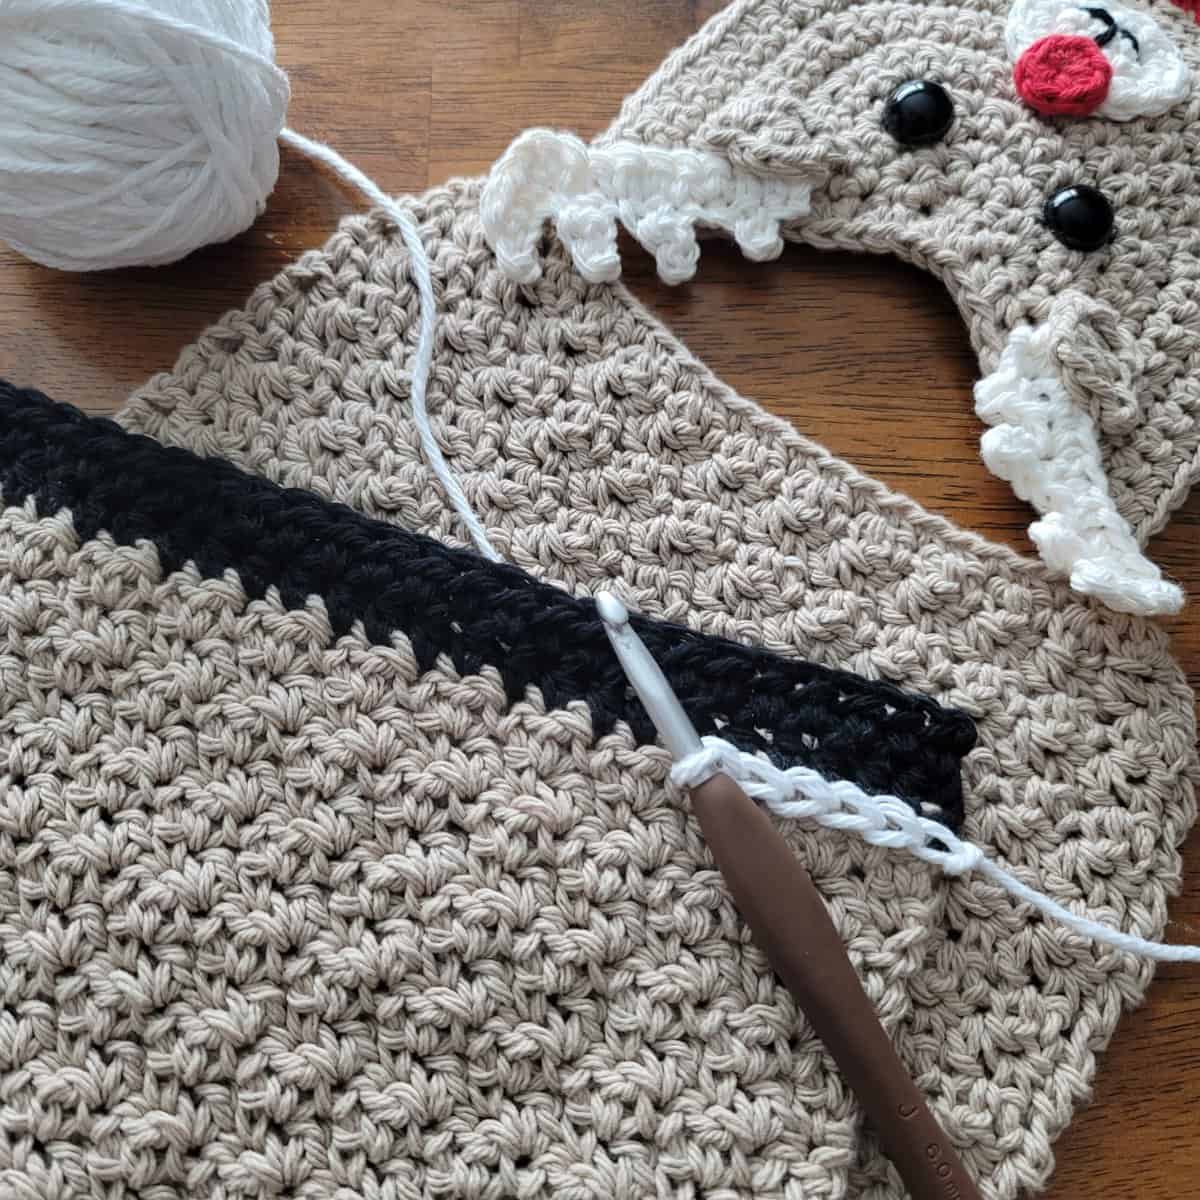
Row 1 (RS): With a 6.00mm hook and yellow & light purple yarn, add a row of surface crochet on top of the stitches from Rows 2 (purple), 3 (yellow), & 6 (yellow) of the towel. Click HERE for photo tutorial and see photos below.
Weave in ends. Continue on to the Washcloth Ears.
Washcloth Ears
Set-up: With MC & a 7.00mm crochet hook, ch 27.
Row 1 (RS): Switch to a 6.50mm crochet hook, working in the back humps of the foundation ch, sc in the 2nd ch from your hook, dc in the next st, (sc in the next ch, dc in the next ch) rep across. Turn. (26 sts)
Rows 2 – 20: Ch 1, sc in the first st, dc in the next st, (sc in the next st, dc in the next st) rep across. Turn.
Fasten off. Weave in ends. Approximate size: 10.5″ x 8.25″. Continue on to Optional Yarn Eyes if you’re crocheting your own eyes, or Bunny Face Tutorial if you’re using plastic safety eyes.
Optional: Yarn Eyes (Make 2)
Rnd 1: With black yarn and a 5.00 mm crochet hook, ch 2, work 6 hdc in the 2nd ch from your hook. Join with a sl st to the first st. (6 sts)
Fasten off leaving a 10” tail for sewing. Weave in beginning tail end. Eyes are approximately .75″ in diameter. Continue on to the Bunny Face Tutorial.
Bunny Face Tutorial
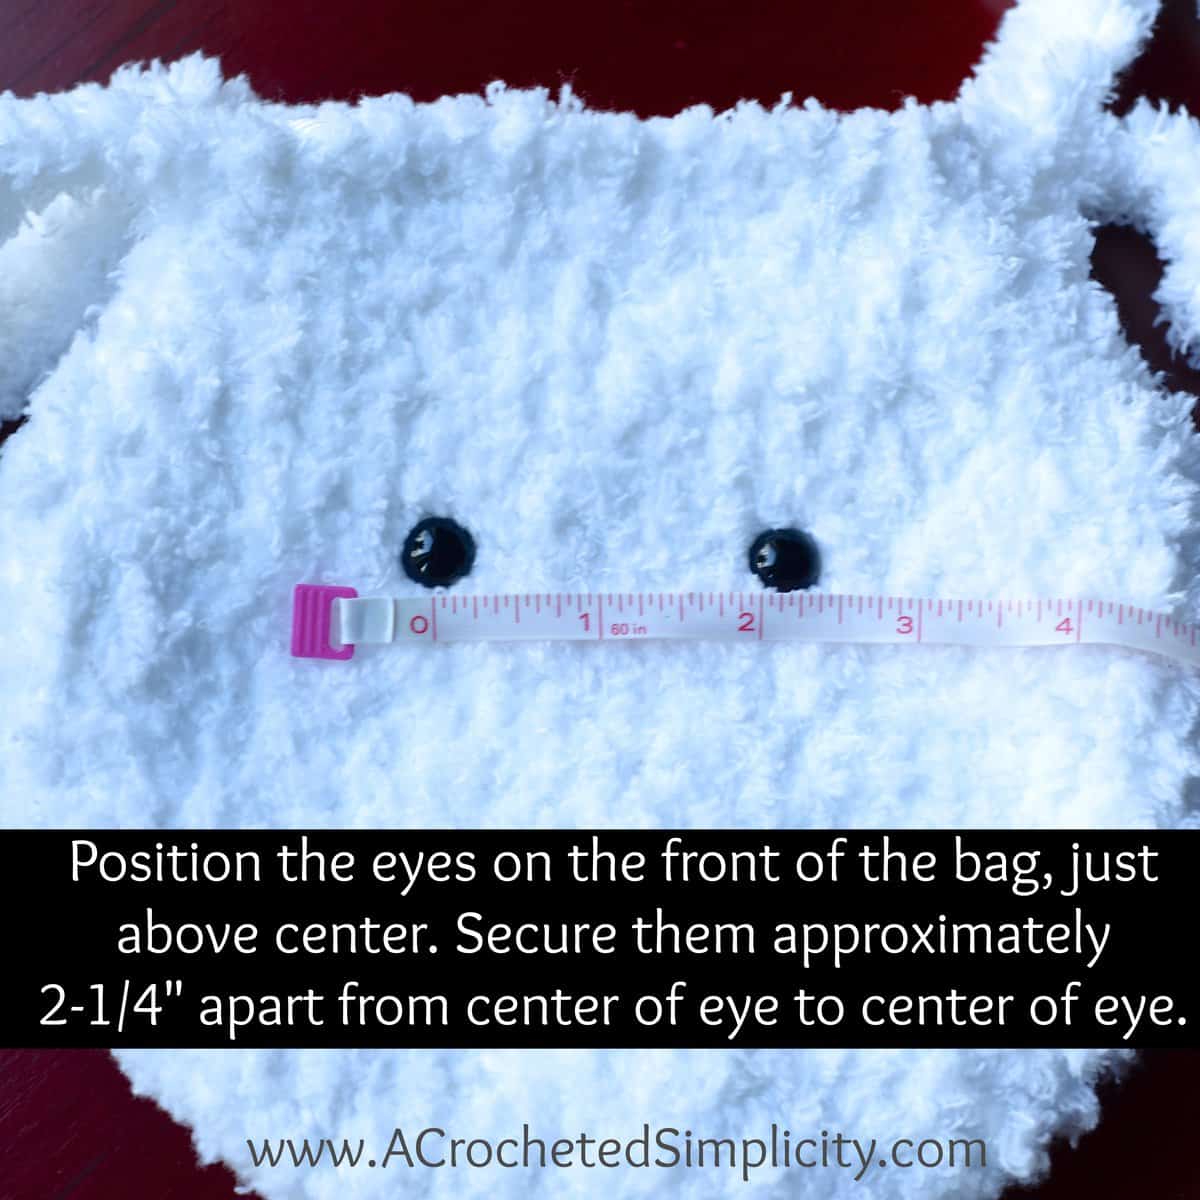
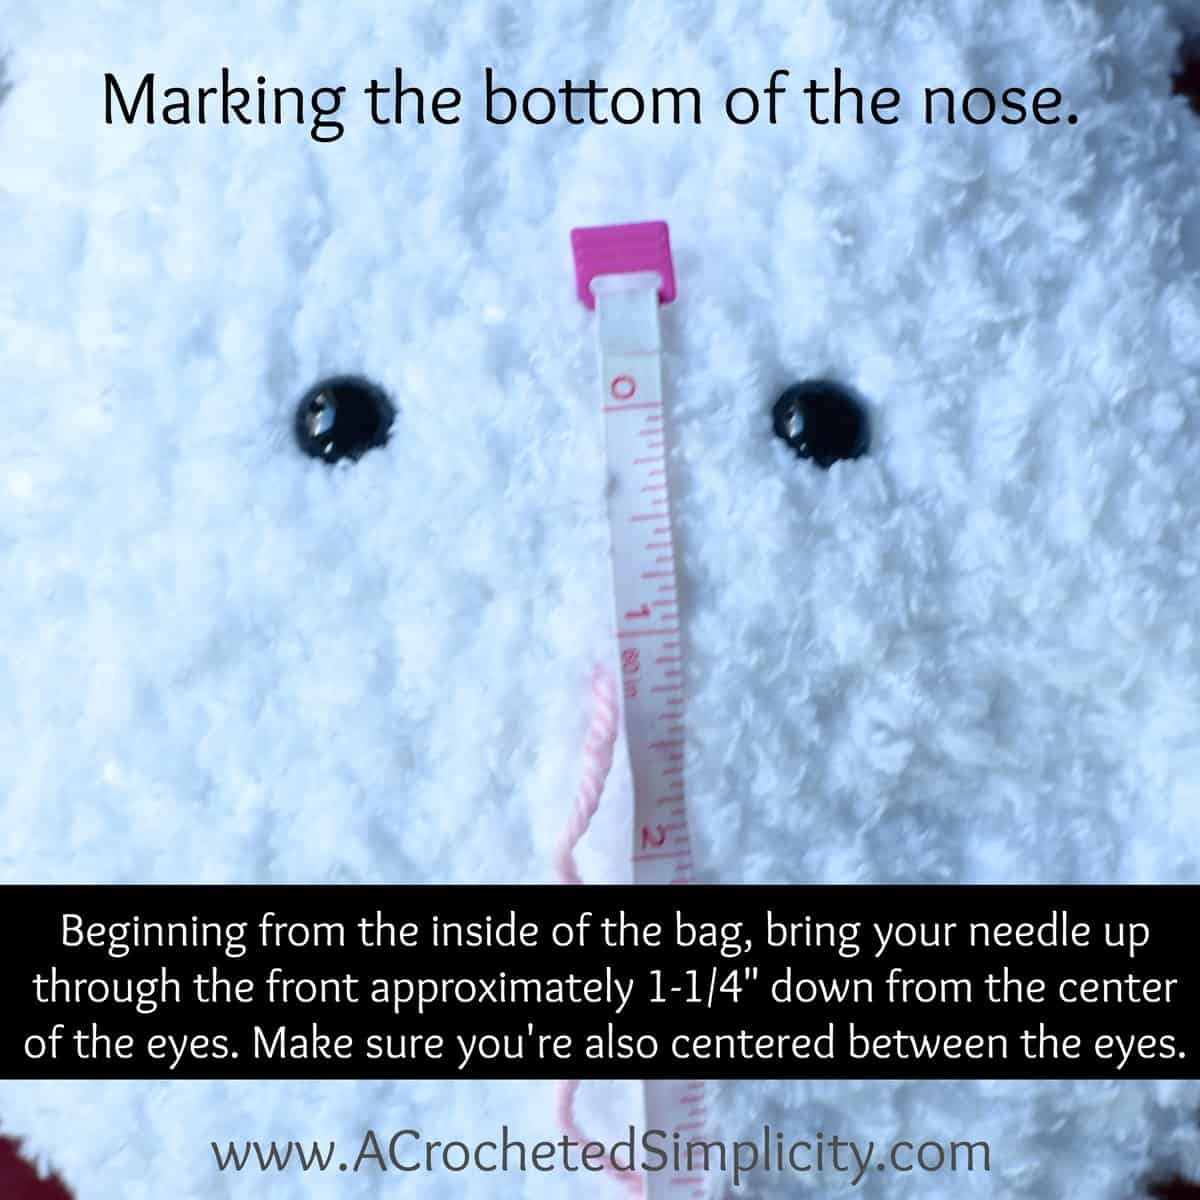
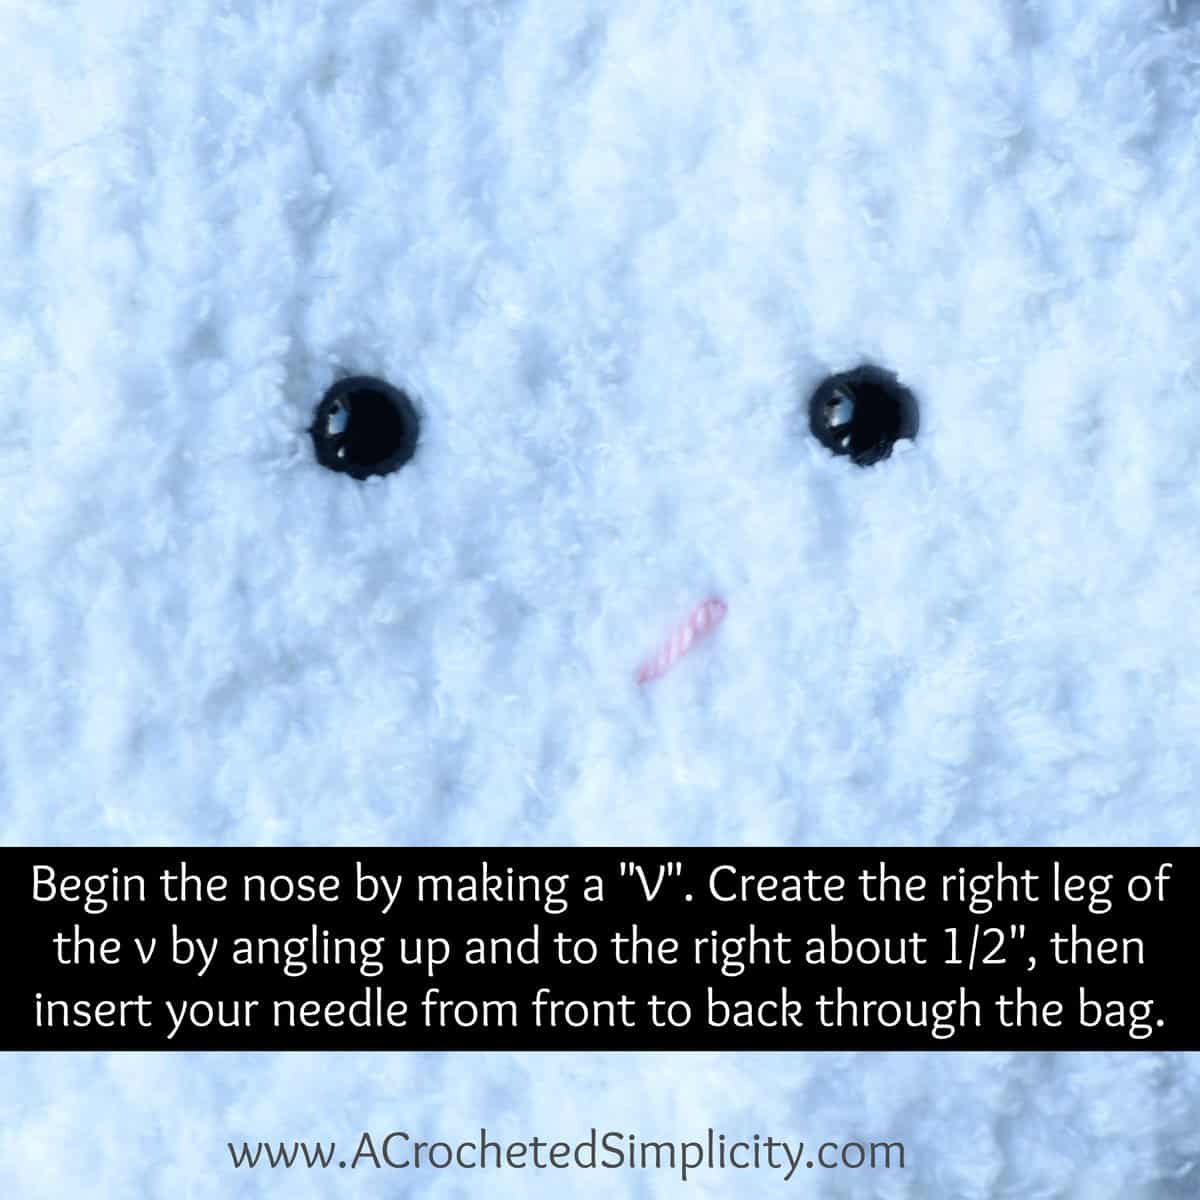
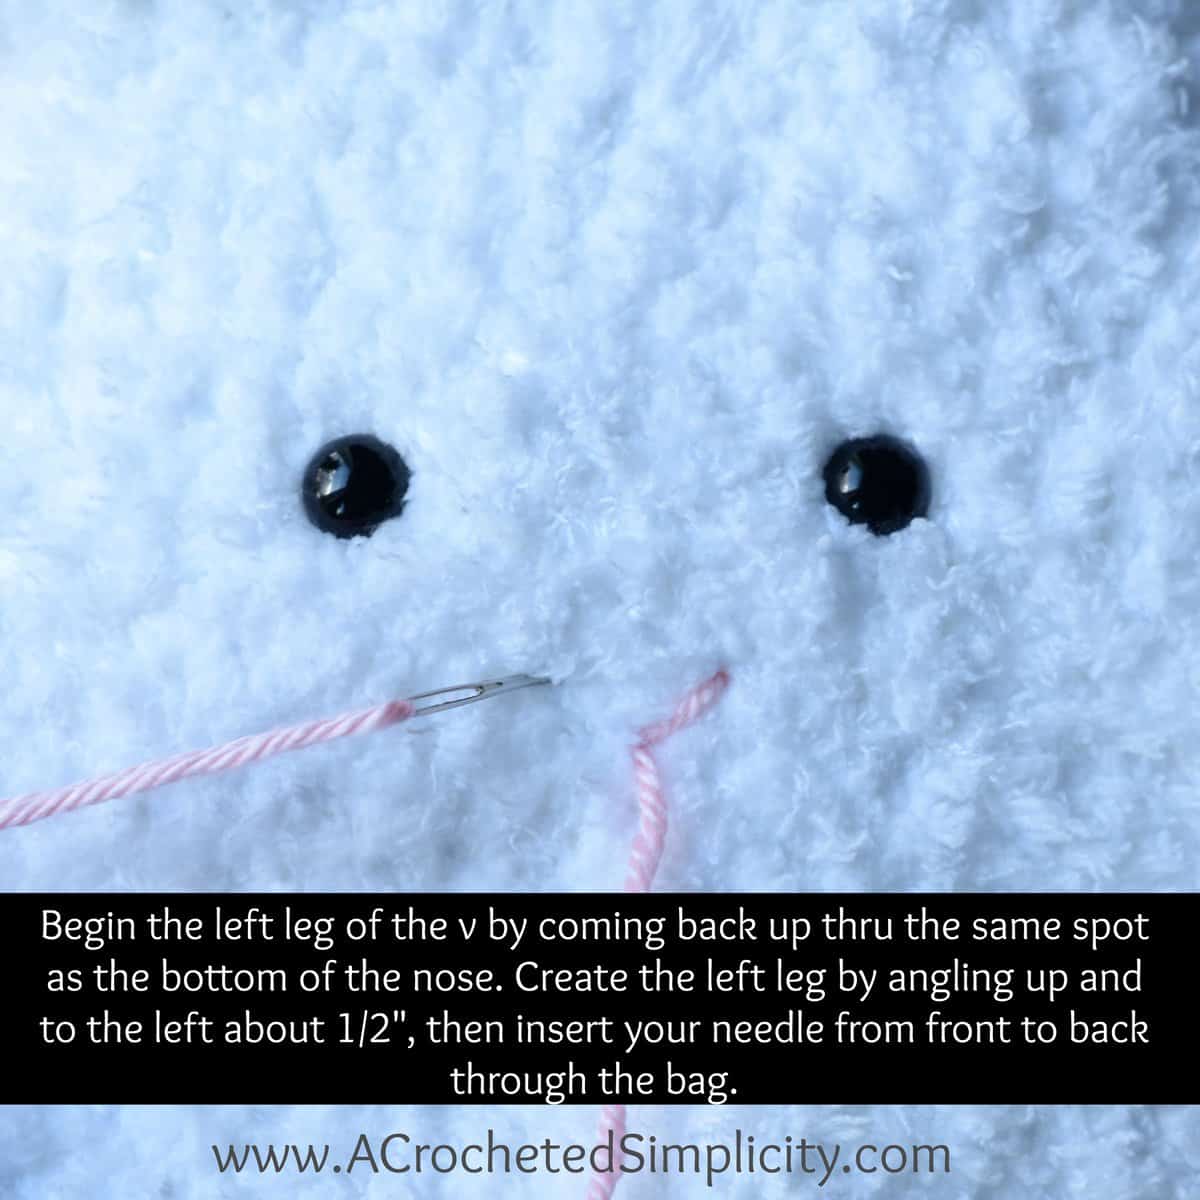
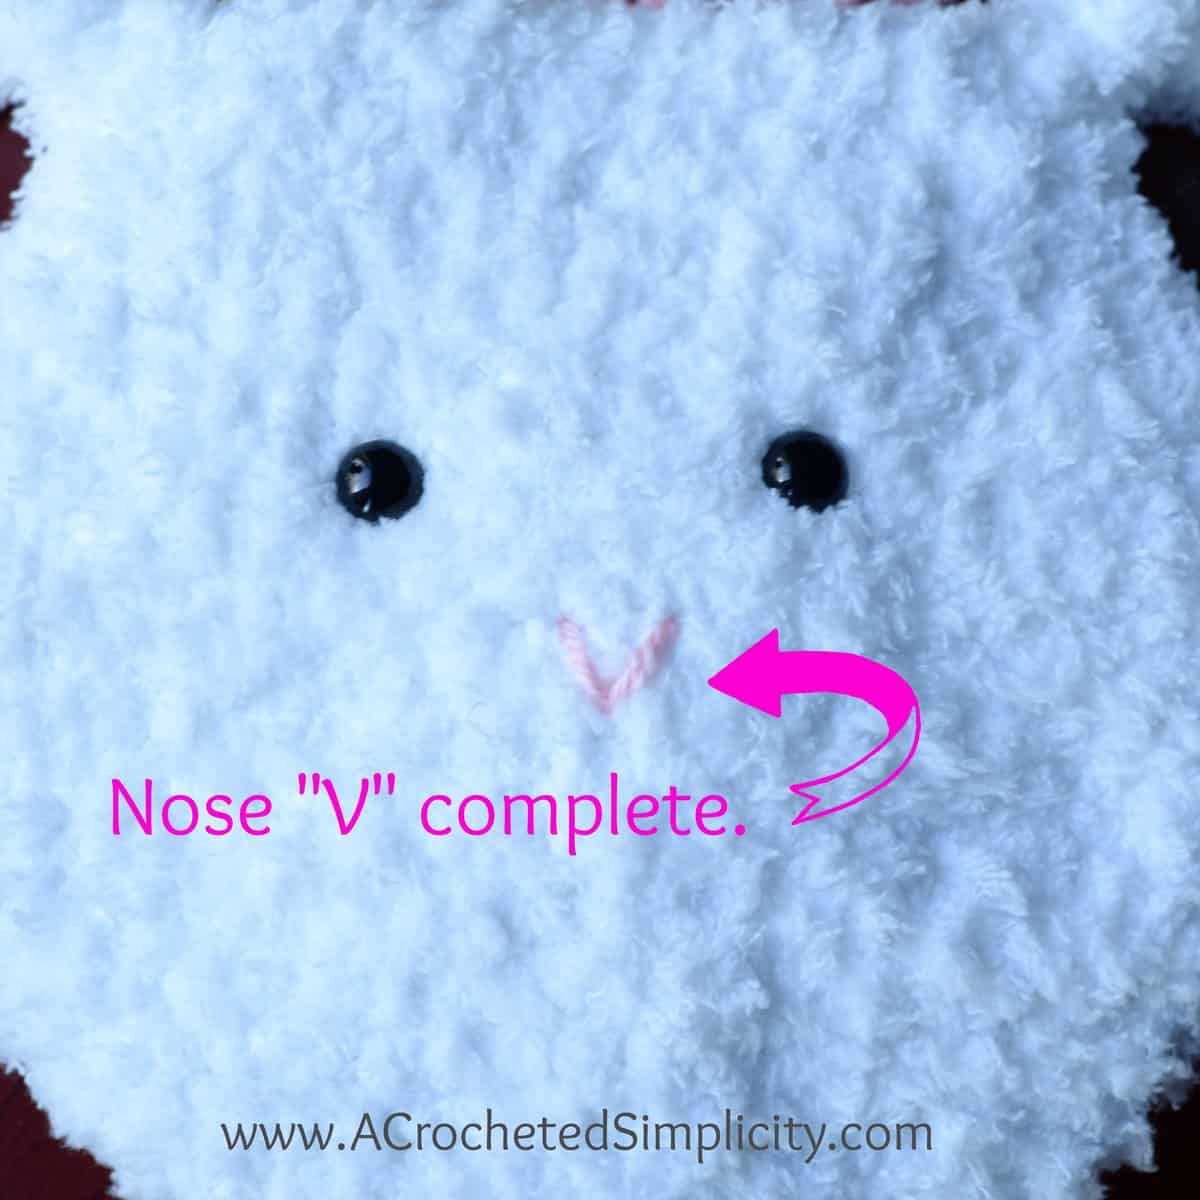
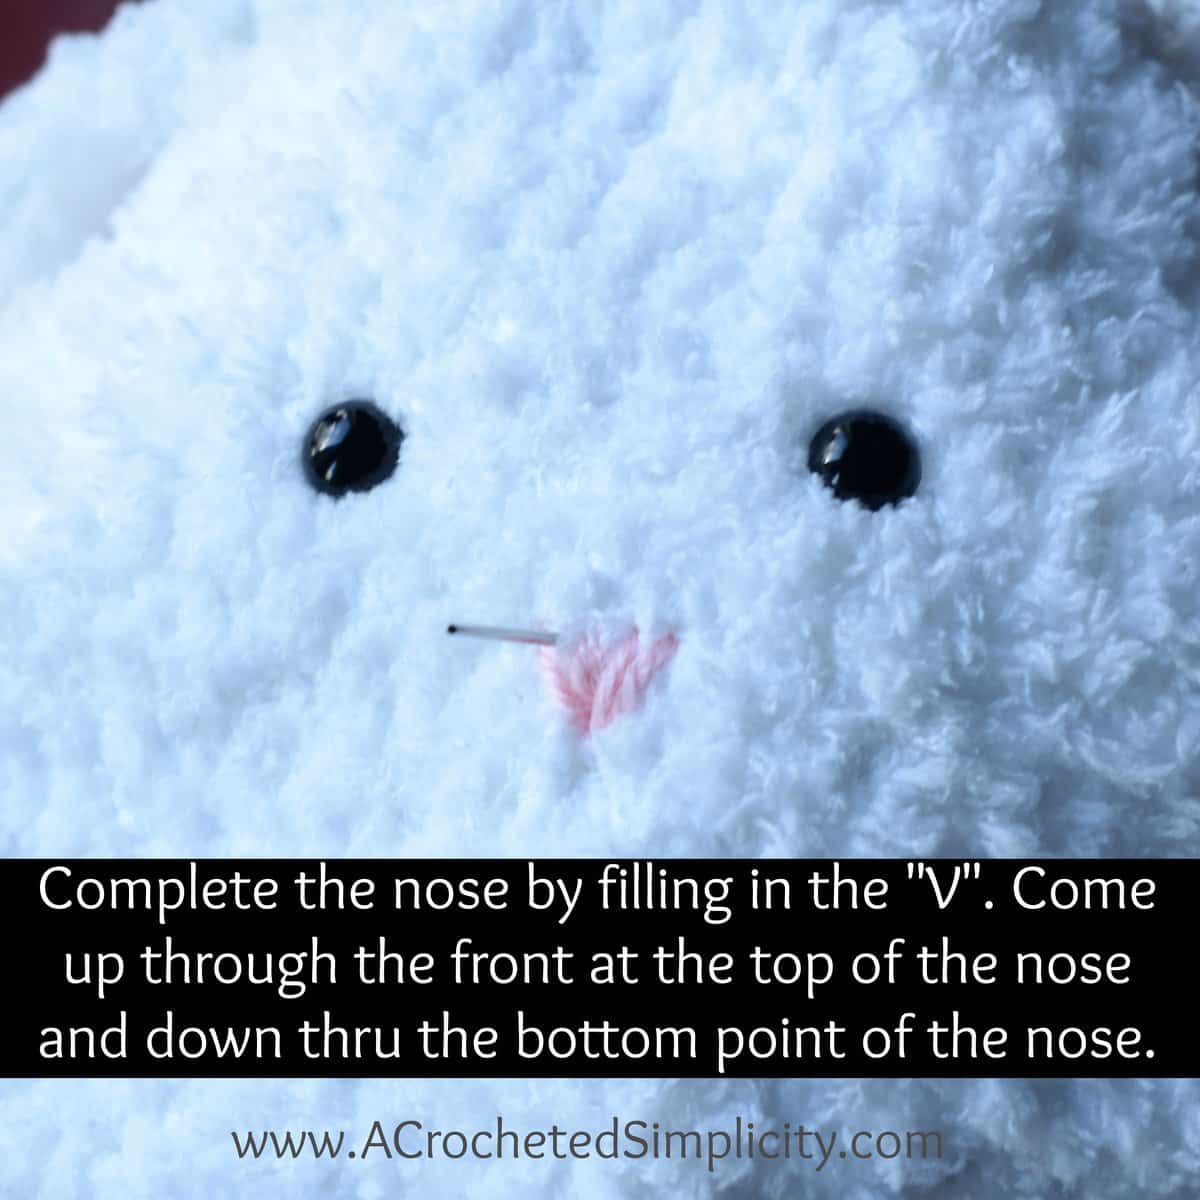
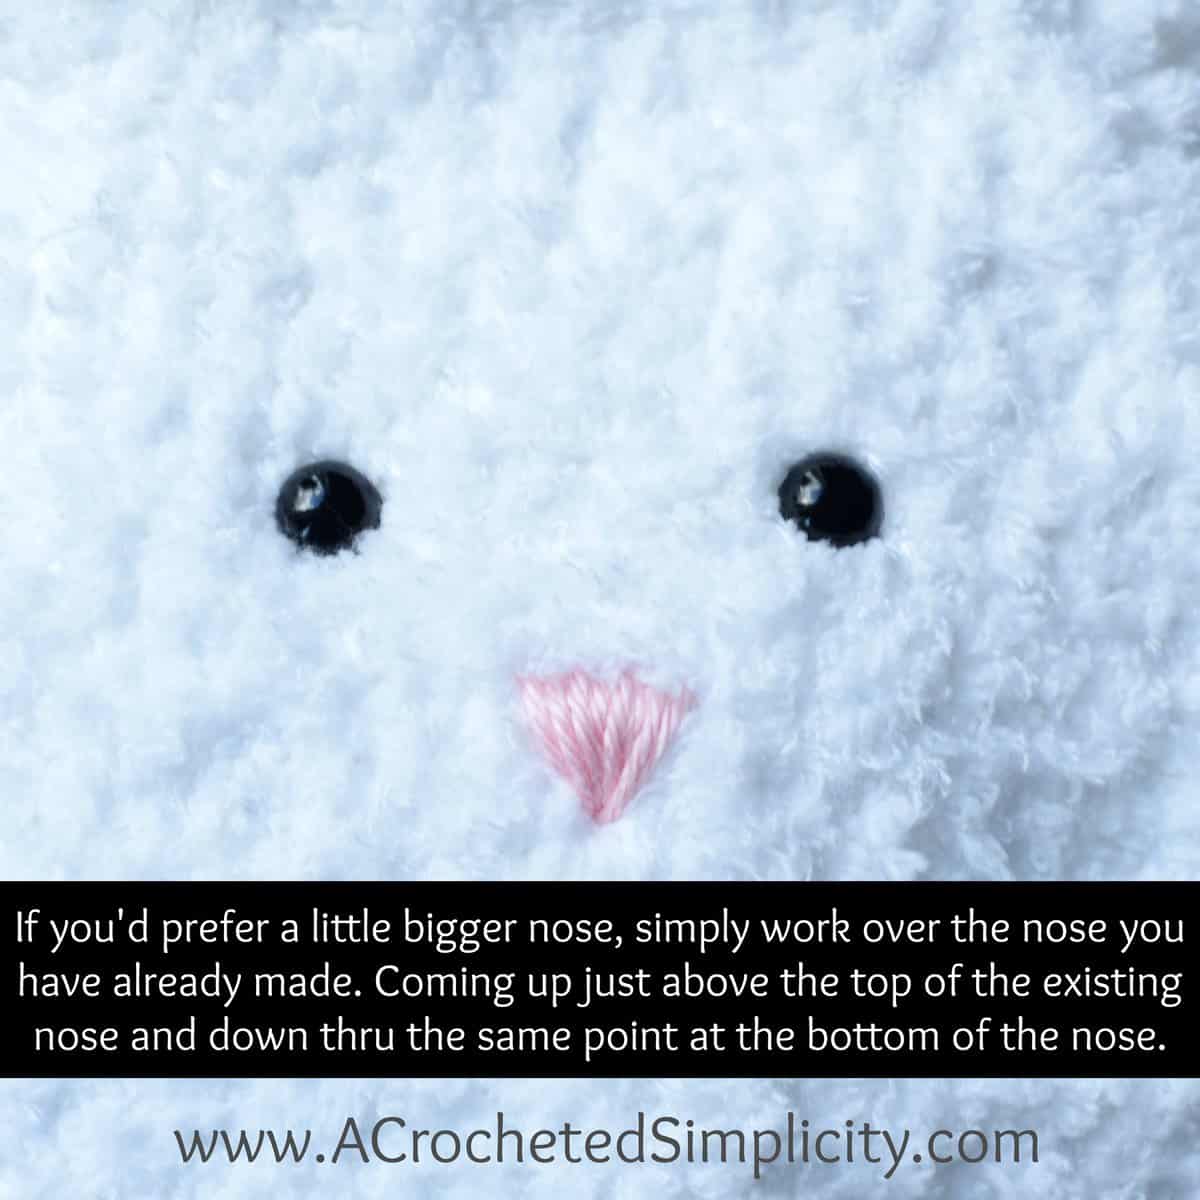
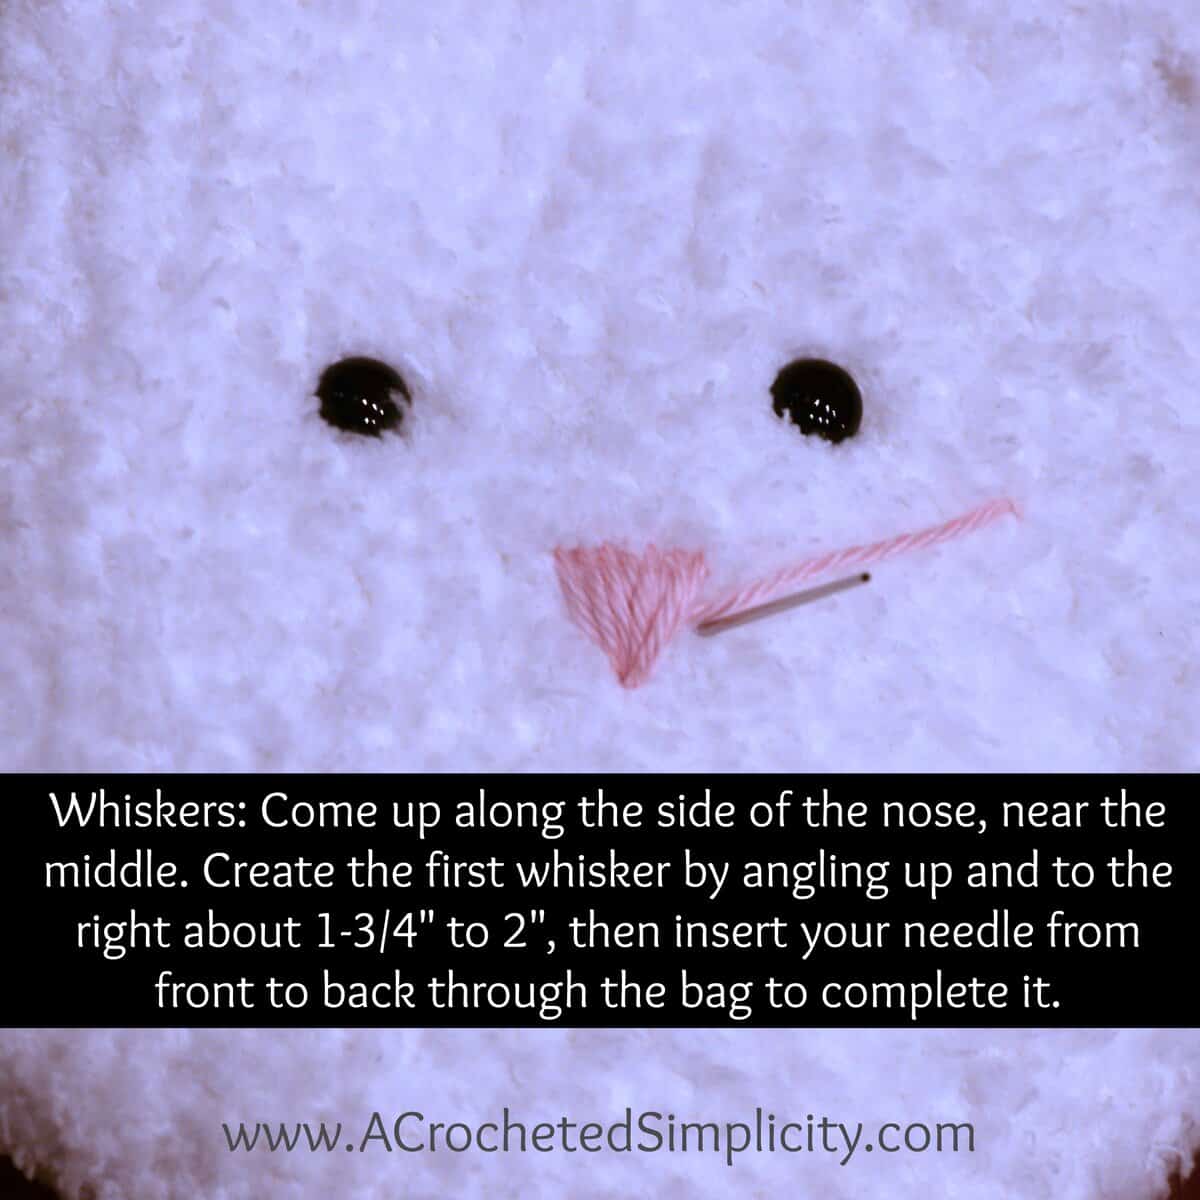
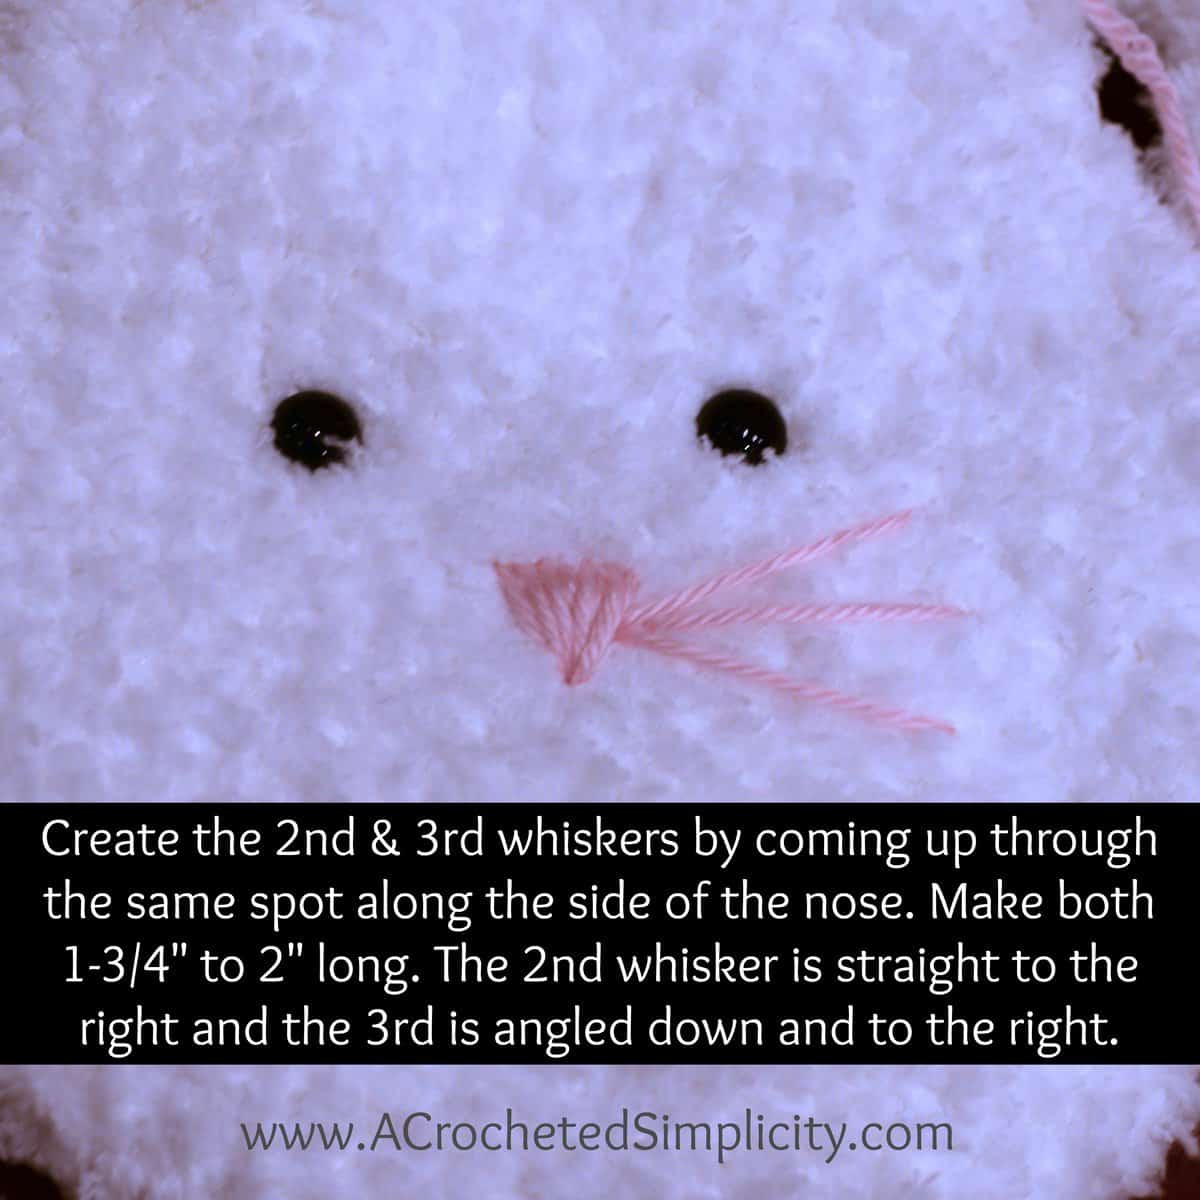
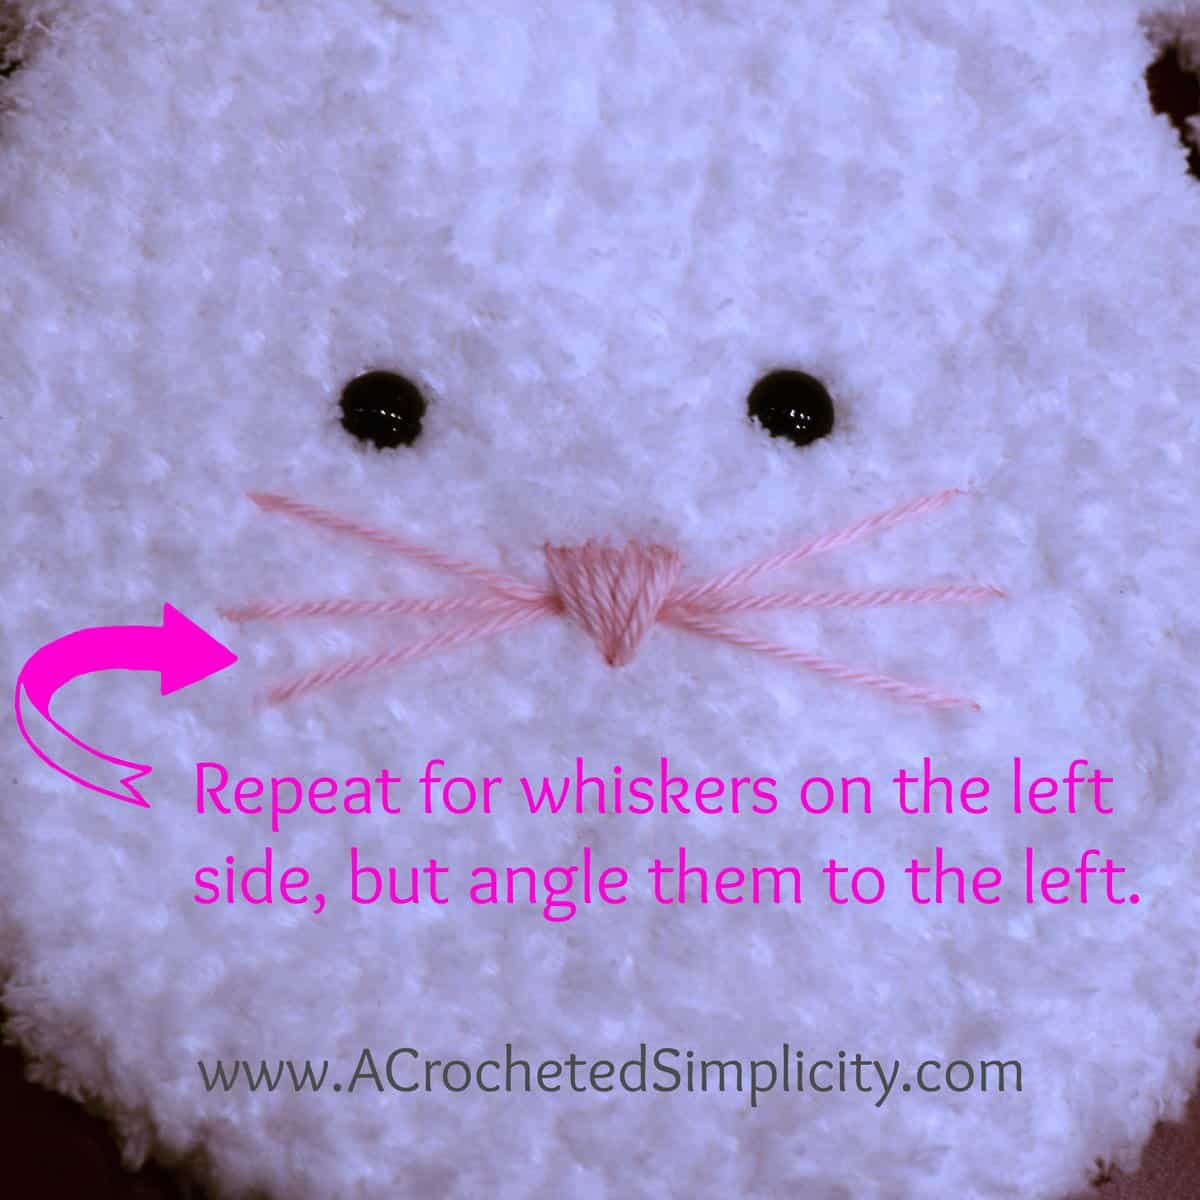
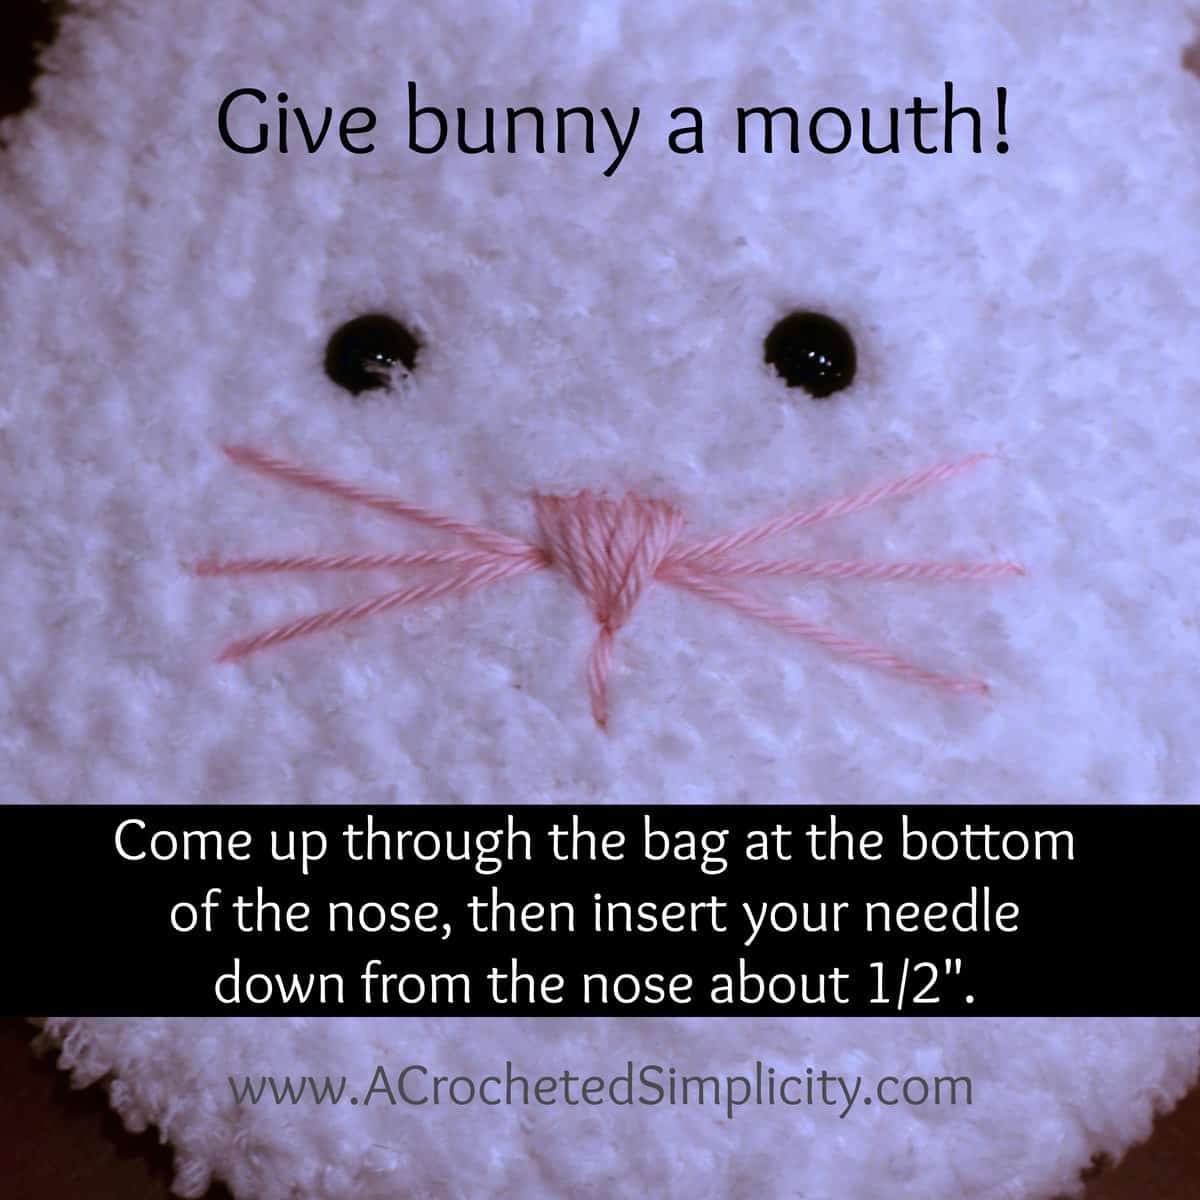
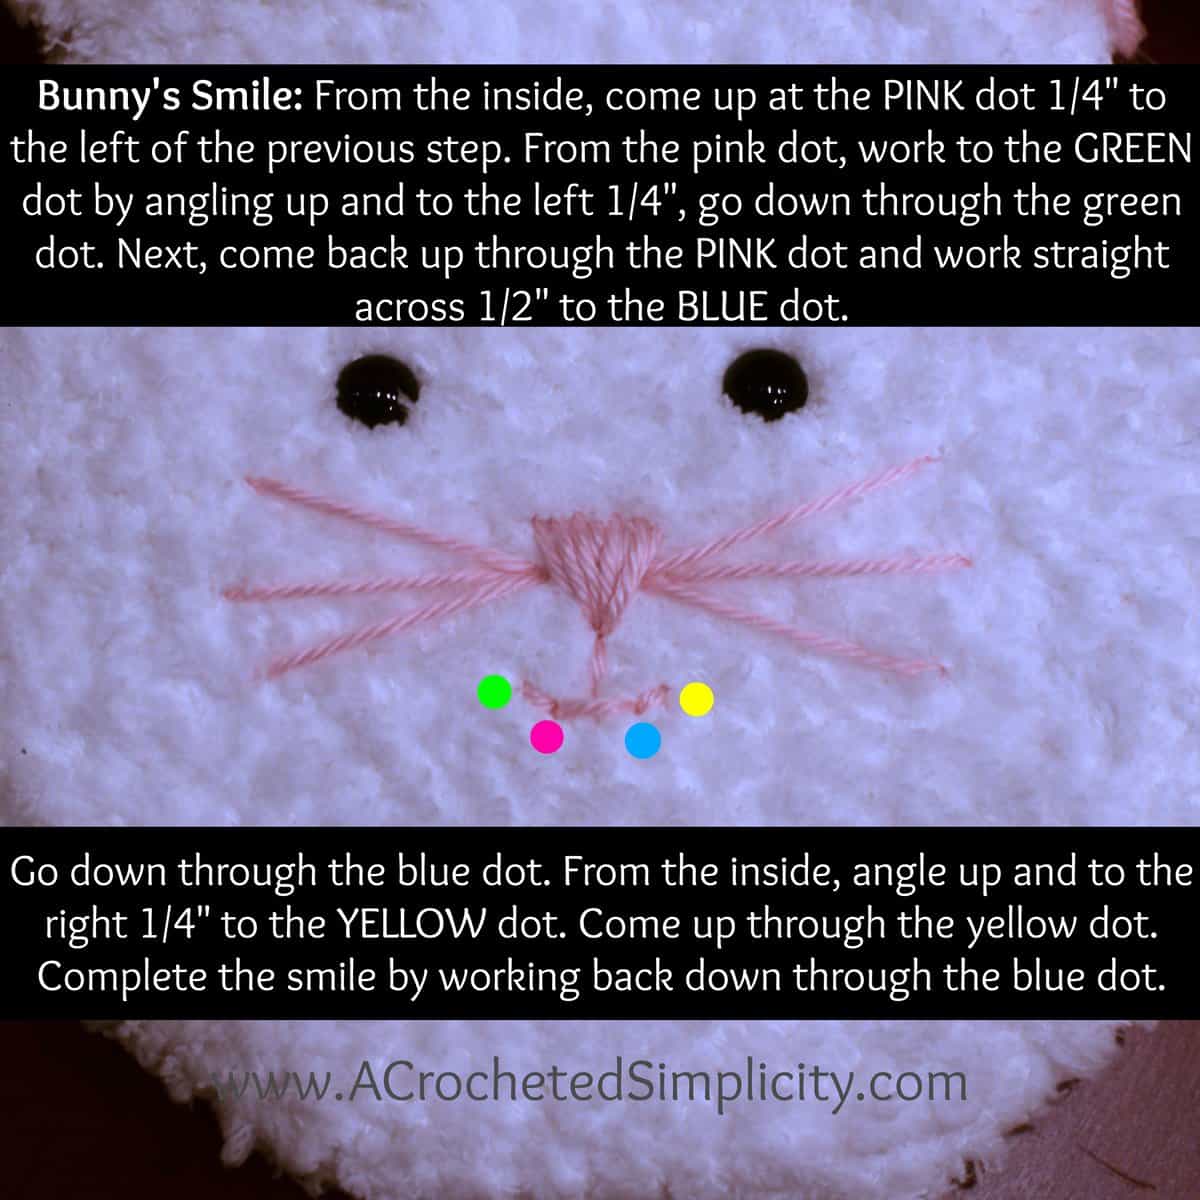
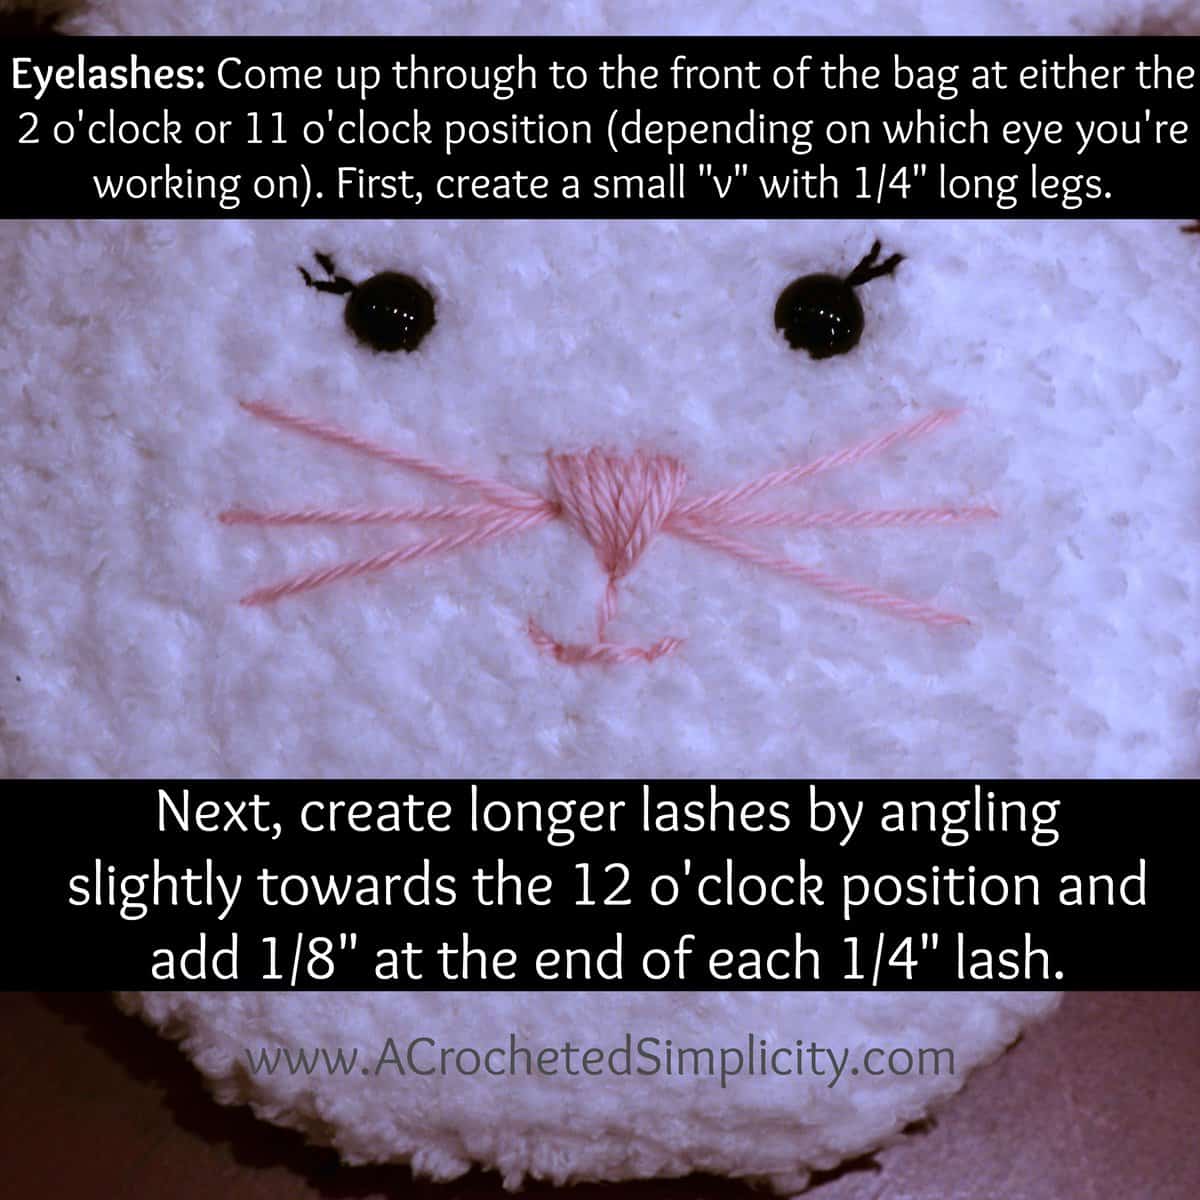
Note: The photos in this tutorial show the Pipsqueak Bunny Bag, but I used the same instructions to add the face to the bunny towel. If you crocheted your eyes, sew them onto the towel with a yarn needle and yarn, in place of the safety eyes.
Eyelashes: Hold together as one, (8) 12″ strands of black thread. Or you can also use black embroidery floss.
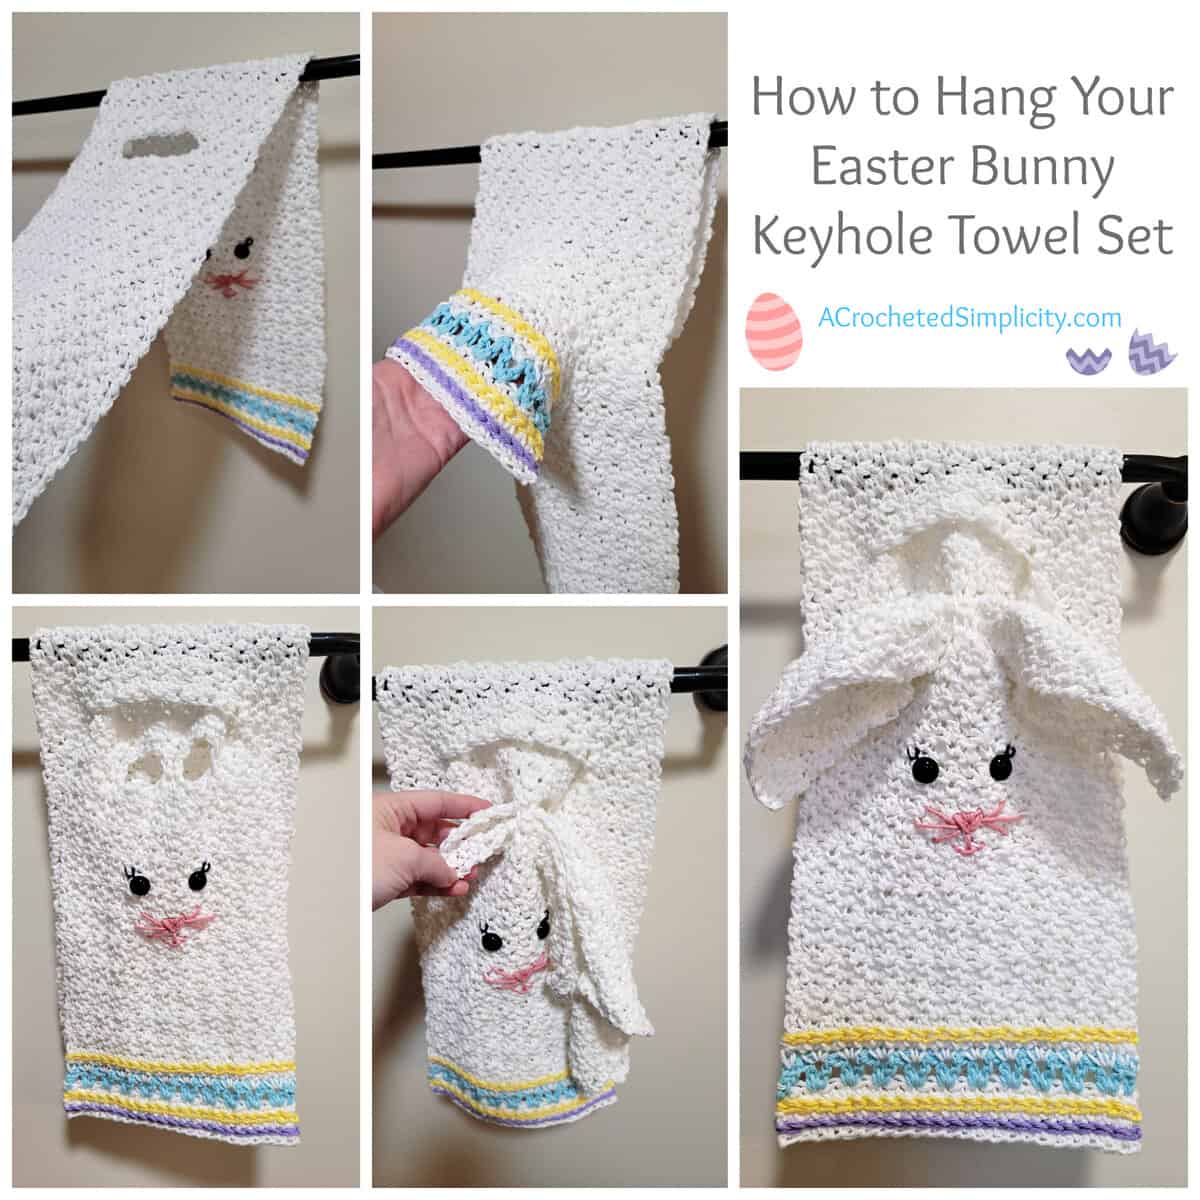
Now that I’ve completed my Easter Bunny Towel & Washcloth Set, how do I hang it up?
Step 1: Drape the towel over the towel bar as shown in the top left photo. Make sure the face of the bunny is facing out.
Step 2: Grab the bottom edge of the towel and pull it through the keyhole. Line up the short ends of the towel.
Step 3: Fold your washcloth ears in half, corner to corner. Insert the washcloth ears through the ear keyholes shown in the bottom left photo.
Step back and enjoy your talents!
MORE FREE CROCHET PATTERNS FROM A CROCHETED SIMPLICITY
If you enjoy this crochet pattern for your kitchen, you may enjoy these other projects as well. And if you just want to browse, you can find all of our free crochet patterns HERE.
Are you intimidated by knit-look crochet? Would you love to learn my tips & tricks? Take an Annies Video Class with me and let me ease your fears and help you increase your skills! Click on the photo below to watch a free preview. You can also see the other 4 video classes I have available!
Please share your finished ACS projects with us in the A Crocheted Simplicity Crochet Community Group on Facebook! Use hashtag #ACrochetedSimplicity when sharing on social media so I can find your posts!


Love this bunny towel and wash cloth. Can’t believe you have not created a Gnome towel
I’m really excited to do more of these projects in 2024 to use as gifts