Free Crochet Pattern – Abella Triangular Scarf
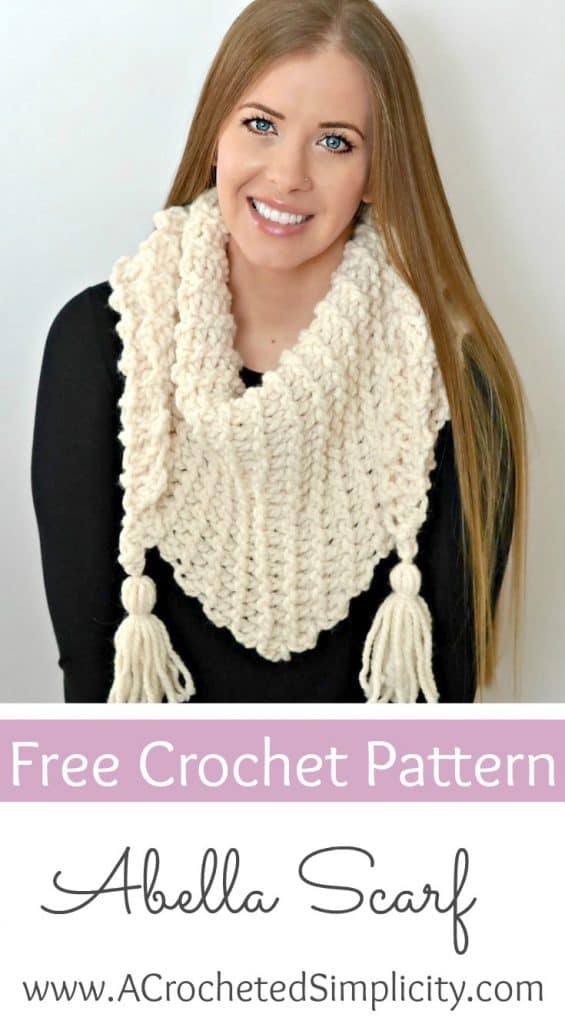
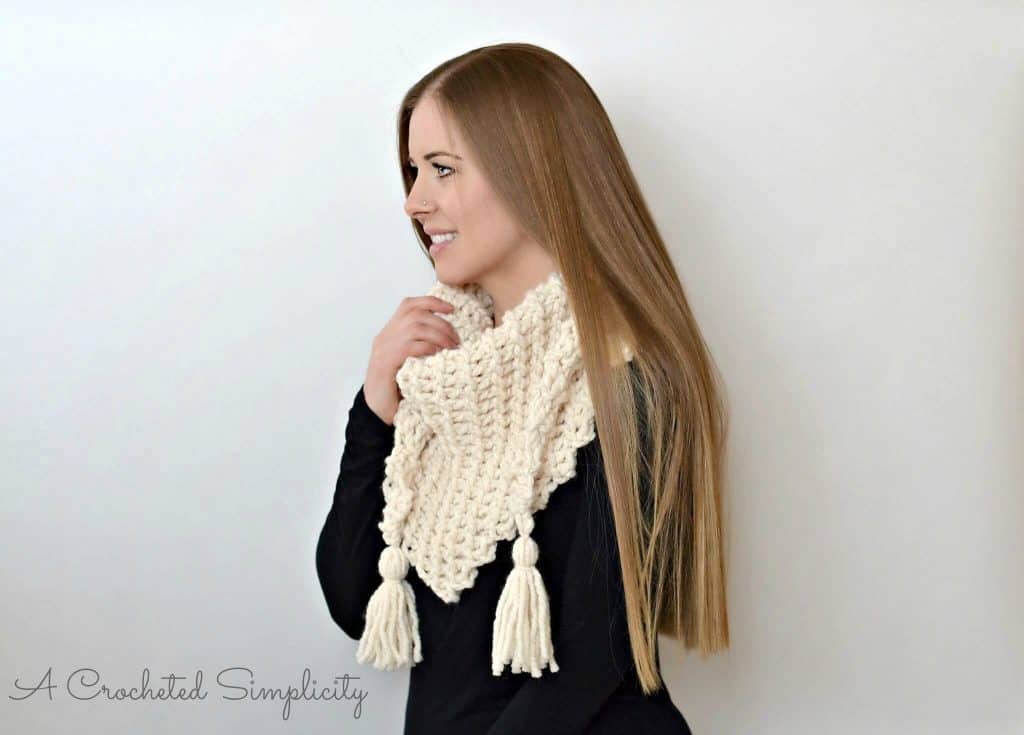
The Abella Triangular Scarf is not only stylish and REVERSIBLE, but it’s also a great (mostly mindless) project that you can crochet when you’re needing to decompress after a long, stressful day at work. You can also make it any custom width and use any yarn weight you desire!
I used Lion Brand Yarn Wool Ease Thick & Quick for the scarf in the photos and it took less than 1.5 balls! It also took less than 2 hours to crochet!!! SO, less than 2 hours, less than 2 balls… that’s a Win, Win in my book! 😀
~Click HERE to sign-up to receive our newsletter!~
~Don’t lose it, add It To Your Ravelry Favorites or Queue.~
~Don’t forget to Pin It too!~
*Purchase an ad-free PDF of this pattern (including all photos) on Craftsy or Ravelry*
This post contains affiliate links.
Materials
- Yarn: Yarn used for the sample shown above is Lion Brand Yarn Wool Ease Thick & Quick/Fisherman; 5 / Bulky Weight Yarn; 1.5 balls (160 yards)
- Note: Although the yarn used in the sample is a super bulky weight yarn, instructions are given so you can use any weight yarn you’d like.
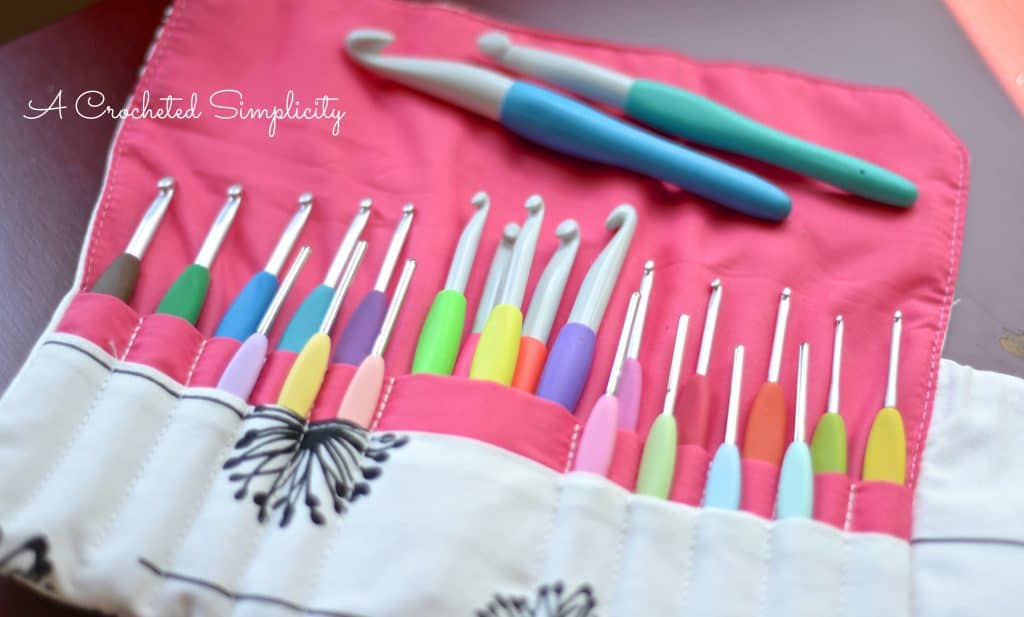
- Crochet Hook: P/Q/15.00mm (my favorite hooks are Clover Amour Hooks, I’ve never had an ache in my hand since switching)
- Locking Stitch Markers (12)
- Scissors
- Tapestry Needle
Many of the materials are available for purchase through our affiliates:


Stitch Abbreviations
- ch(s): chain
- st(s): stitch(es)
- sl st(s): slip stitch
- FLO: front loop only
- BLO: back loop only
- RS: right side
- SM: stitch marker
- Rep: repeat
Finished Size
- One Size Triangle: 50″ longest side x 15″ long at the center point.
- Finished size can be easily adjusted to suit your own individual taste.
Notes
- Beginning chains are not counted as a stitch or included in stitch count.
- The first stitch of each row is worked into the same stitch as the turning chain, unless stated otherwise.
- See Yarn Notes below for instructions on using another weight of yarn.
Yarn Notes
- Although I used Lion Brand Thick & Quick (a super bulky/6 weight yarn) for my scarf, you can use your favorite weight yarn by following these notes:
- Choose your favorite yarn, check the yarn label to see what crochet hook size the manufacturer suggests and then grab a hook that is 1 to 2 sizes larger than what’s suggested (depending on the amount of drape you want your scarf to have). This is the rule of thumb I like to use to achieve the drape desired for this project (you can use a larger hook if you’d like more drape). For example, Lion Brand Wool Ease is a favorite light worsted/4 weight yarn of mine. The yarn label suggests a J/10/6.00mm crochet hook so I used a 7mm crochet hook instead.
If you’re looking for a great new crochet hook case, click here to check out this one from our affiliates!
Click HERE to read my blog post & watch a Video Tutorial on this technique
Instructions
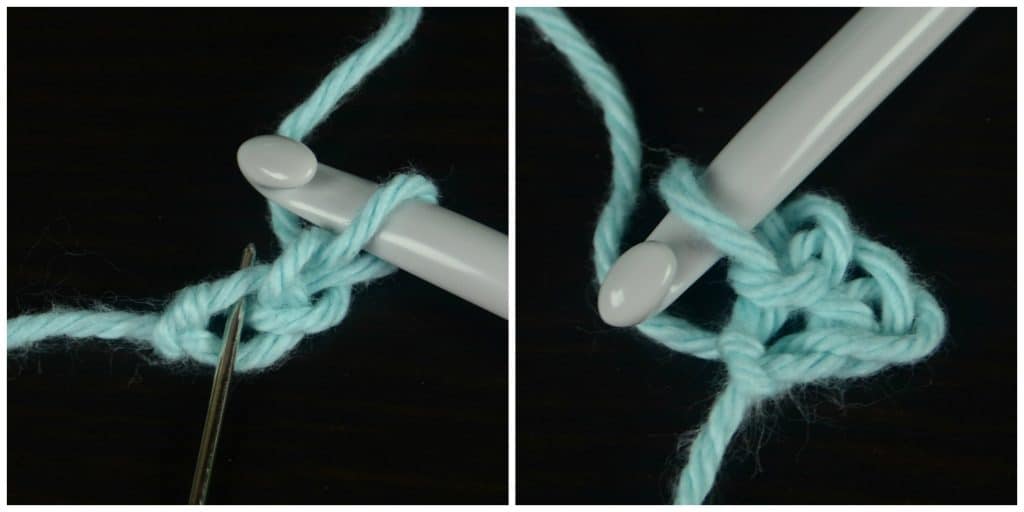
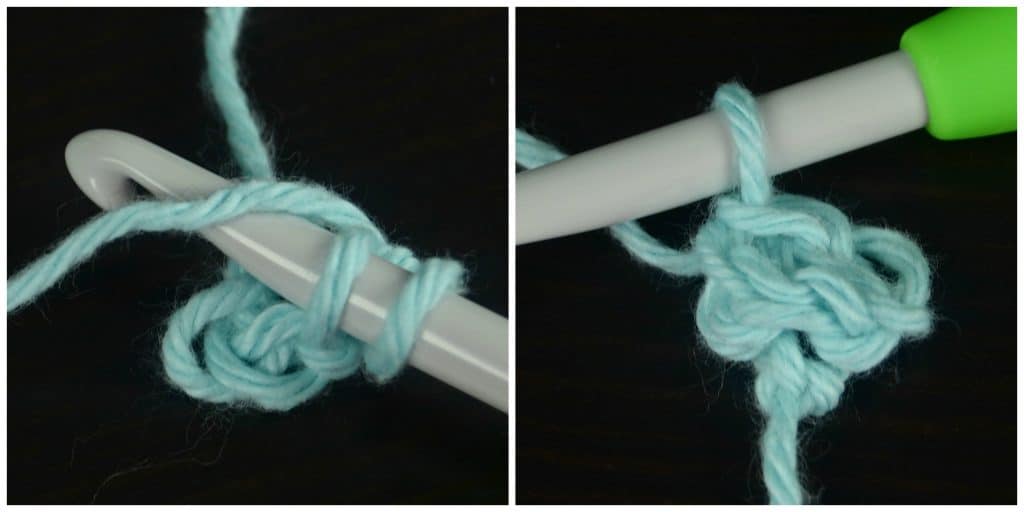
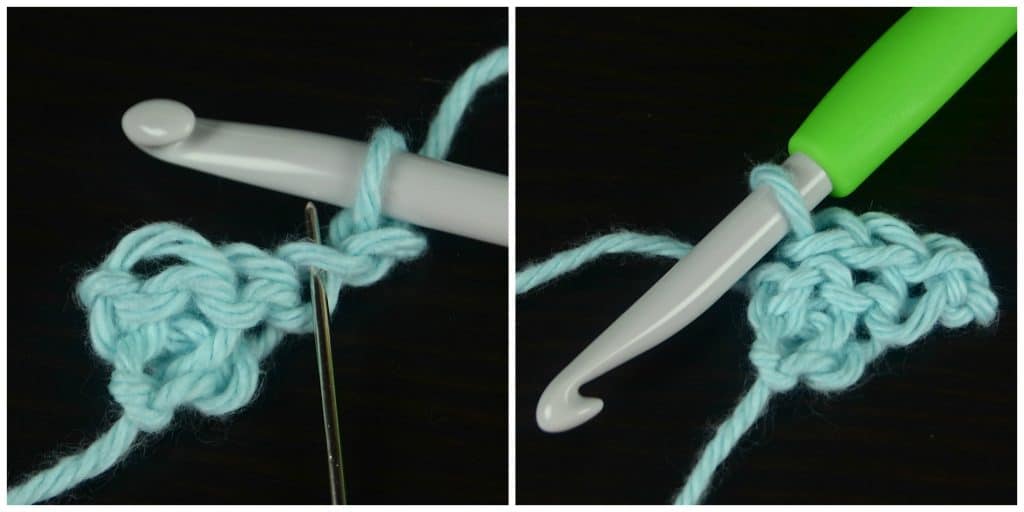
Row 1 (RS): Ch 2, work 2 sl sts into the FLO of the 1st ch. (2 sts) See photos below.
Row 2: Ch 1, Turn, BLO sl st in each st across. (2 sts)
Row 3: Ch 2, Turn, FLO sl st in the 2nd ch from your hook, FLO sl st in each st across. (3 sts) *Each Row 3 rep increases your st count by 1. Tip: Place a SM in the last st of every odd row rep to help keep that last st from hiding after you turn. This will take the guess work out of where you need to work the first st in each even numbered rows. Sometimes in sl st crochet the last st of the row likes to hide. ?
Row 4: Ch 1, Turn, BLO sl st in each st across. (3 sts)
Rep Rows 3 – 4, ending w/ a Row 3 rep, until scarf measures at least 25″ from Row 1. If you’d like a scarf that’s wider than 50″, keep repeating Rows 3 -4 until it’s half the width you’d like your scarf to be. Make sure to end with a Row 3 rep. The short edge of my scarf measures approximately 15″ at this point (this measurement is the width of the last row you worked). After your scarf has reached half the overall width you’d like the finished size to be, continue to Decreasing, below.
Decreasing
Important: Make sure you ended with a Row 3 repeat before continuing to the first decrease row.
Decrease Row 1: Ch 1, Turn, BLO sl st in each st across to the last st, skip the last st. (st count decreases by 1 st)
(Non- Decrease) Row 2: Ch 1, Turn, FLO sl st in each st across.
Rep Rows 1 – 2 until you have 1 stitch remaining.
Fasten off and weave in ends. Click HERE to add tassels to your scarf.
Find all of my FREE crochet patterns HERE
Are you intimidated by crocheted cables? Would you love to learn? Take an Annies Video Class with me and let me ease your fears of crocheted cables! Click on the photo below to watch a free preview. You can also see the other 2 classes I have available! (affiliate link)
I hope you’ve enjoyed this free crochet pattern! Check out my Ravelry shop to see all of my designs!
I LOVE seeing your finished projects! Please feel free to share them in the A Crocheted Simplicity Crochet Community group on Facebook!



I really enjoy all your patterns
Love this shawl!!I will start with my shawl collections real soon!
Thanks for the lovely pattern. I found you on Hookin’ on Hump Day #138: Link Party for the Fiber Arts and have signed up for your newslater.
Thanks!
Cannot wait to try this pattern. Thanks
You’re welcome!
Does this fold in half? It looks like it’s folded at the top, but what I’m crocheting doesn’t seem to be able to do that
The scarf looks awesome but for some reason I don’t get the pattern in the pattern the stitch is slip stitch but in the pictures it looks more like a dc!!
Can you help me please!?
Kind regards
Petra
Hi Petra – The pattern is all slip stitch. There are no dc. ~Jennifer
I love this pattern. it’s easy and the scarf is so pretty. lots of compliments.
I love this pattern, it’s just so freeing & the texture, it’s simplistic. Yet timeless in style. I love it made the a while back for a gift , but no photo. The Abella is a beautiful pattern to do.