Free Crochet Pattern – Butterfly Applique – 2 Sizes
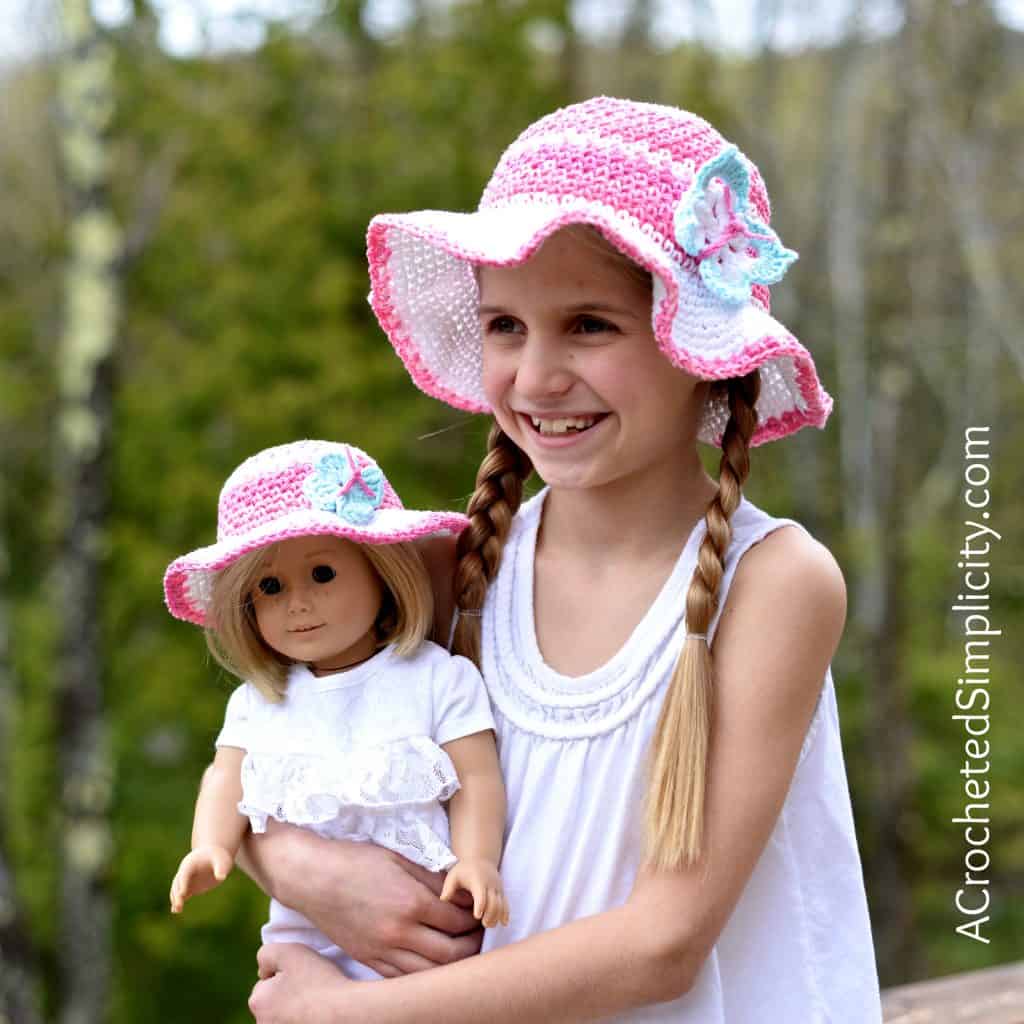
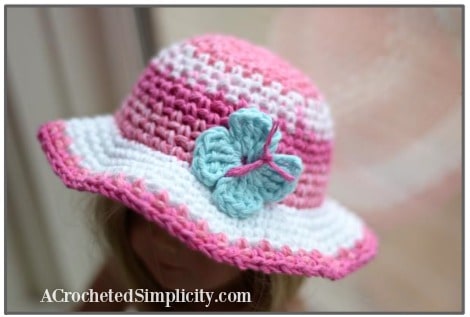
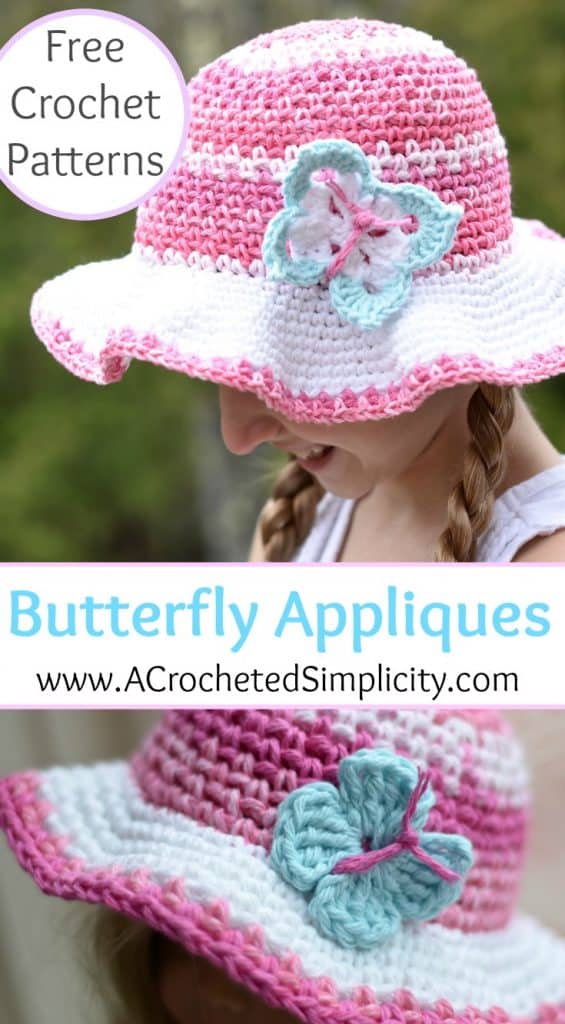
These cute butterfly appliques were designed to embellish the Kids Linen Stitch Sunhat. Claire asked for a new sunhat for her doll so I made a butterfly in 2 different sizes. Scroll down to see the photos of each.
~Click HERE to sign-up to receive our weekly newsletter!~
Click the photo above to be taken to the Kids Linen Stitch Sunhat pattern.
~Don’t lose it, add It To Your Ravelry Favorites or Queue.~
~Don’t forget to Pin It too!~
*Purchase an ad-free PDF that includes all 3: the Kids Linen Stitch Sunhat, Butterfly Appliques & Fun in the Sun Appliques, on Craftsy or Ravelry*
This post contains affiliate links.
Materials
- Yarn: Lily Sugar n’ Cream Worsted Weight Cotton Yarn, whatever colors you’d like to use for your appliques (2.5 oz / 120 yds / 109 m / 100% cotton)
- Crochet Hook: G/6/4.00mm (My favorite crochet hooks are the Clover Amour Hooks, I’ve never had an ache in my hand since switching)
- Scissors
- Yarn Needle
Many of these materials are available for purchase through our affiliates below:


Stitch Abbreviations
- ch: chain
- sl st: slip stitch
- sc: single crochet
- dc: double crochet
- tr: treble crochet
- MR: magic ring
- st(s): stitch(es)
- Rnd: round
- MC: main color
- CC: contrasting color
Large Butterfly Wings
Finished Size: 3-1/4″ W x 2-3/4″ H
Crochet Hook: G/6/4.00mm
Yarn: (MC) White; (CC) Pink
Row 1 (MC): Begin with a Magic Ring, sl st into MR, (ch 6, sc in MR) 4 times. Do Not Join. Pull tail to tighten MR. See Photo A below.
Row 2 (MC): Ch 3, Turn, [ (3 dc, ch3, 3 dc) in ch-6 sp from previous row ] rep from [ to ] in each ch-6 sp around, ch 3, sl st in last ch-6 sp. Fasten off. See Photo B below.
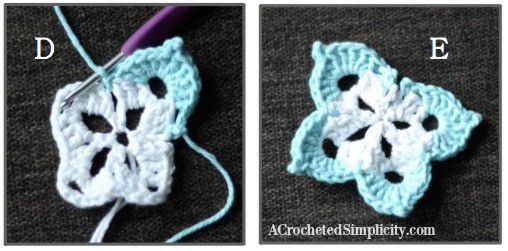
Row 3 (CC): Join w/a sc between ch-3 & 1st dc of Row 2 (See Photo C below), ch 1, [ (5 dc, ch 3, sl st in 1st ch, 5 dc ) in ch-3 sp from row 2, sl st between dcs from previous row (See Photo D below) ] work from [ to ] 3 times, (5 dc, ch 3, sl st in 1st ch, 5 dc) in ch-3 sp from previous row, ch 1, sc between last dc & ch-3 from previous row (See Photo E below).
Fasten off. Weave in ends. Continue below to the Body.
Body
Crochet Hook: G/6/4.00mm
Yarn: (CC2) Robin’s Egg Blue
Row 1 (CC2): Ch 21 (or whatever amount you need to reach approx. 4-1/2″ L).
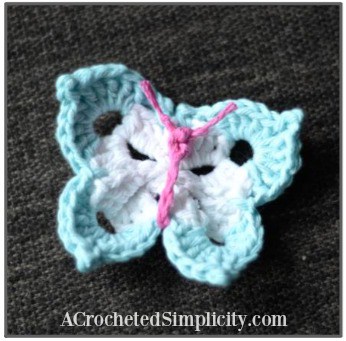
Fasten off. Trim ends to 1/2″ or whatever length you desire. Wrap body around the center of your wings and knot about 1/4″ from end of body (this creates a small head). See photo below.
Small Butterfly
Finished Size: 1-3/4″ W x 1-3/4″ H
Crochet Hook: G/6/4.00mm
Rnd 1: Begin with a Magic Ring, sl st into MR, ( ch 3, 3 tr, ch 3, sl st in MR ) 4 times. Pull tail to tighten MR. (12 tr + 8 ch-3)
Fasten off leaving a 8” tail of yarn for attaching the butterfly to whatever you’d like to use it on.
Butterfly Body: Using a 6” piece of yarn, wrap it around the middle of the butterfly twice then knot the yarn to secure (also creates the head of the butterfly). Trim the ends of yarn to 1⁄4” – 1⁄2”, to form the antennae as desired. See photo above.
Find all of my FREE crochet patterns HERE
Are you intimidated by crocheted cables? Would you love to learn? Take an Annies Video Class with me and let me ease your fears of crocheted cables! Click on the photo below to watch a free preview. You can also see the other 2 classes I have available! (affiliate link)
Please share your finished ACS projects with me in the A Crocheted Simplicity Crochet Community Group on Facebook!

