Free Crochet Pattern: Super Mom, Super Hero Mask!
My kids asked me what I was going to dress up as for Halloween this year and my response was, “Super Mom!”…and then I crocheted myself a mask to play the part. 🙂 I posted a photo on Instagram (follow me there for more fun behind-the-scenes pics) and had several ask for the pattern. So I crocheted another one, wrote up the pattern and took a few tutorial pics to share with all of you!
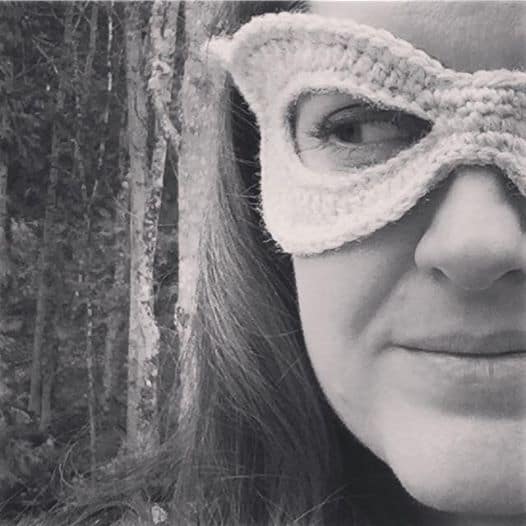
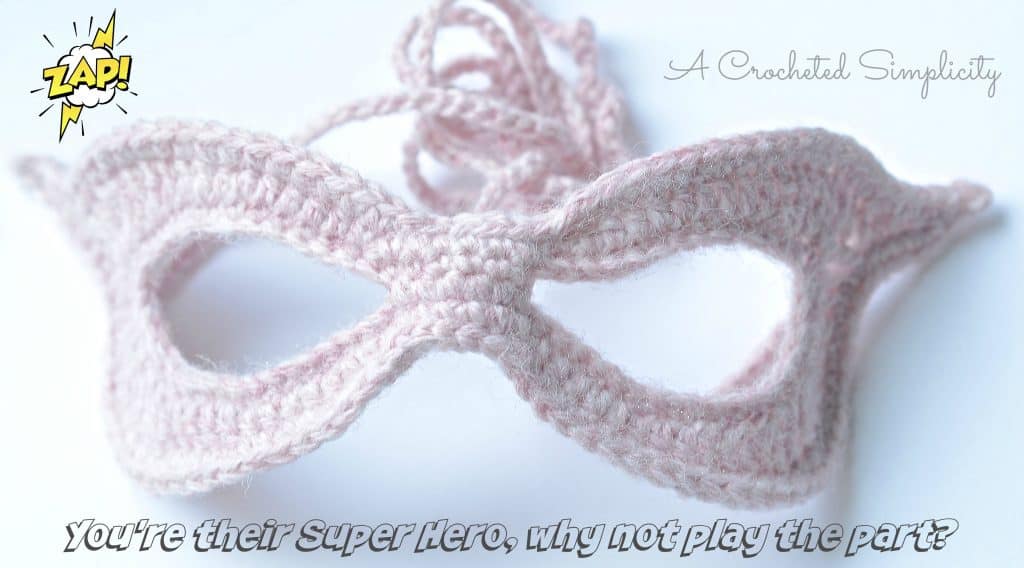
This is a quick project that’s fun for all ages and suitable for more than just Halloween. Don’t forget the dress up trunk, school plays, and more…
~Click HERE to sign-up to receive our weekly (spam-free) newsletter!~
*This post contains affiliate links.
“Super Hero, Super Mom” Crocheted Mask
Materials: US size 3.25mm crochet hook (my favorite can be purchased through our affiliates: Clover Amour Size D, 3.25mm) (or size needed to obtain gauge), stitch marker, yarn needle, scissors, 12 gauge aluminum craft wire (24″)
Yarn: 25 yards / Light Worsted Weight / 4 (yarn shown in the samples is Lion Brand Yarn Wool Ease in Blush Heather).
Difficulty: Easy
Size: One Size (try using a lighter weight yarn, such as a spot weight, and a smaller hook to make a smaller mask)
Gauge: 5 sts = 1″
Abbreviations
- ch(s): chain(s)
- sl st: (slip stitch)
- sc: single crochet
- hdc: half double crochet
- dc: double crochet
- tr: treble crochet
- st(s): stitch(es)
- RS: Right Side
*Have you always loved the look of crocheted cables, but find yourself intimidated by them? Take my Learn to Crochet Cables Annies video class and let me teach you all about cables and walk you through 3 great projects! Clink the photo below to find out more!
Instructions
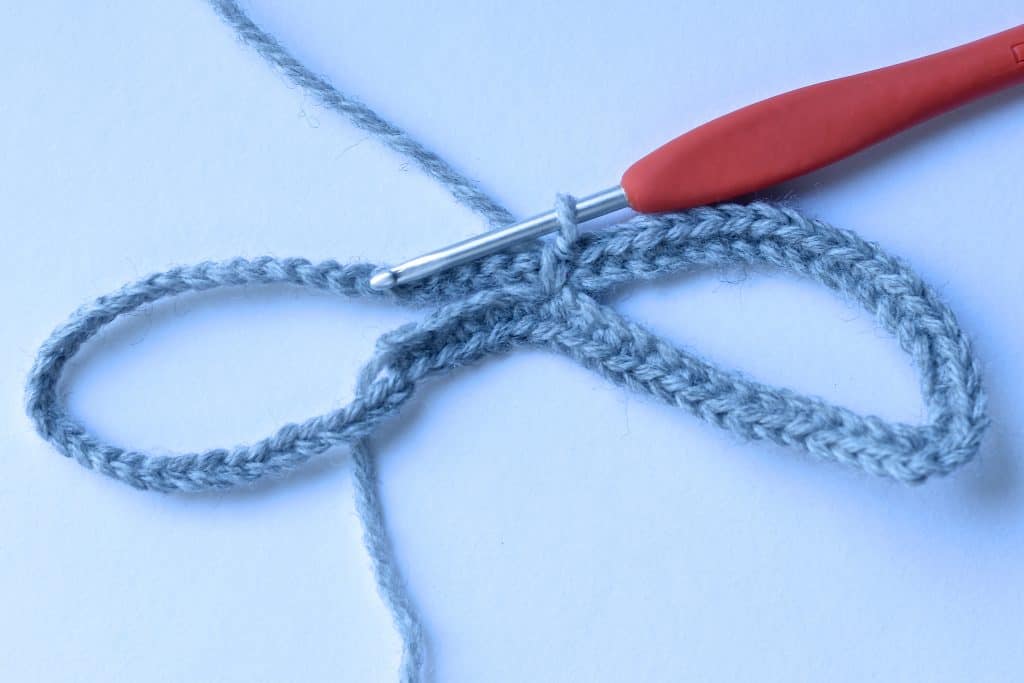
Set-up: Ch 76, be careful not to twist ch, bring 1st ch around to meet last ch. Do not join, instead begin working in continuous rounds (I highly suggest using a stitch marker to keep track of rounds). Begin round 1 by working the 1st sc of round 1 into the 1st ch. (you will sew the gap closed later)
Round 1 (RS): Sc in next 19 chs, 2 sc in next 2 chs, sc in next 17 chs, working around ch and into the bottom of the first 6 sc (begin in 6th sc, See Photo Below), sc in next 6 sts, sc in next 17 chs, 2 sc in next 2 chs, sc in last 13 chs. Do not join. (80 sts)
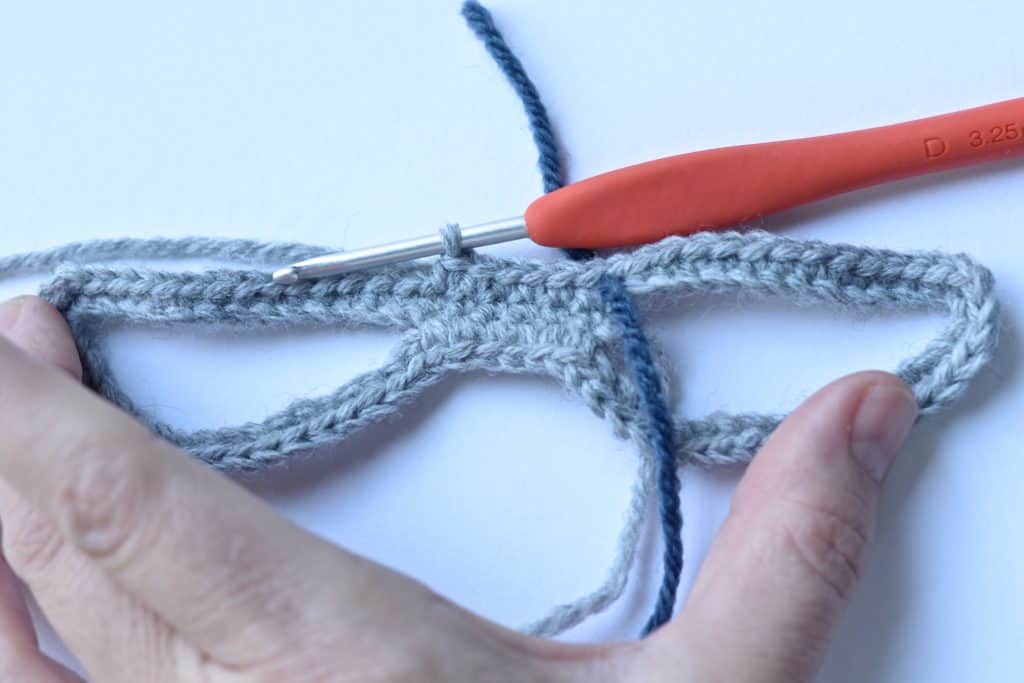
Round 2: *Use a stitch marker or scrap piece of yarn to keep track of your rounds (See Photo Above). Sc in next 6 sts, skip next st, sc in next, hdc in next 6 sts, dc in next 3 sts, tr in next 2 sts, 2 tr in next 2 sts, (See Photos Below), ch 5, sl st in 2nd ch from hook, sc in next ch, hdc in next ch, dc in next ch, dc in side of last tr, dc in same st as last 2 tr group, dc in next 2 sts, 2 tr in next 3 sts, tr in next st, (tr, dc) in next st, dc in next 3 sts, hdc in next 7 sts, sc in next st, skip next st, sc in next 6 sts, skip next st, sc in next st, hdc in next 7 sts, dc in next 3 sts, (dc, tr) in next st, tr in next st, 2 tr in next 3 sts, dc in next 2 sts, tr in next st, ch 5, sl st in 2nd ch from hook, sc in next ch, hdc in next ch, dc in next ch, dc in side of last tr, 2 tr in same st as last tr, 2 tr in next st, tr in next 2 sts, dc in next 3 sts, hdc in next 6 sts, sc in next st, skip next st. (100 sts)
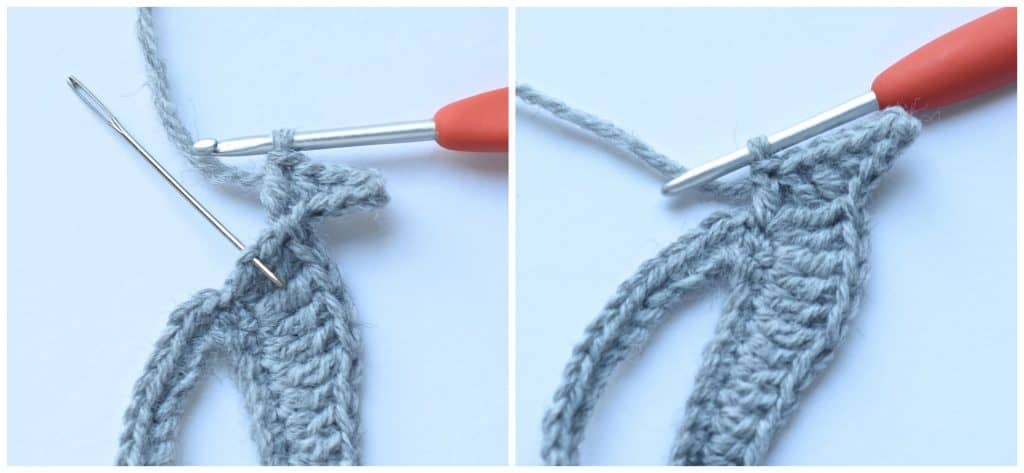
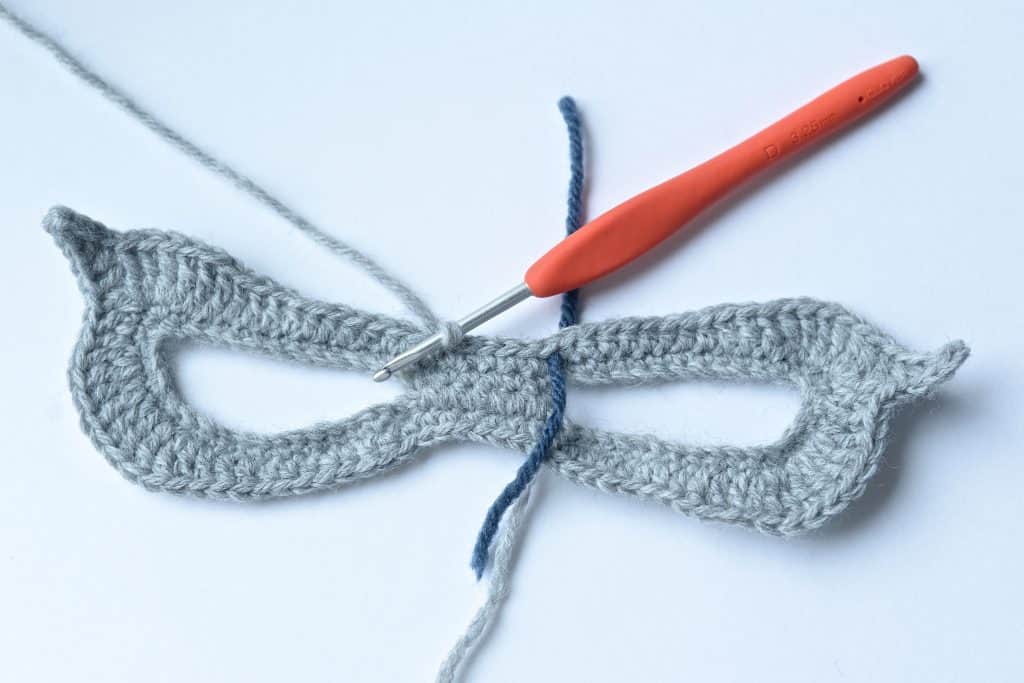
Round 3: Sl st in next 6 sts (See Photo Above), sc in next 16 sts, skip next st, sc in next 3 sts, (See Top Photo Below), ch 4, sl st in 3rd ch from hook, hdc in next ch, sc in next 10 sts, 2 sc in next 4 sts, sc in next 14 sts, sl st in next 6 sts, sc in next 14 sts, 2 sc in next 4 sts, sc in next 8 sts, ch 4, sl st in 3rd ch from hook, hdc in next ch, sc in next 3 sts, skip next st, sc in last 18 sts. Special Join to 1st sl st. (See set of 3 photos below).
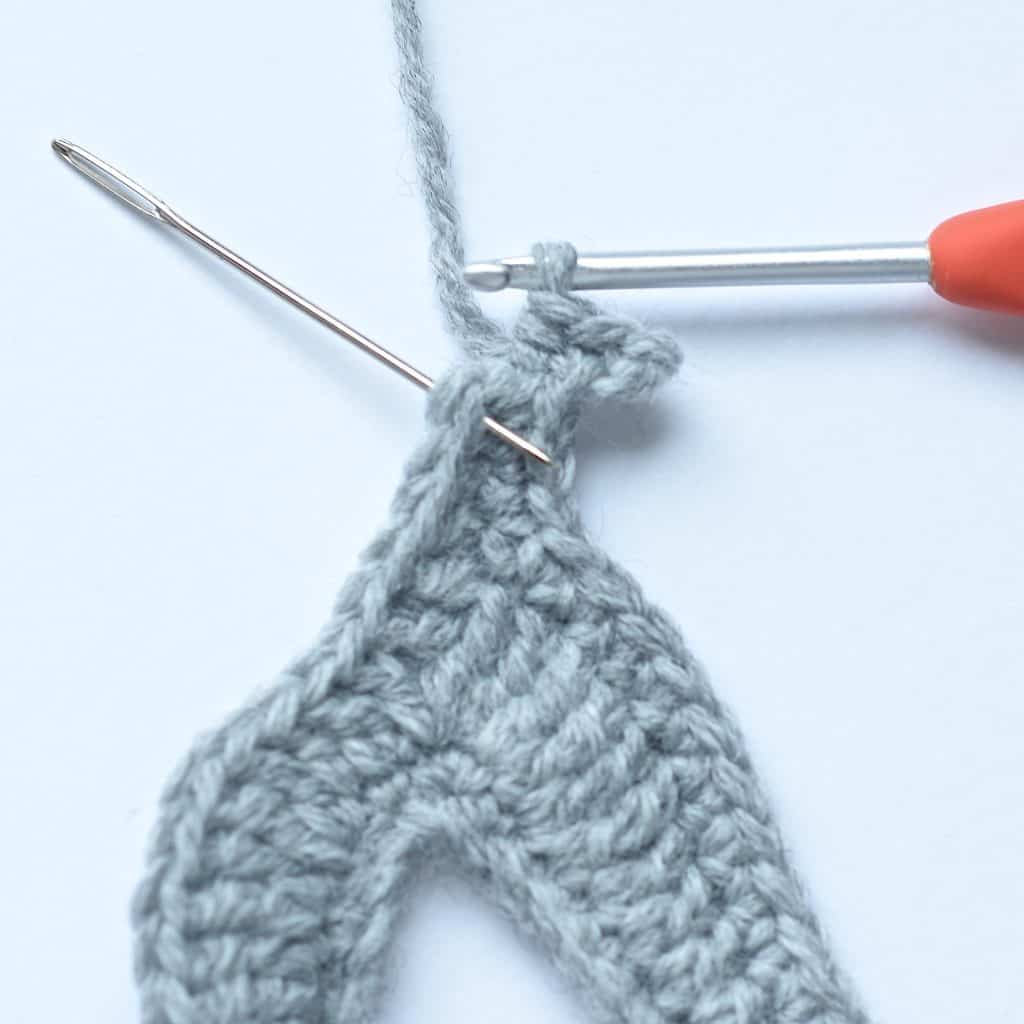

Special Join: Pull up on loop on hook, remove your hook, insert your hook under the top loops of the 1st sl st of the round, put the loop back on your hook, pull slightly to tighten it on your hook, pull yarn thru to the wrong side of the mask. Special Join complete.
Fasten Off. Weave in ends. Sew gap closed from Round 1. Continue below to Adding Wire to Your Mask.
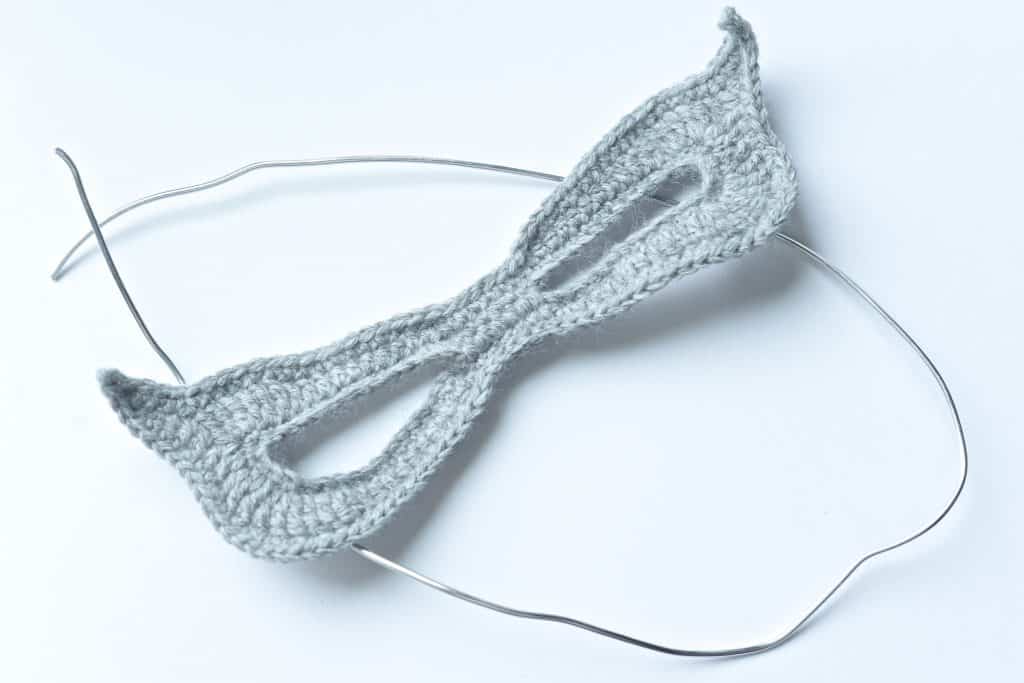
Adding Wire to Your Mask
Step 1: Cut a length of wire that’s a little more than the perimeter around your mask (you’ll want it to be a little long so you can trim it later rather than have it end up too short). Cut a length of yarn that’s 2.5 times the perimeter of your mask.
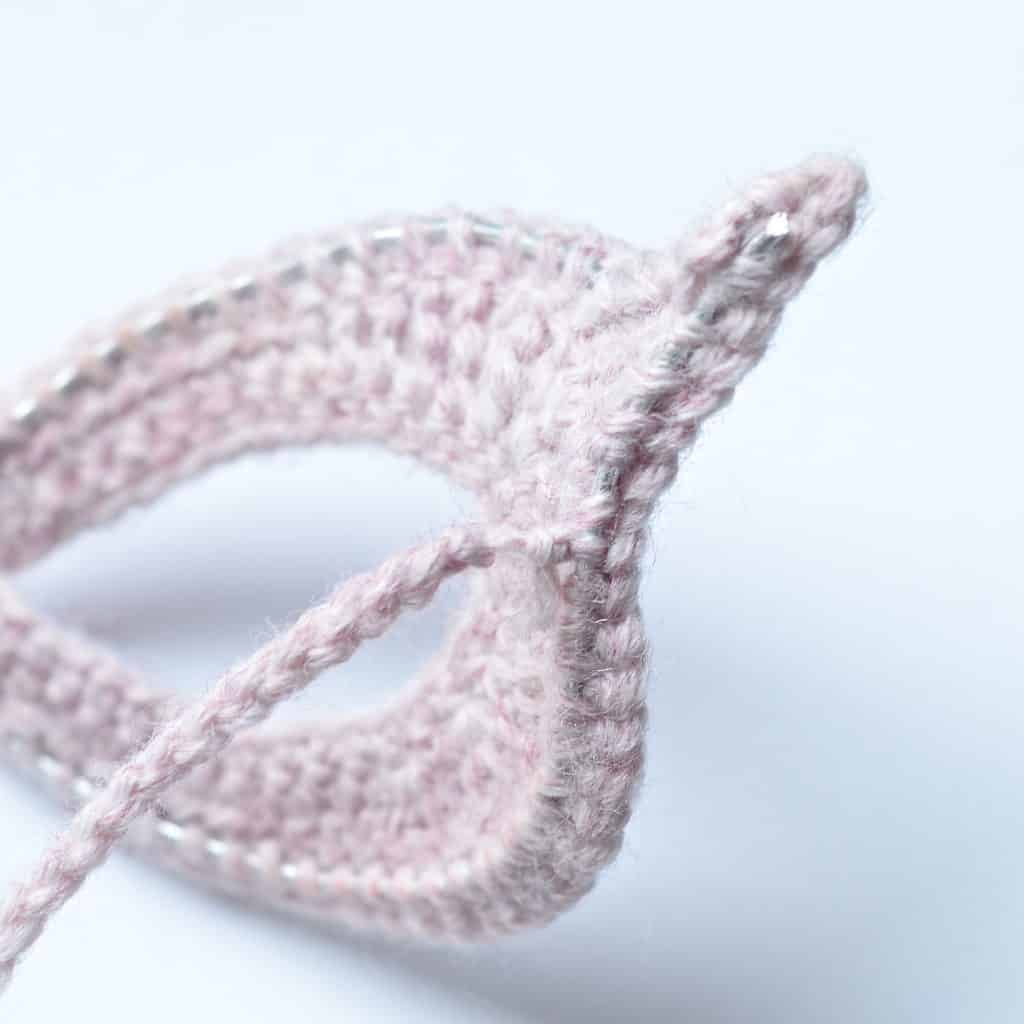
Step 2: I prefer to begin near the upper left “wing” of my mask. Hold the wire along the backside of your mask and using a yarn needle and yarn, sew the wire onto the backside of the mask around the mask’s perimeter. Bring your needle up thru the front of the mask under the top loops of the sc from Round 3, then bring it back down thru the bottom of the same sc from Round 3 (See Photos Below). Be sure you’re working around the wire on the backside of the mask.

Step 3: Continue working around the perimeter of your mask, slightly shaping the wire as you attach it to the mask. Once you’ve sewn the wire on the entire perimeter, you can trim the excess off. Bend any sharp ends of wire to make them curved, or add a dab of hot glue to the ends of them to cover the sharp points.
Step 4: Shape your mask by bending the wire you’ve just added.
Ties (Make 2)
Chain until you have a length of approximately 15″. Fasten off leaving a 6″ tail. Using a yarn needle, attach the tail of yarn to the wire on your mask along the center of the side. Repeat for the 2nd tie. (See Photo Below)
BAM!
Your mask is finished! Enjoy being the Super Mom that you are. Please share your photos with me, I’d love to see all of the super moms out there!
Until Next Time, Happy Crocheting!


What gauge wire? I don’t work with wire crafts so I’m not familiar.
Ok, sorry, I do see where you listed that. Thanks!
No worries. 🙂 You’re welcome!
Love this!! Thank you for sharing your pattern!!
You’re very welcome!
Have you thought about doing a video tutorial? I am struggling to follow your pattern, and your mask is just so beautiful! I can’t find another like it. 🙂
I haven’t thought about a video for this one. I’ll have to see if I can find some time this fall. In the meantime, if you can tell me where you’re stuck, I can see what I can do to help. 🙂