Motif Market Tote – Free Crochet Bag Pattern
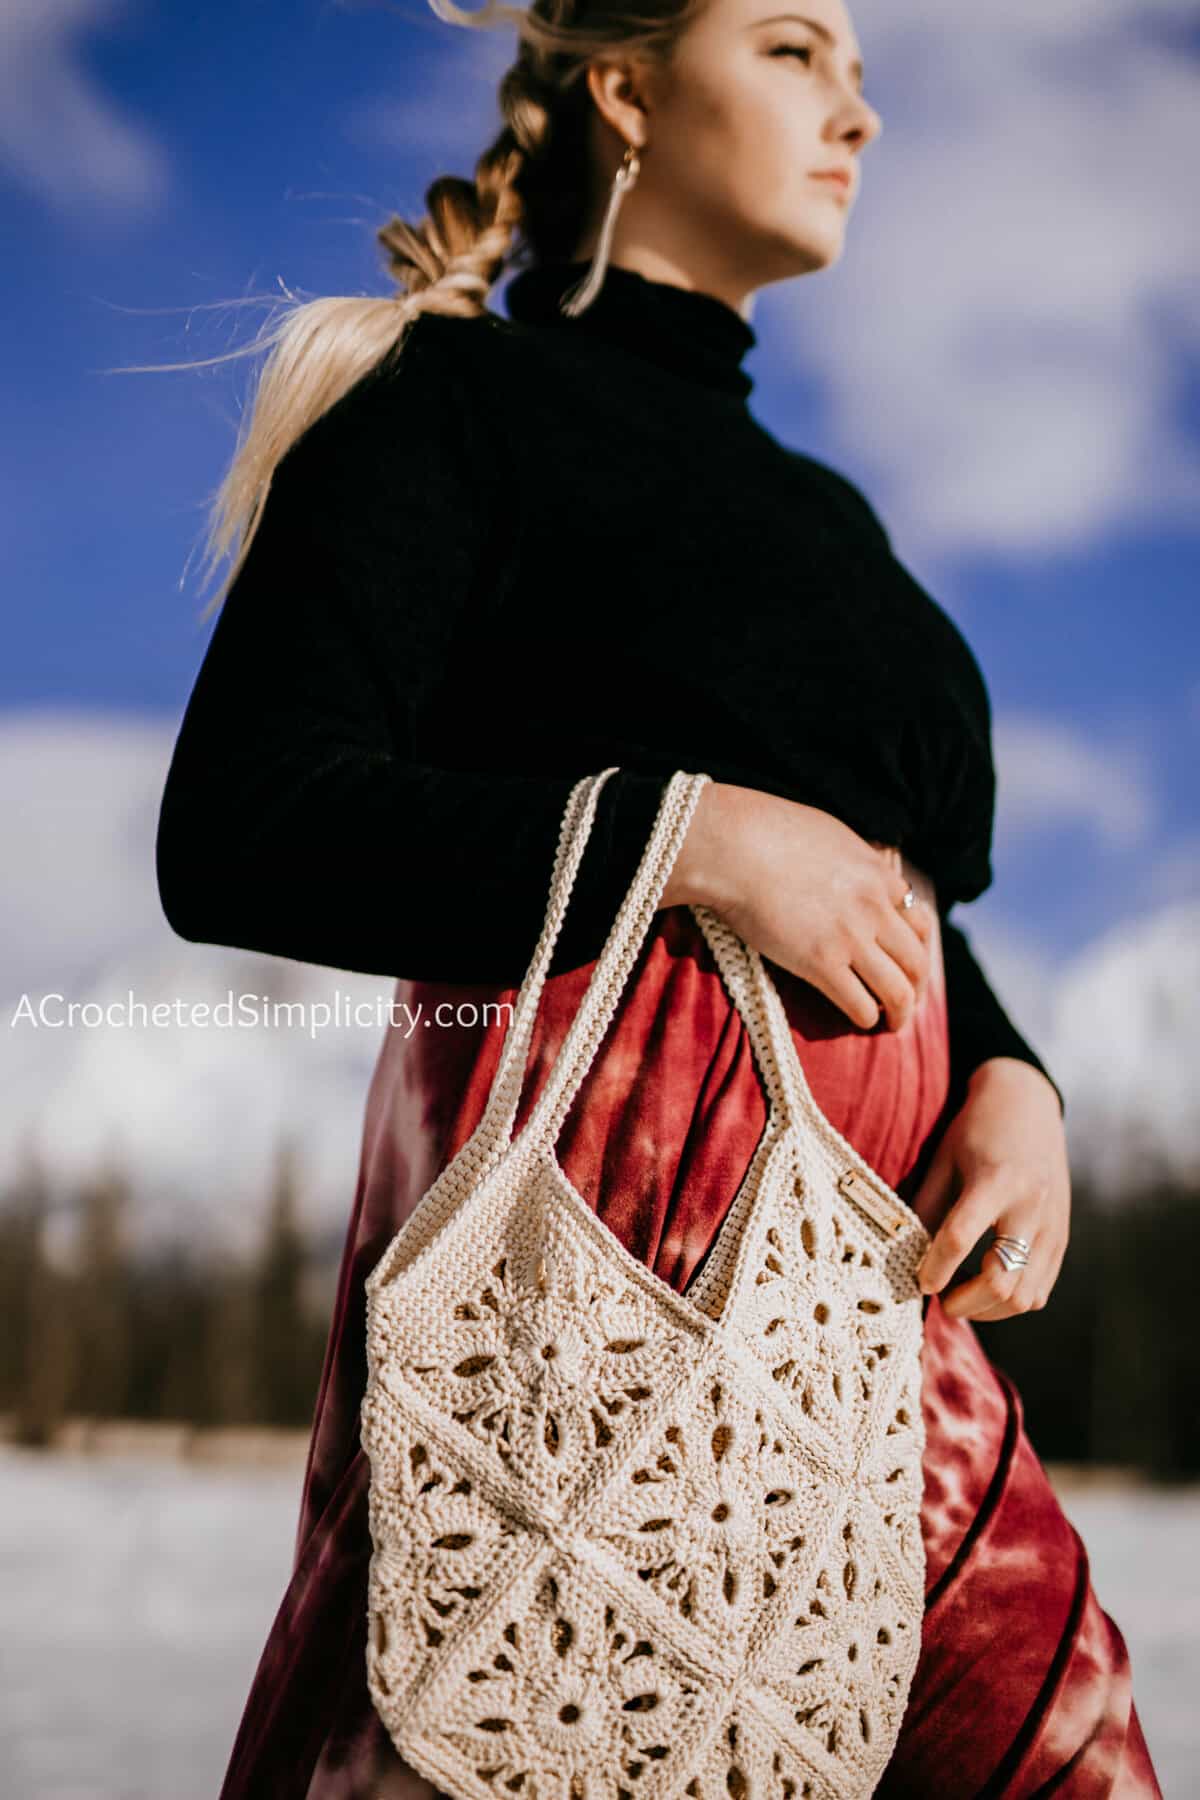
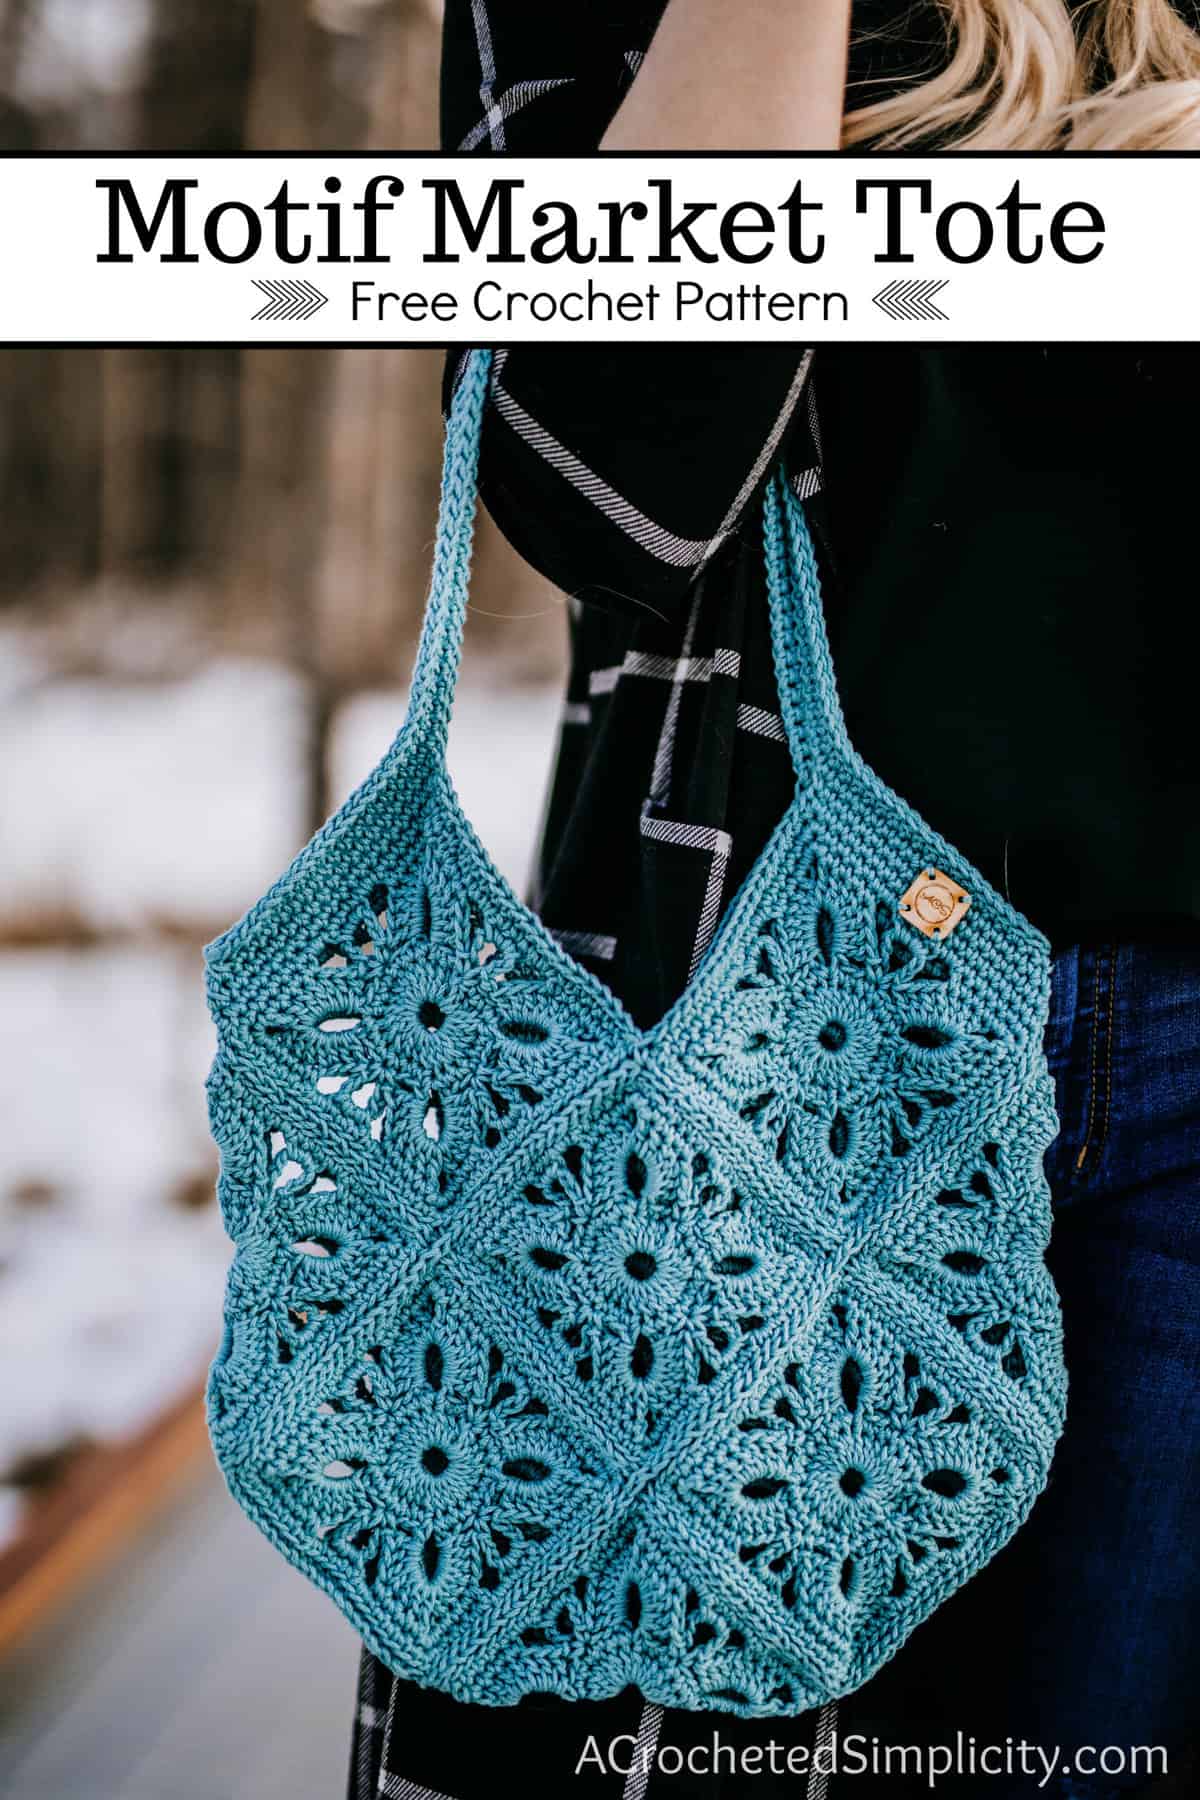
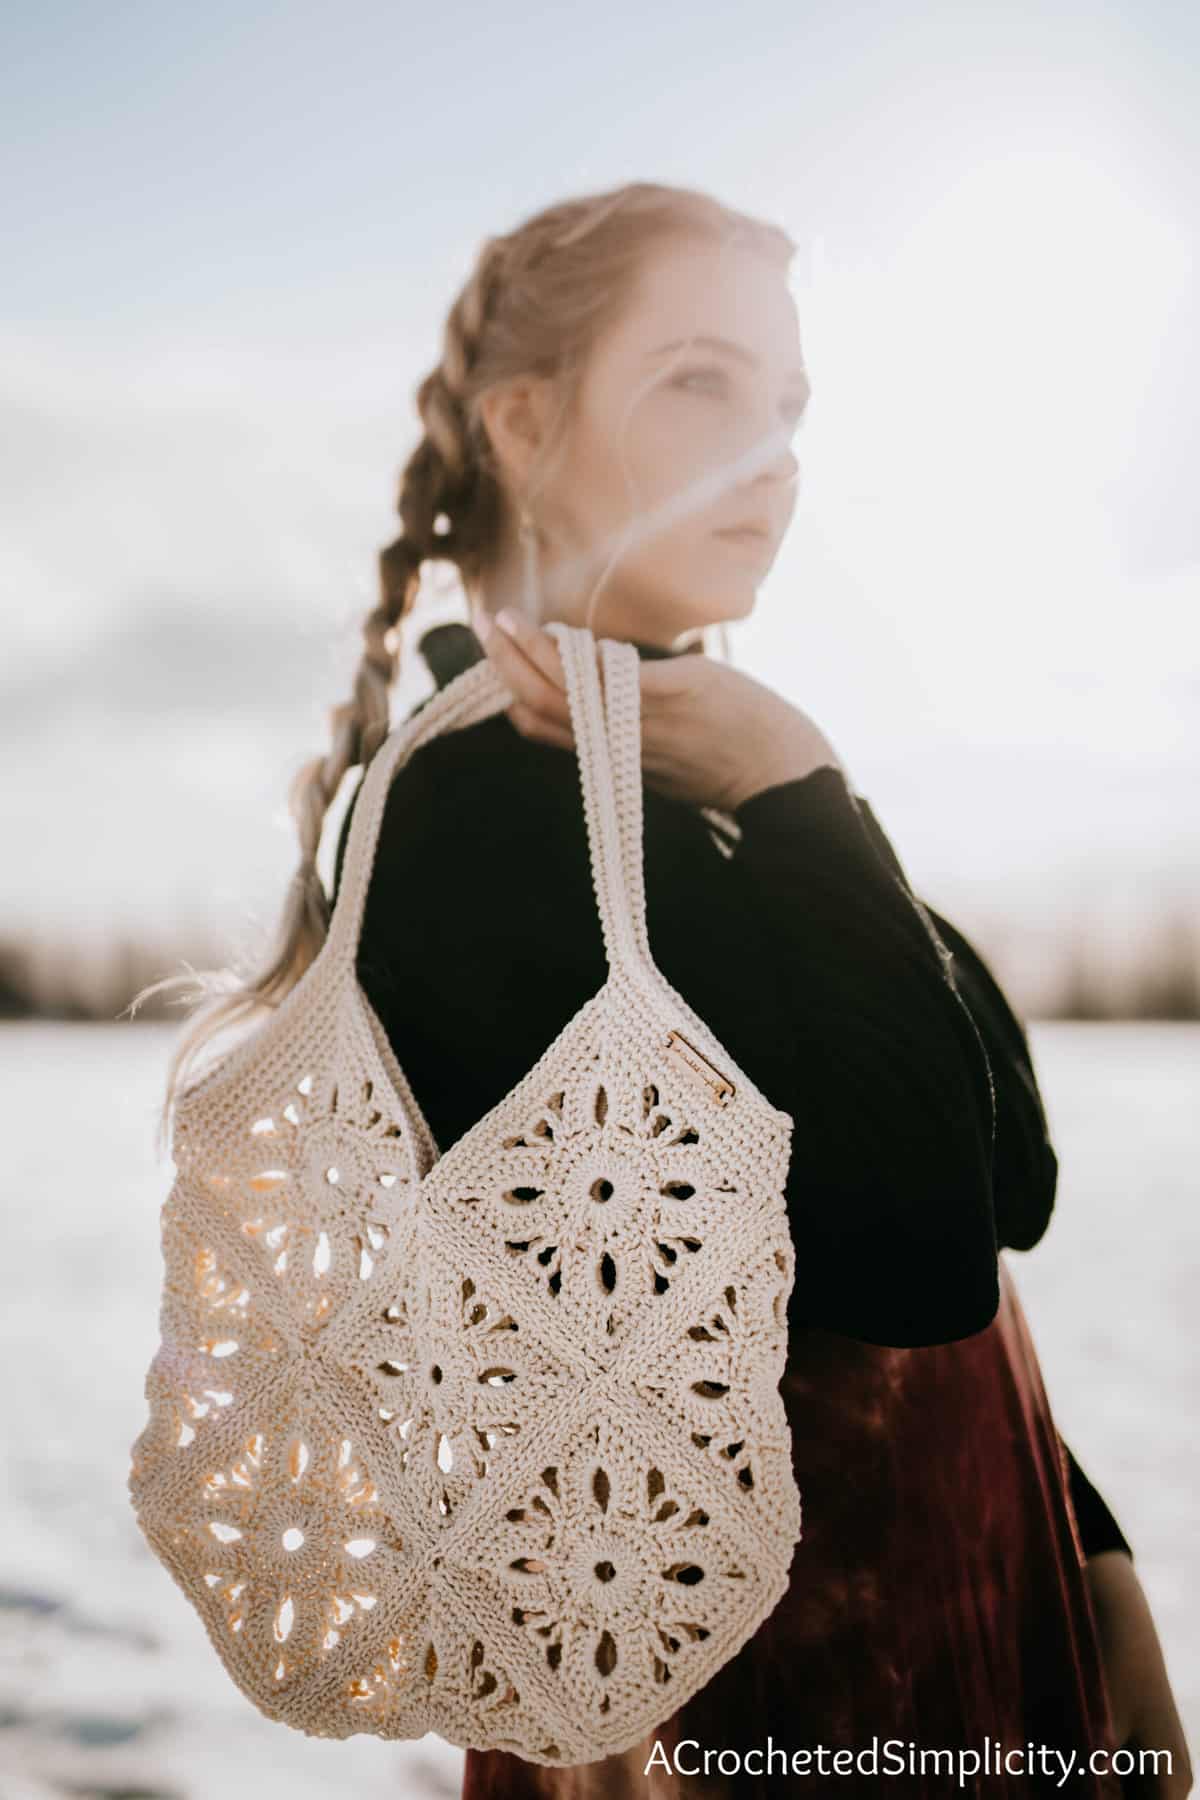
Beginners and seasoned crocheters alike will enjoy crocheting the simple granny squares used to create the Motif Market Tote. The visual interest created by the openwork in the design makes it the perfect market tote for spring and summer. This crochet market tote pattern will be a fun challenge for advanced beginners and it will keep experienced crocheters from losing interest.
You can find the free crochet tote bag pattern for the Motif Market Tote in this blog post below, or you can purchase an ad-free, easily printable PDF on Love Crafts here, Ravelry here or Etsy here.
> CLICK HERE TO SIGN-UP TO RECEIVE OUR NEWSLETTER <
THE YARN
Aren’t personalized wooden and leather tags such a great finishing touch to add to our crochet items? I ordered these ones and a couple different wooden ones from an awesome online maker. You can find links to where I purchased and a tutorial on how to attach all of them HERE.
MOTIF MARKET TOTE – FREE CROCHET BAG PATTERN
The free pattern is below, but if you love to work offline, I’ve got a couple other great options for you.
Purchase the ad-free, printable PDF, including all photo tutorials, on Love Crafts here, Ravelry here, or on Etsy here.
Purchase the kit here! Lion Brand also has a full kit of the Motif Market Tote, available on their website. The kit includes your choice of color and a digital copy of the pattern below.
Save this pattern to your Ravelry favorites here.
Pin it for later here.
This post contains affiliate links.
Materials
- Yarn: Worsted Weight / 4 Cotton Yarn / 420 yards; I used Lion Brand yarns 24/7 Cotton in Ecru & Succulent (3.5oz / 100 g / 186 yards / 170 meters / 100% mercerized cotton)
- Crochet Hook: H/8/5.00mm or size needed to obtain gauge (My favorite crochet hooks are the Clover Amour Crochet Hooks, I’ve never had an ache in my hand since switching).
- Scissors
- Yarn Needle
- Locking Stitch Markers
- Personalized Tags
Many of these materials are available for purchase through our affiliates below:


Abbreviations (US Terms)
- ch(s): chain(s)
- sl st(s): slip stitch(es)
- st(s): stitch(es)
- sp(s): space(s)
- sc: single crochet
- dc: double crochet
- Join with a standing sc: standing single crochet (click here for tutorial)
- RS/WS: right side / wrong side
- Rep: repeat
- Rnd(s): round(s)
- yo: yarn over
Size
-
One Size: 12.75″ W x 12.5″ H (not including strap)
Gauge
- Motif Square: 4.5″ x 4.5″
Notes
- I tend to crochet on the tighter side. You may need to go down a hook size (or two) to meet gauge if you crochet on the looser side.
- Yarn Notes: Lion Brand Yarns 24/7 Cotton in Succulent and Ecru were used for the samples. (3.5oz / 100 g / 186 yards / 170 meters / 100% mercerized cotton). Another comparable worsted weight cotton yarn may be substituted.
- Yardage: 420 yards
- This tote bag is constructed by first crocheting 13 motif squares. You’ll then lay the squares out as shown in the pattern and seam them together. Lastly, you’ll add a top edge and strap.
- Flat Slip Stitch Seam: Click HERE for tutorial
Special Stitches
- Join with a standing sc: When instructed to “Join with a standing sc”, begin with a slip knot on your hook. Insert your hook into the stitch or space indicated, yo, pull up a loop, yo and draw thru both loops on your hook. (click here for tutorial)
Motif Market Tote
4.5″ – Motif Square Instructions (Make 13)
Tip! I highly suggest using locking stitch markers where noted. They will help to keep you on track while you crochet and they come in very handy when seaming the motifs together.
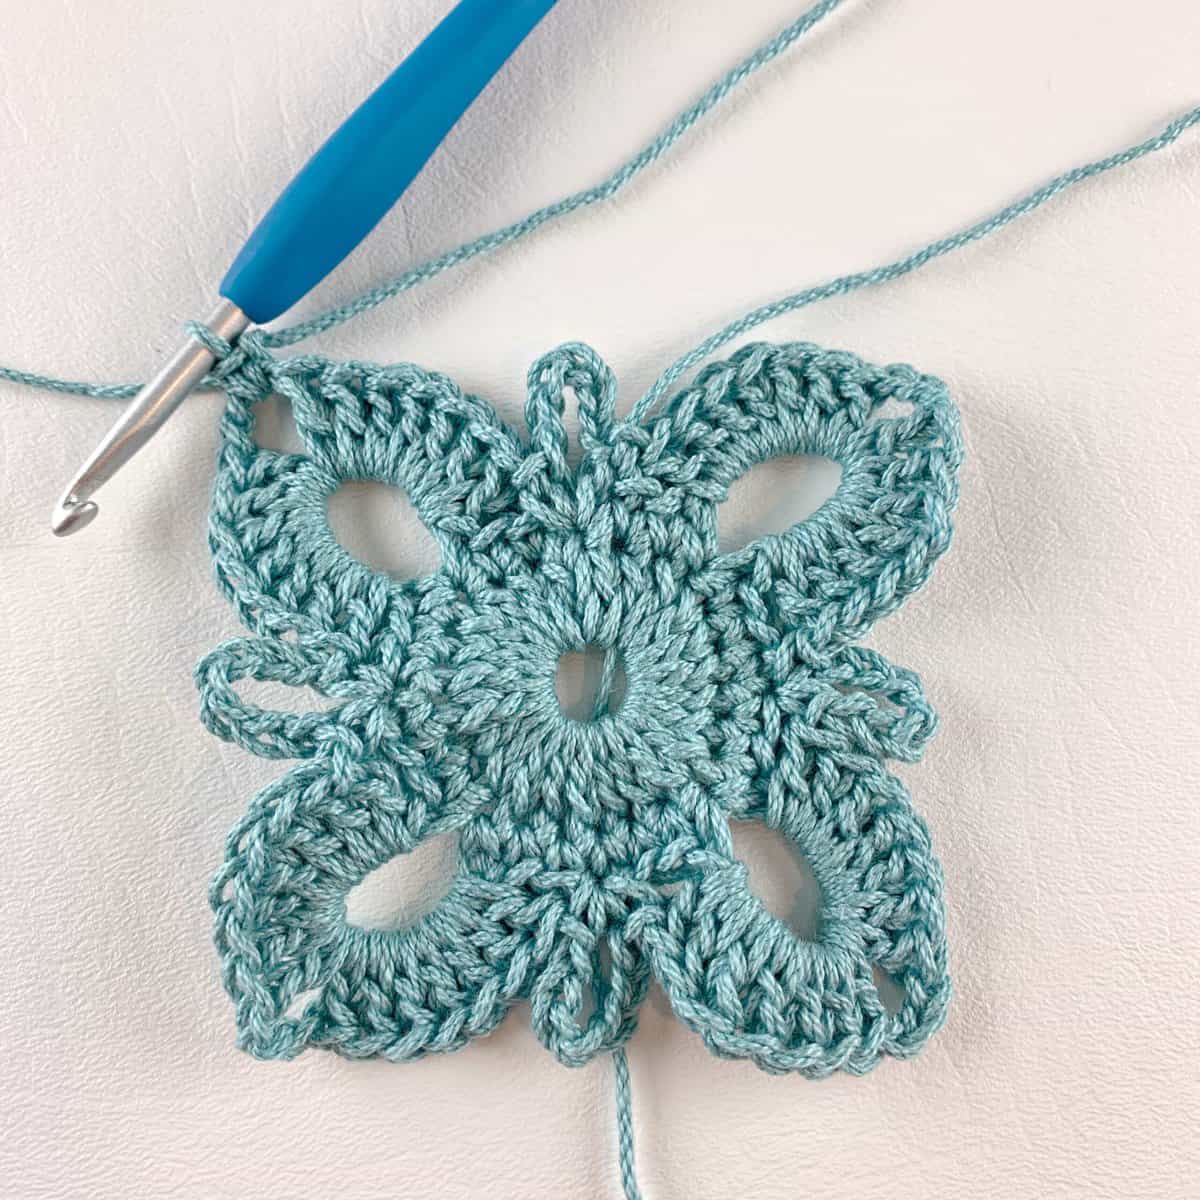
Rnd 1 (RS / MC): With yarn and a 5.00mm crochet hook, begin with a magic ring, sl st into the magic ring then ch 2 (does not count as a stitch), work 24 dc into the magic ring. Do not join. (24 sts)
Rnd 2: Sc in each of the next 3 sts, * (sc, ch 7, sc) in the next st, sc in each of the next 5 sts, work from * for a total of 3 times, then (sc, ch 7, sc) in the next st, sc in each of the last 2 sts. Do not join. (28 sts + 4 ch-7’s)
Rnd 3: * (sc, ch 7, sc) in the next st, skip each of the next 3 sc, (7 dc, ch 3, 7 dc) in the next ch-7 sp, skip each of the next 3 sc, work from * for a total of 4 times. Join with a sl st to the 1st sc. (64 sts, + 4 ch-7 sps + 4 ch-3 sps)
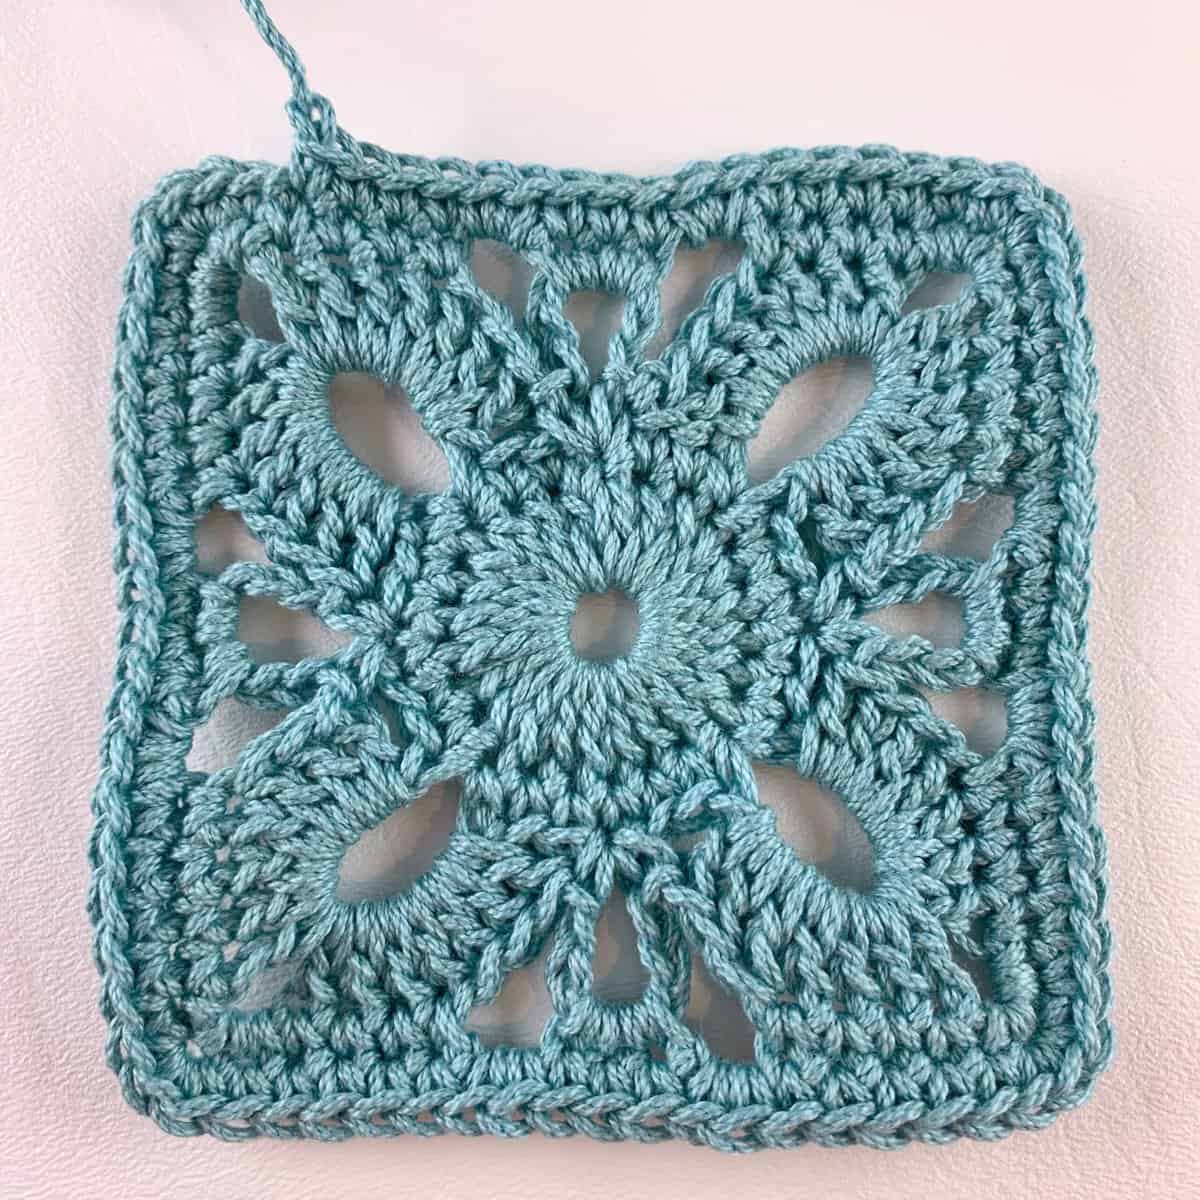
Fasten off. Continue on to Motif Square Border. *Photo below shows the Motif Square before border is added.
Motif Square Border
Rnd 1 (RS): With a 5.00mm crochet hook, join yarn with a standing sc (click here for tutorial) in a ch-3 sp at a corner, work 2 more sc in the same ch-3 sp, * sc in each of the next 4 dc, ch 2, skip each of the next 3 dc, work 3 sc in the next ch-7 sp, ch 2, skip each of the next 3 dc, sc in each of the next 4 dc, 3 sc in the next ch-3 sp, work from * a total of 3 times, then sc in each of the next 4 dc, ch 2, skip each of the next 3 dc, work 3 sc in the next ch-7 sp, ch 2, skip each of the next 3 dc, sc in each of the next 4 dc. Do not join. (56 sts + 8 ch-2 sps)
Rnd 2: Sc in the next st, * 3 sc in the next st, sc in each of the next 5 sts, 2 sc in the next ch-2 sp, sc in each of the next 3 sts, 2 sc in the next ch-2 sp, sc in each of the next 5 sts, work from * a total of 3 times, then 3 sc in the next st, sc in each of the next 5 sts, 2 sc in the next ch-2 sp, sc in each of the next 3 sts, 2 sc in the next ch-2 sp, sc in each of the last 4 sts. Do not join. (80 sts)
Fasten off. Weave in ends. After you’ve completed all 13 motifs, continue on to Layout and Seaming Motifs. *Photo below shows 1 motif complete.
Layout & Seaming Motifs
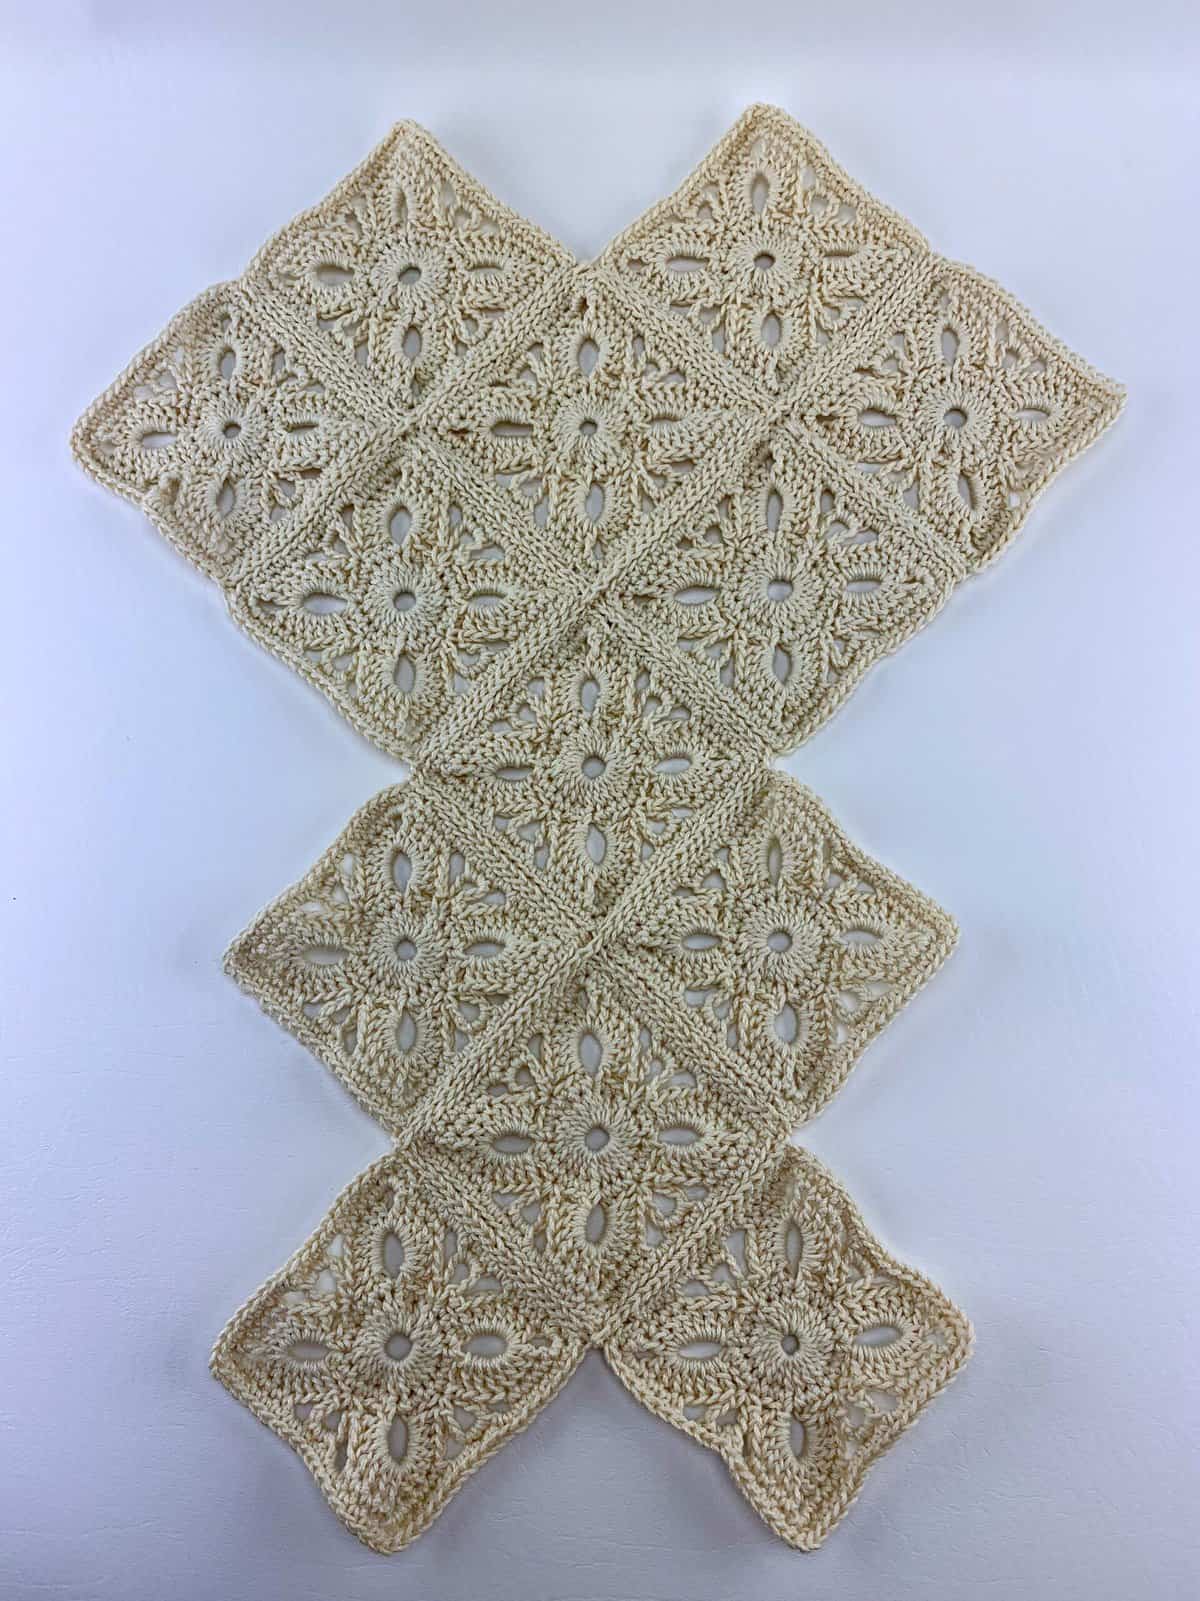
Step 1: Use the layout shown in the photo below to arrange your motif squares with the right sides facing up.
Step 2: Use locking stitch markers or scrap pieces of yarn to hold the squares together while you seam. Make sure to place the stitch markers in the middle single crochet at each corner to keep your squares lined up straight.
Step 3: Use a 5.00mm crochet hook to work a Flat Slip Stitch Seam (click HERE for tutorial), work all seams horizontally. When you get to the end of a row, fasten off and continue on to the next row that needs to be seamed.
Weave in all ends. Continue on to Folding & Seaming.
Folding & Seaming
Step 1: Flip the seamed squares over so that the right side is facing down. See photo below.
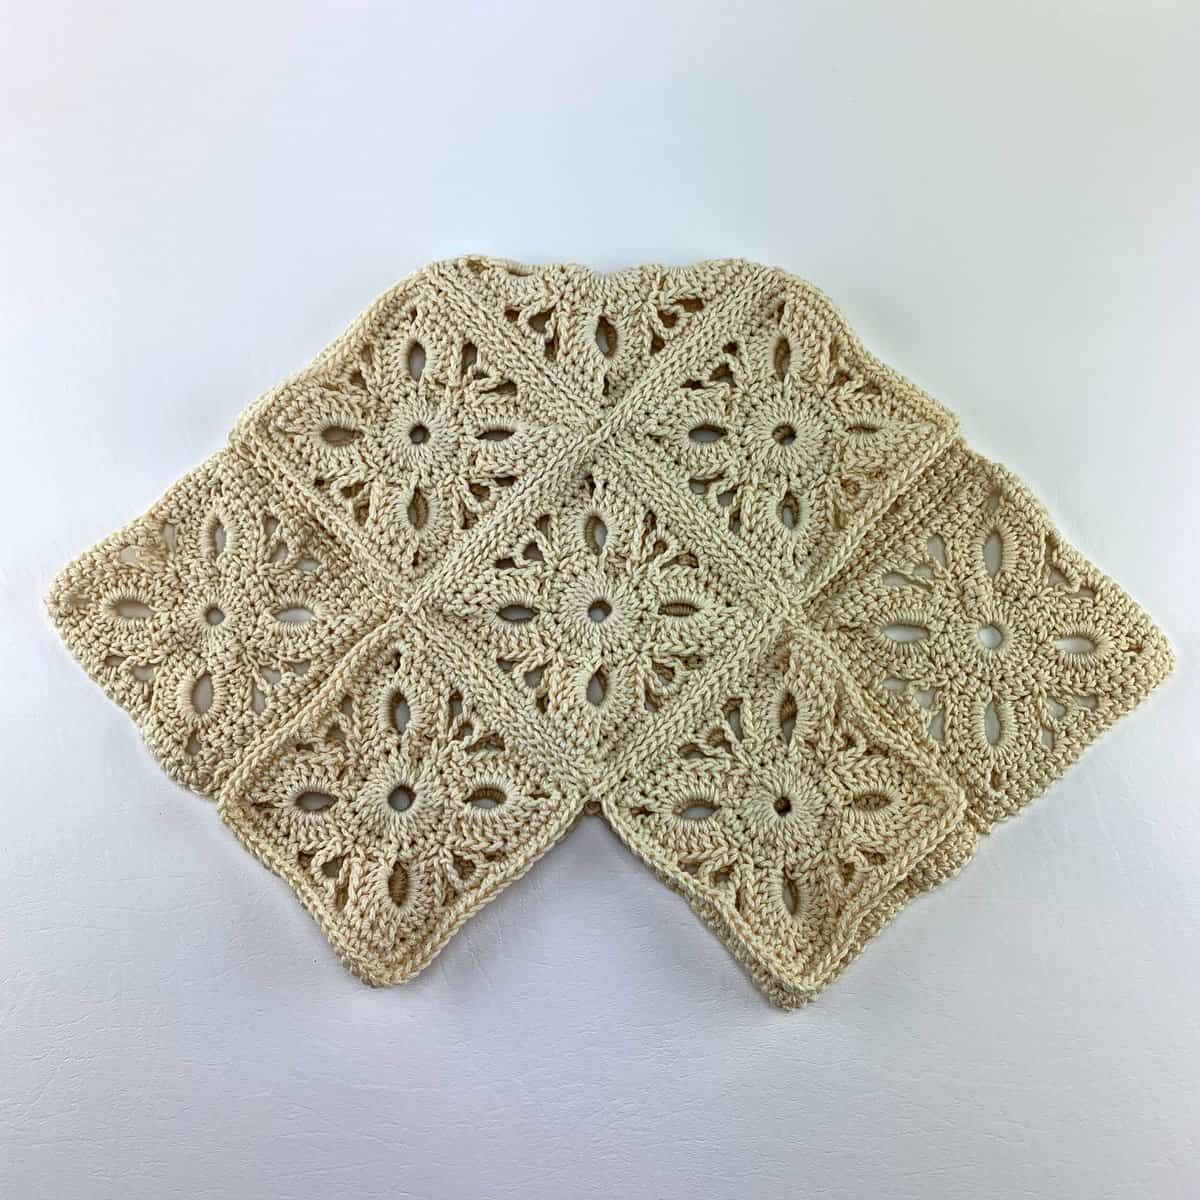
Step 2: Fold the seamed squares down matching the top 2 peaks with the bottom 2 peaks.
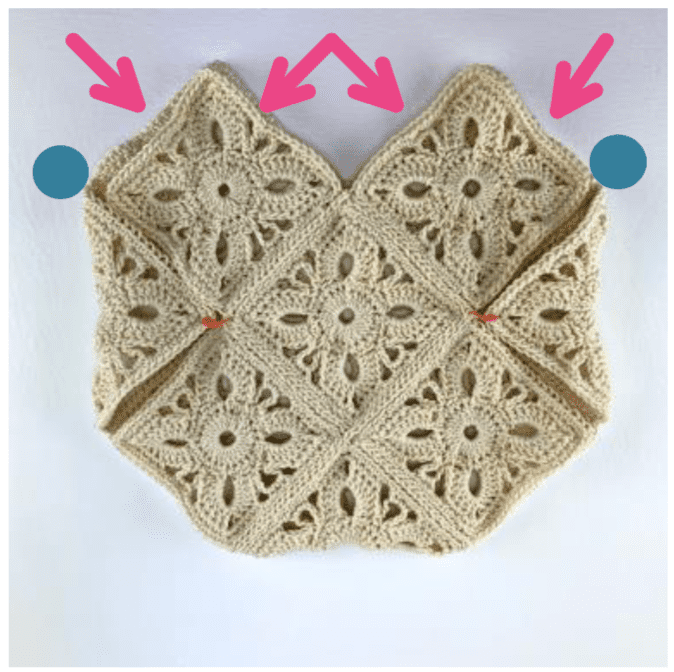
Step 3: Now fold the most outer left and right squares over towards the center of the bag so that they fit into the zig zag space. See photo below.
Step 4: Use a 5.00mm crochet hook to work a flat slip stitch seam (working on a zig zag) from the BLUE dots to the bottom of the bag. Make sure not to seam the edges where the pink arrows are pointing.
Weave in ends. Continue on to Top Edging & Straps.
Top Edging & Straps – See Photos Below
Rnd 1 (RS): With a 5.00mm crochet hook, join yarn with a standing sc in the st to the left of a valley on either side of the tote bag (see photo), working up and down the peaks and valleys that form the top edge of the bag, sc in each st around, working 3 sc into the top st at each of the 4 peaks. Do not join. Stitch count isn’t crucial.
Rnd 2: Sc in each st to middle sc in next peak, ch 60 (to create handle), skip across to the middle sc in the next peak, sc in sc at peak, sc in each st down to the 3 center sts in the next valley, sc3tog in valley, sc in each st up to middle sc in next peak, ch 60, skip across to the middle sc in the next peak, sc in the middle sc of the next peak, sc in each st down to the 3 center sts in the next valley, sc3tog in valley. Do not join.
Rnd 3: Sc in each st and ch around and work sc3tog in the bottom 3 sts in each valley. Do not join.
Rnd 4: Sc in each st around and work a sc3tog in the bottom 3 sts in each valley. Do not join.
Rnd 5: Sl st in each st around. Join using Special Join Technique (click here for tutorial).
Fasten off. Weave in ends. Block, if desired.
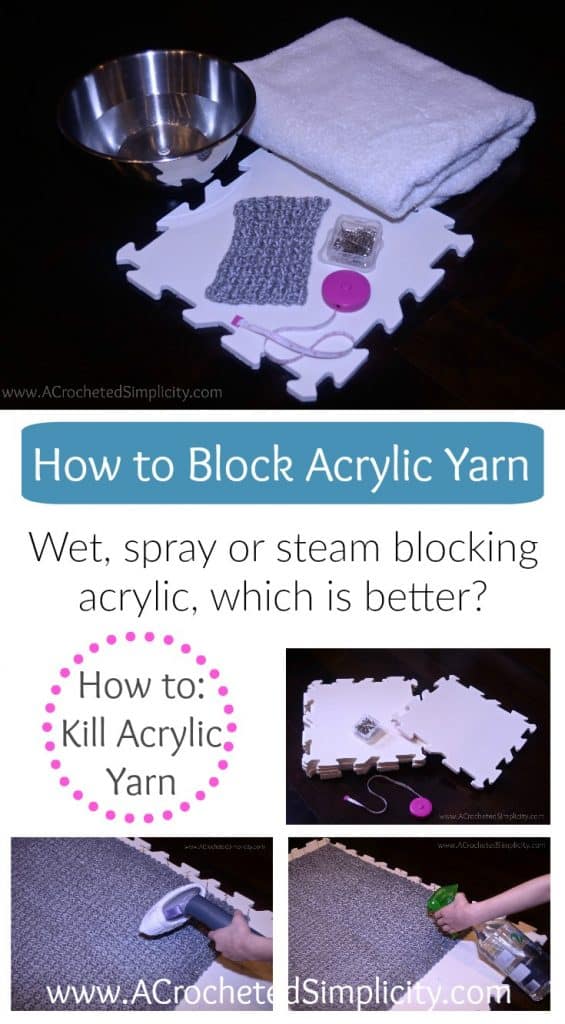
Blocking is easy, it can be fun, and it can be done by using 3 different methods. In this blog post, I’m going to share with you all that I know about wet, spray, and steam blocking acrylic yarn in hopes of making your life a little easier and your projects a whole lot neater!
MORE FREE CROCHET BAG PATTERNS FROM A CROCHETED SIMPLICITY
If you enjoy making crochet bags, you may enjoy these other projects as well. And if you just want to browse, you can find all of our free crochet patterns HERE.
Are you intimidated by knit-look crochet? Would you love to learn my tips & tricks? Take an Annies Video Class with me and let me ease your fears and help you increase your skills! Click on the photo below to watch a free preview. You can also see the other 4 video classes I have available! (affiliate link)






This bag is beautiful!
I love this bag! I haven’t crocheted since 2018 but this may be the project that gets me crocheting again!
I have this beautiful tote in progress! I am making it in red for a fundraiser for the Texas Society of the Daughters of the American Revolution.